La Mesa Málaga: un buen plan – a good plan.

IMG_6838

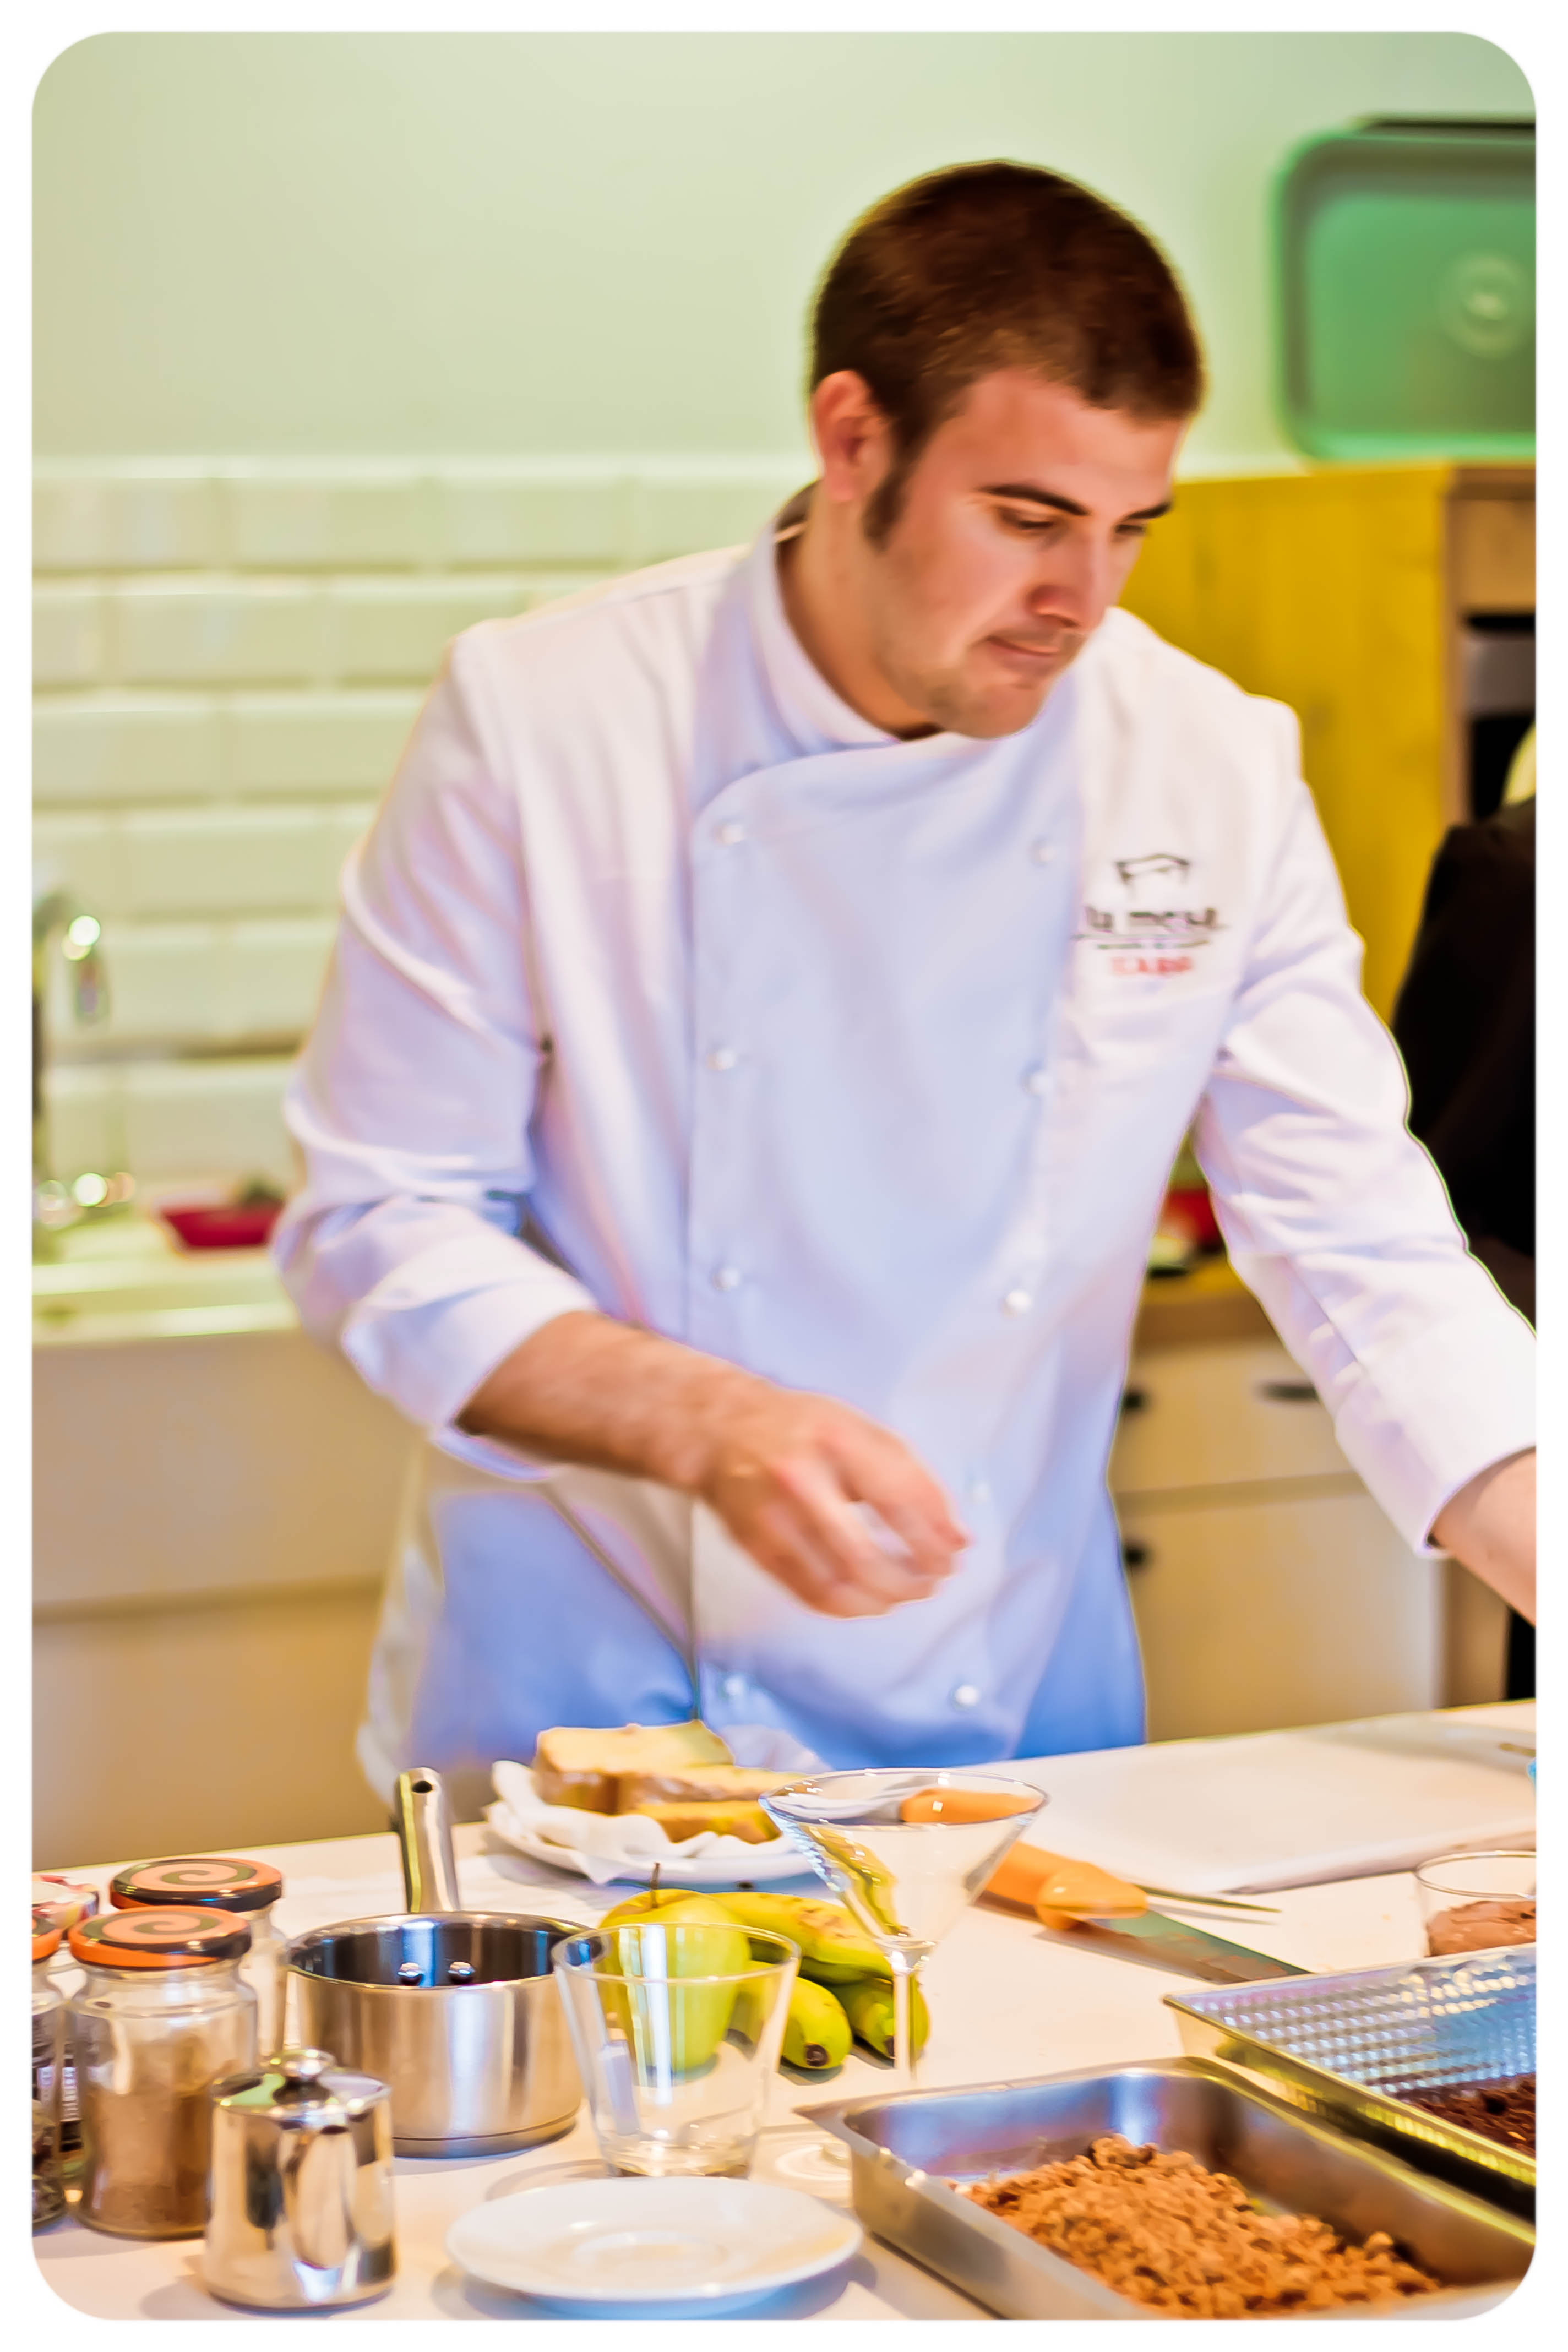
Hace un par de sábados asistimos a un curso de postres profesionales en La Mesa Málaga, impartido por Víctor Bermúdez (tres 14 tapas & café). Teníamos mucha curiosidad por conocer el local y también por ver en vivo las propuestas que Víctor nos iba a enseñar.

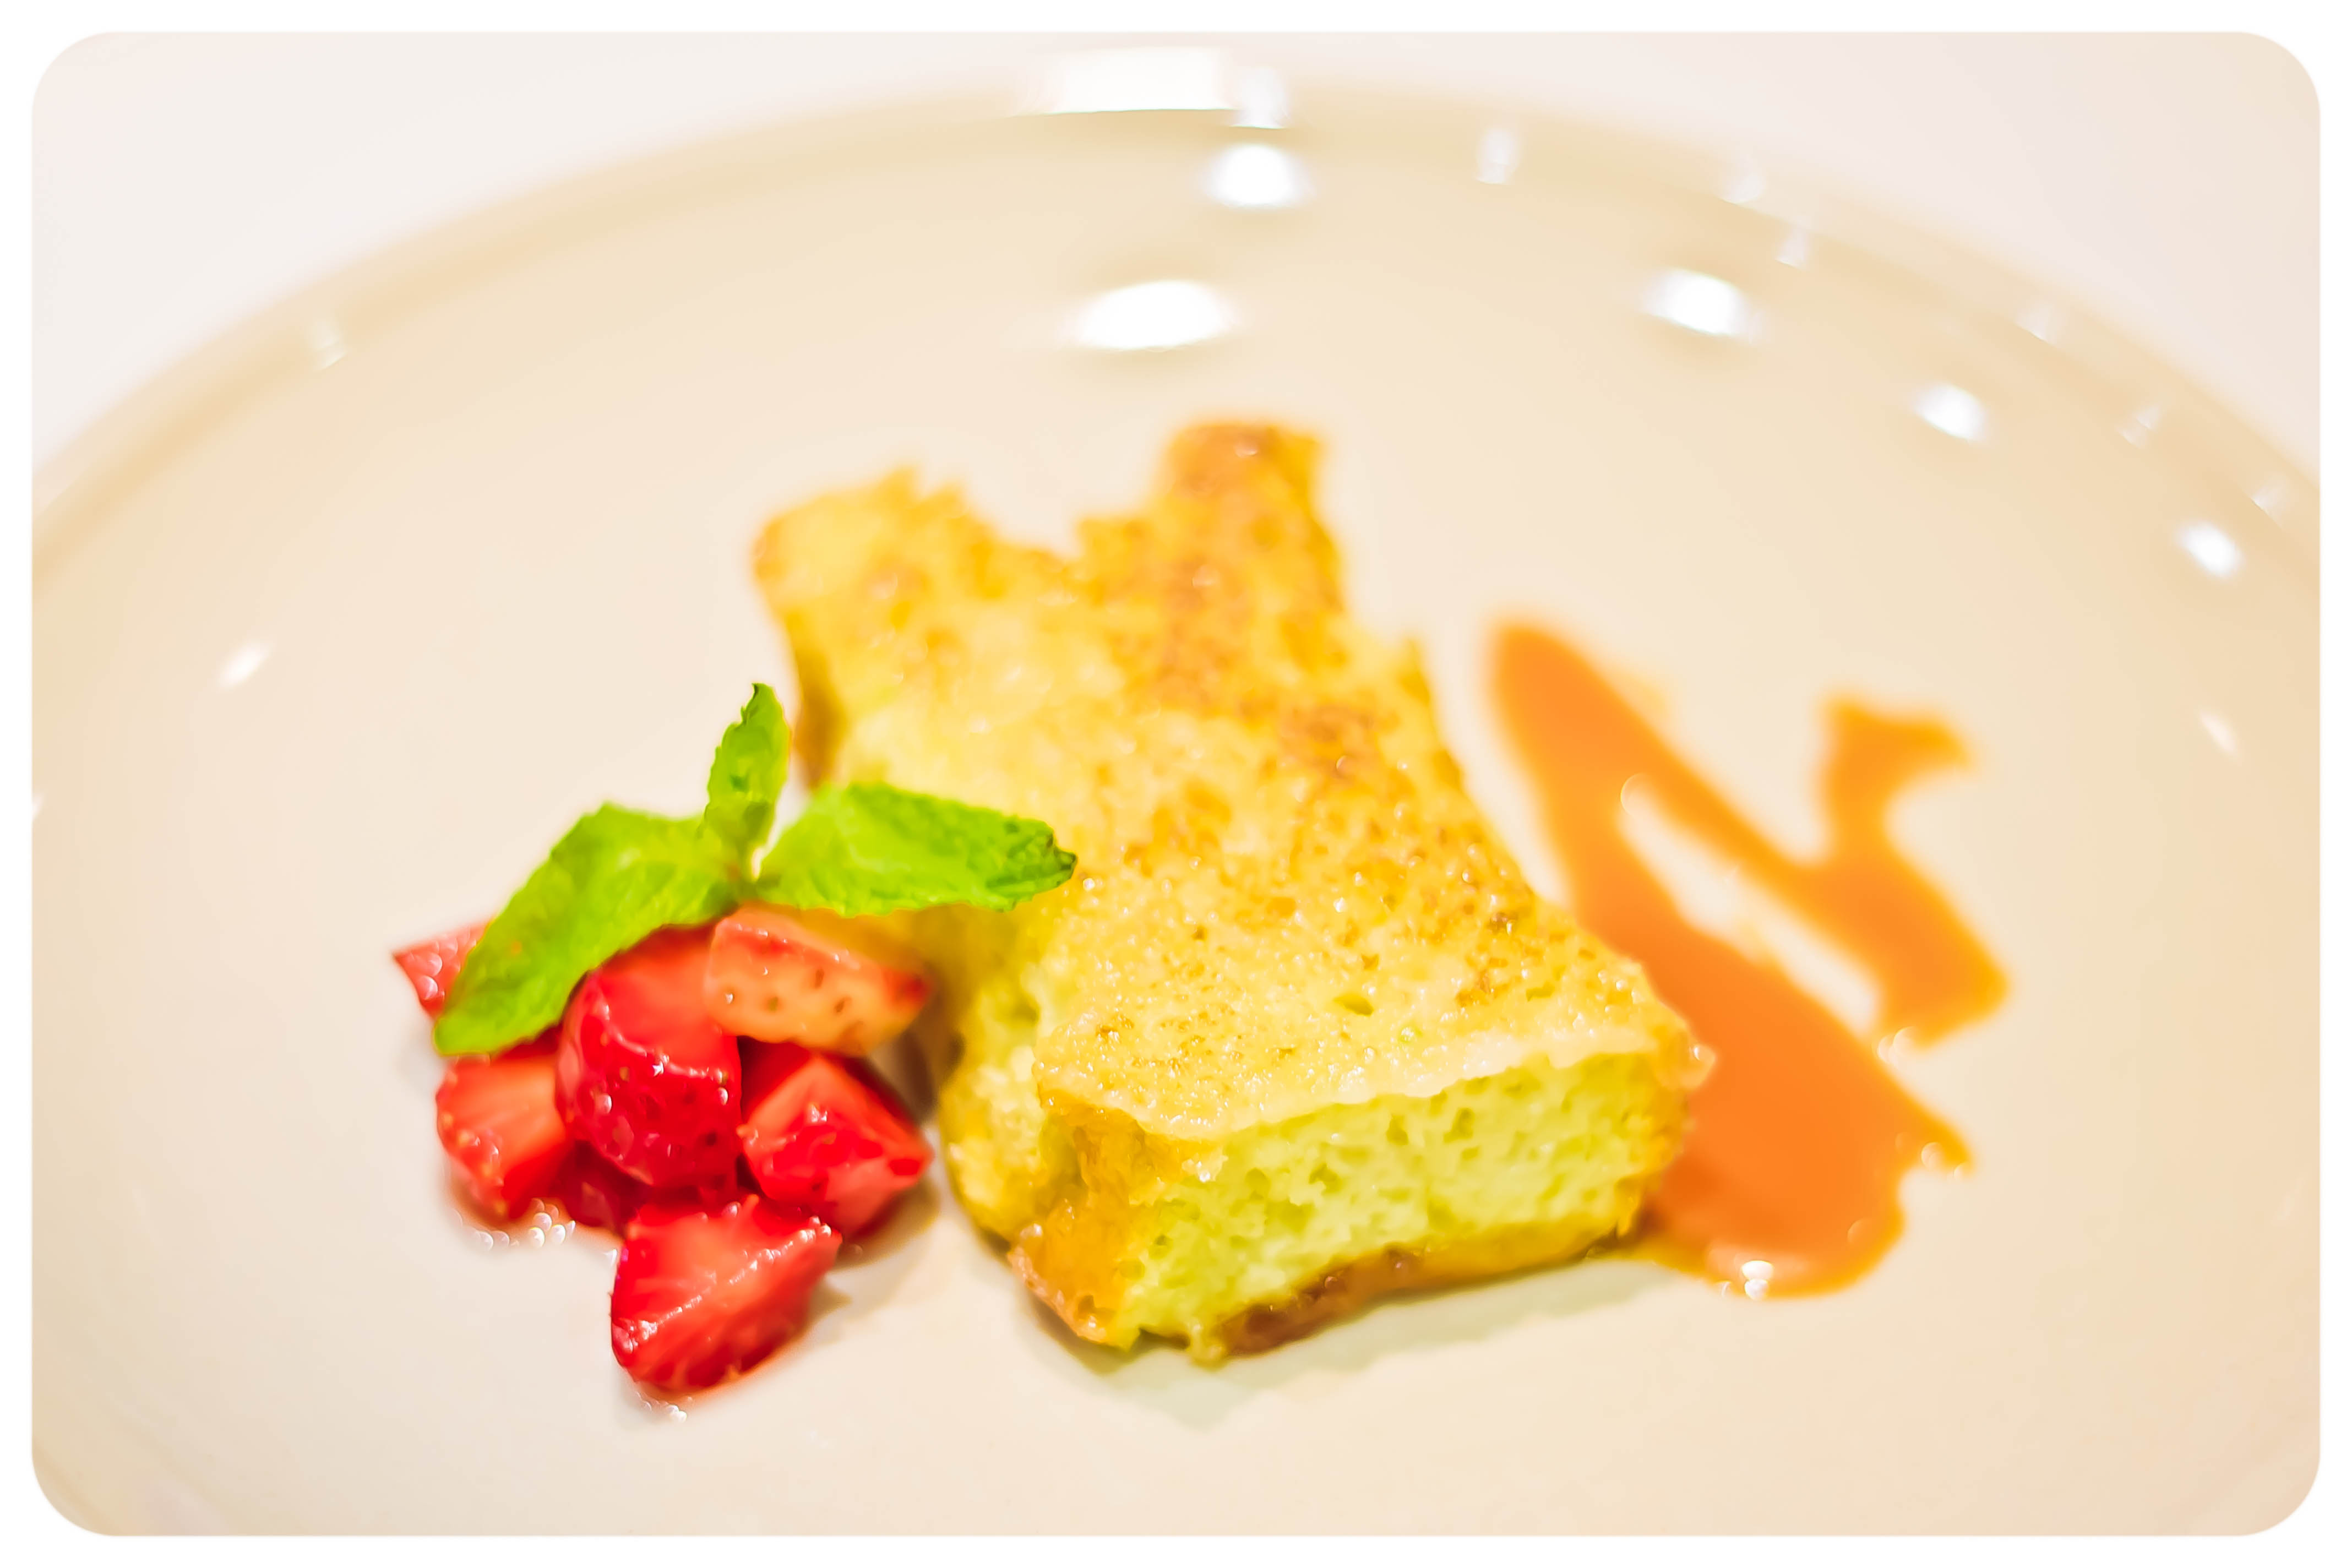
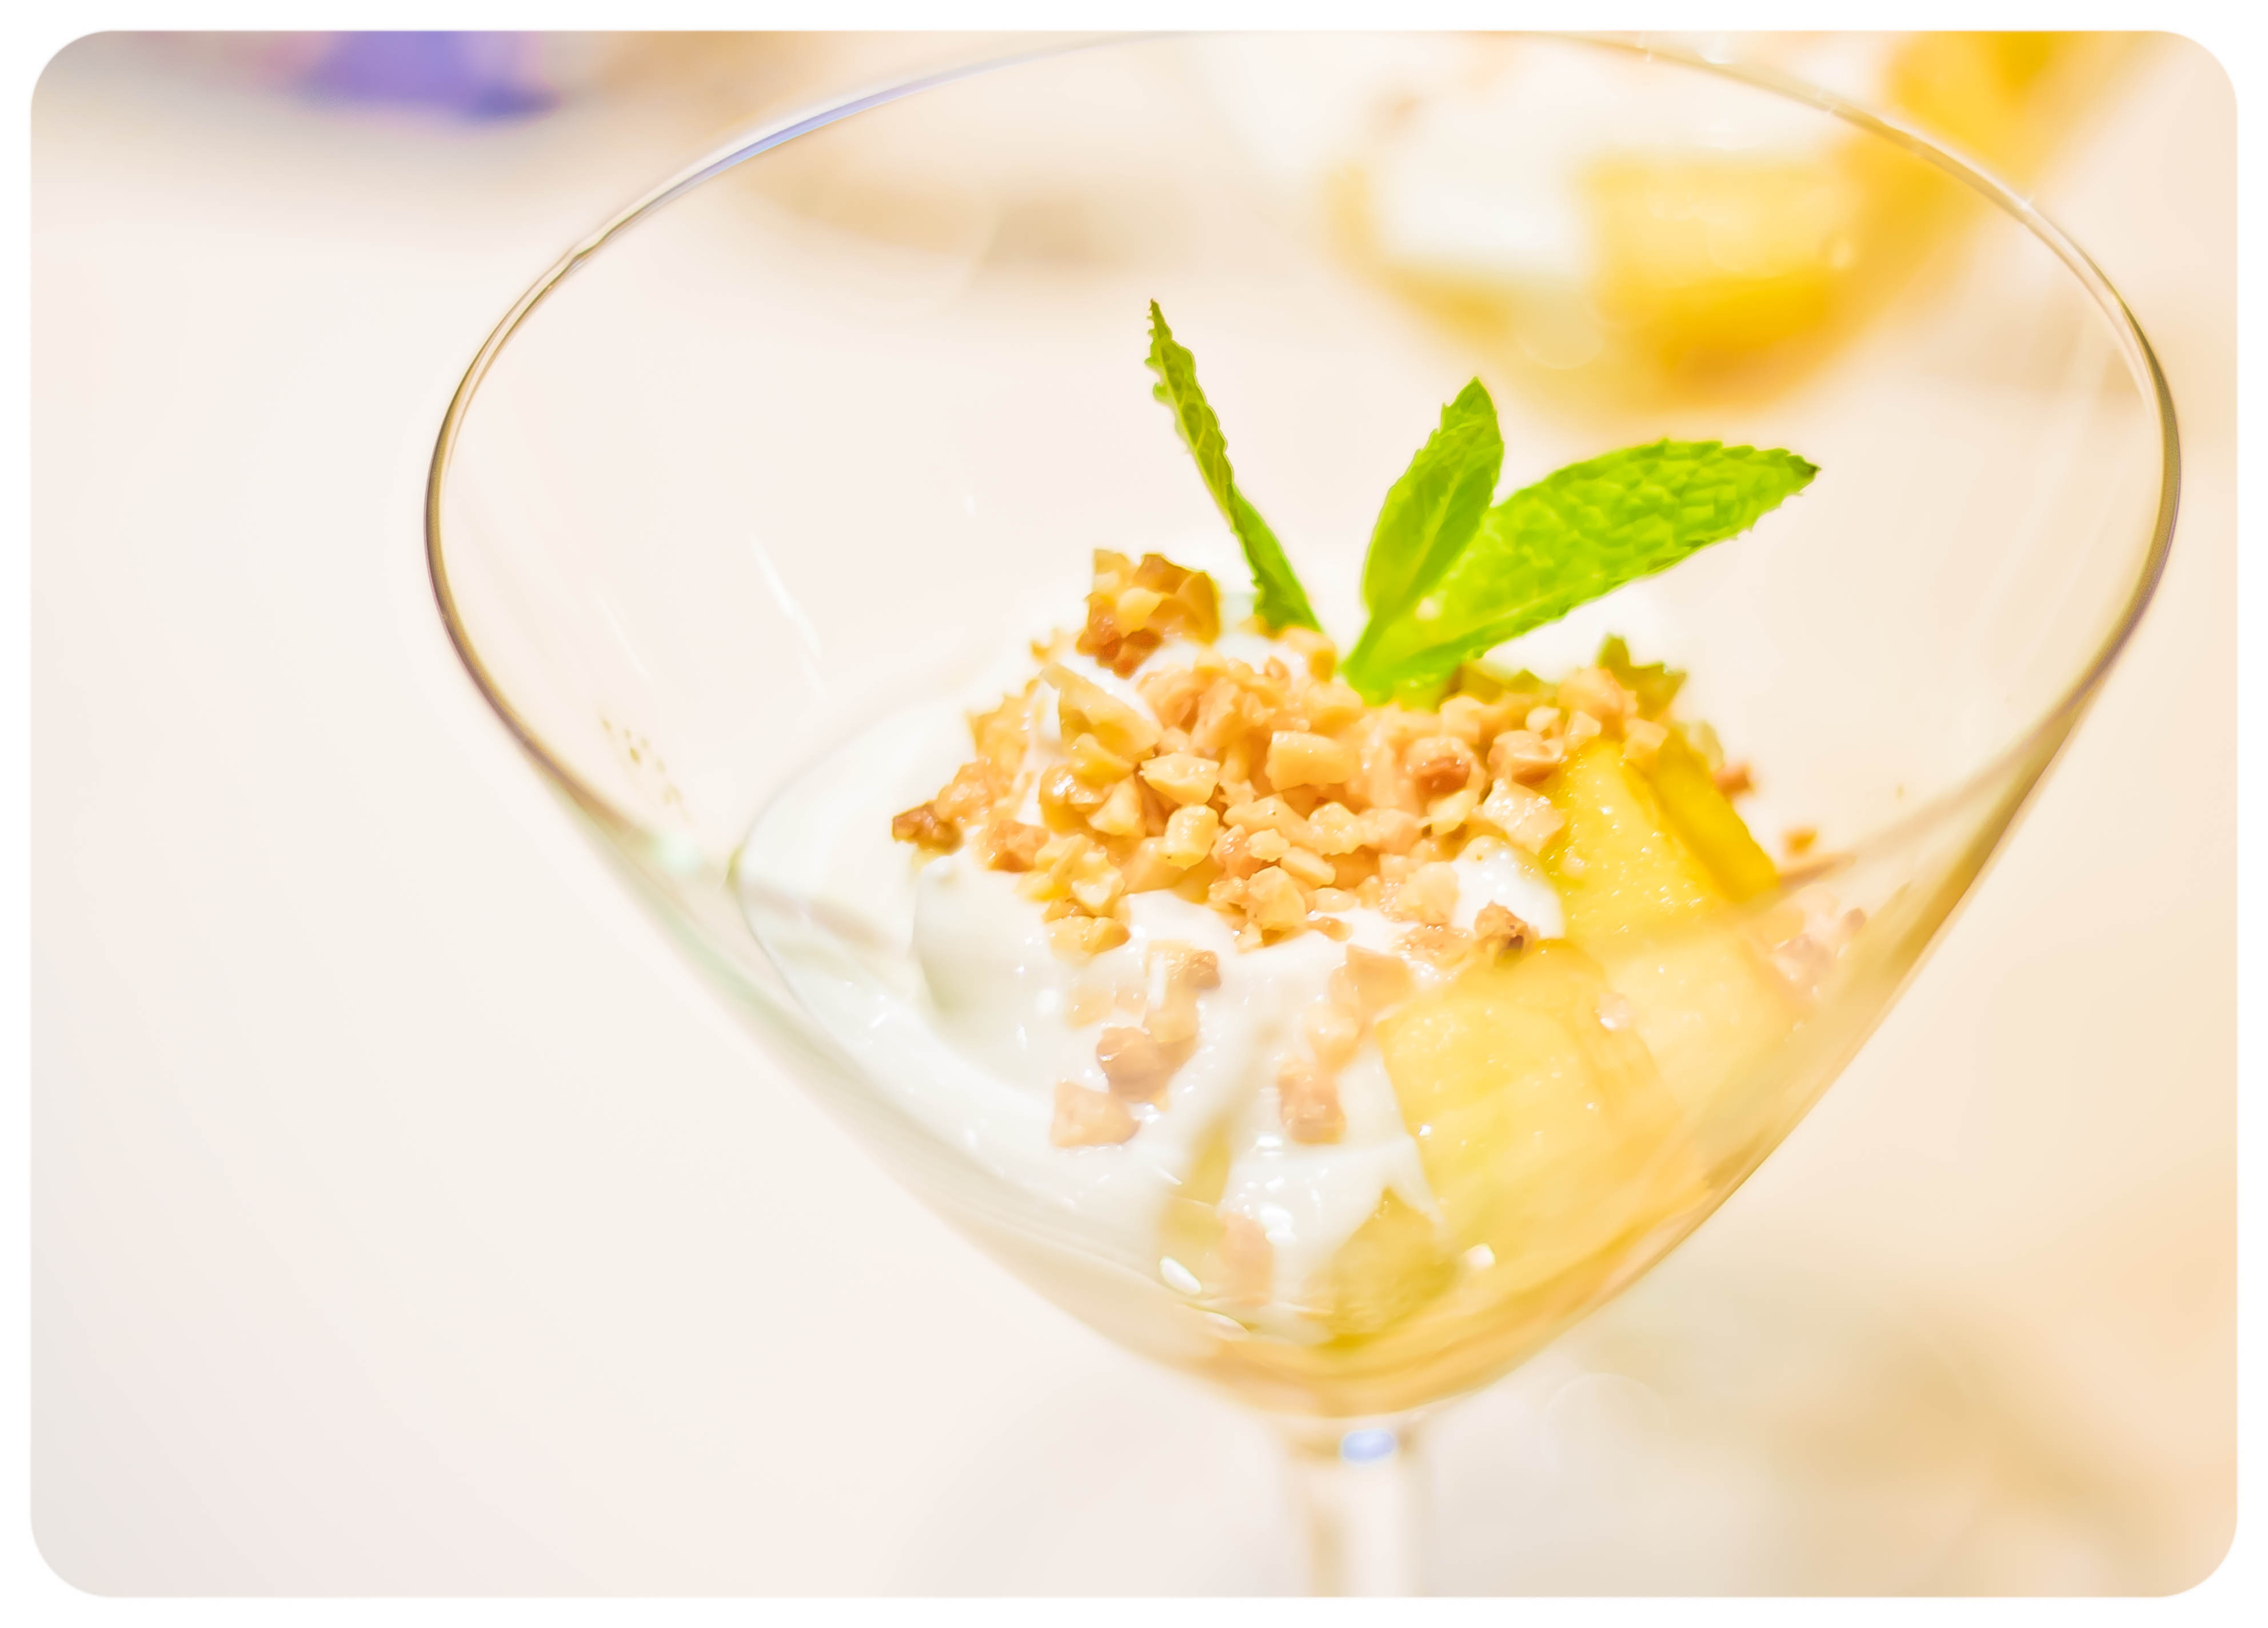
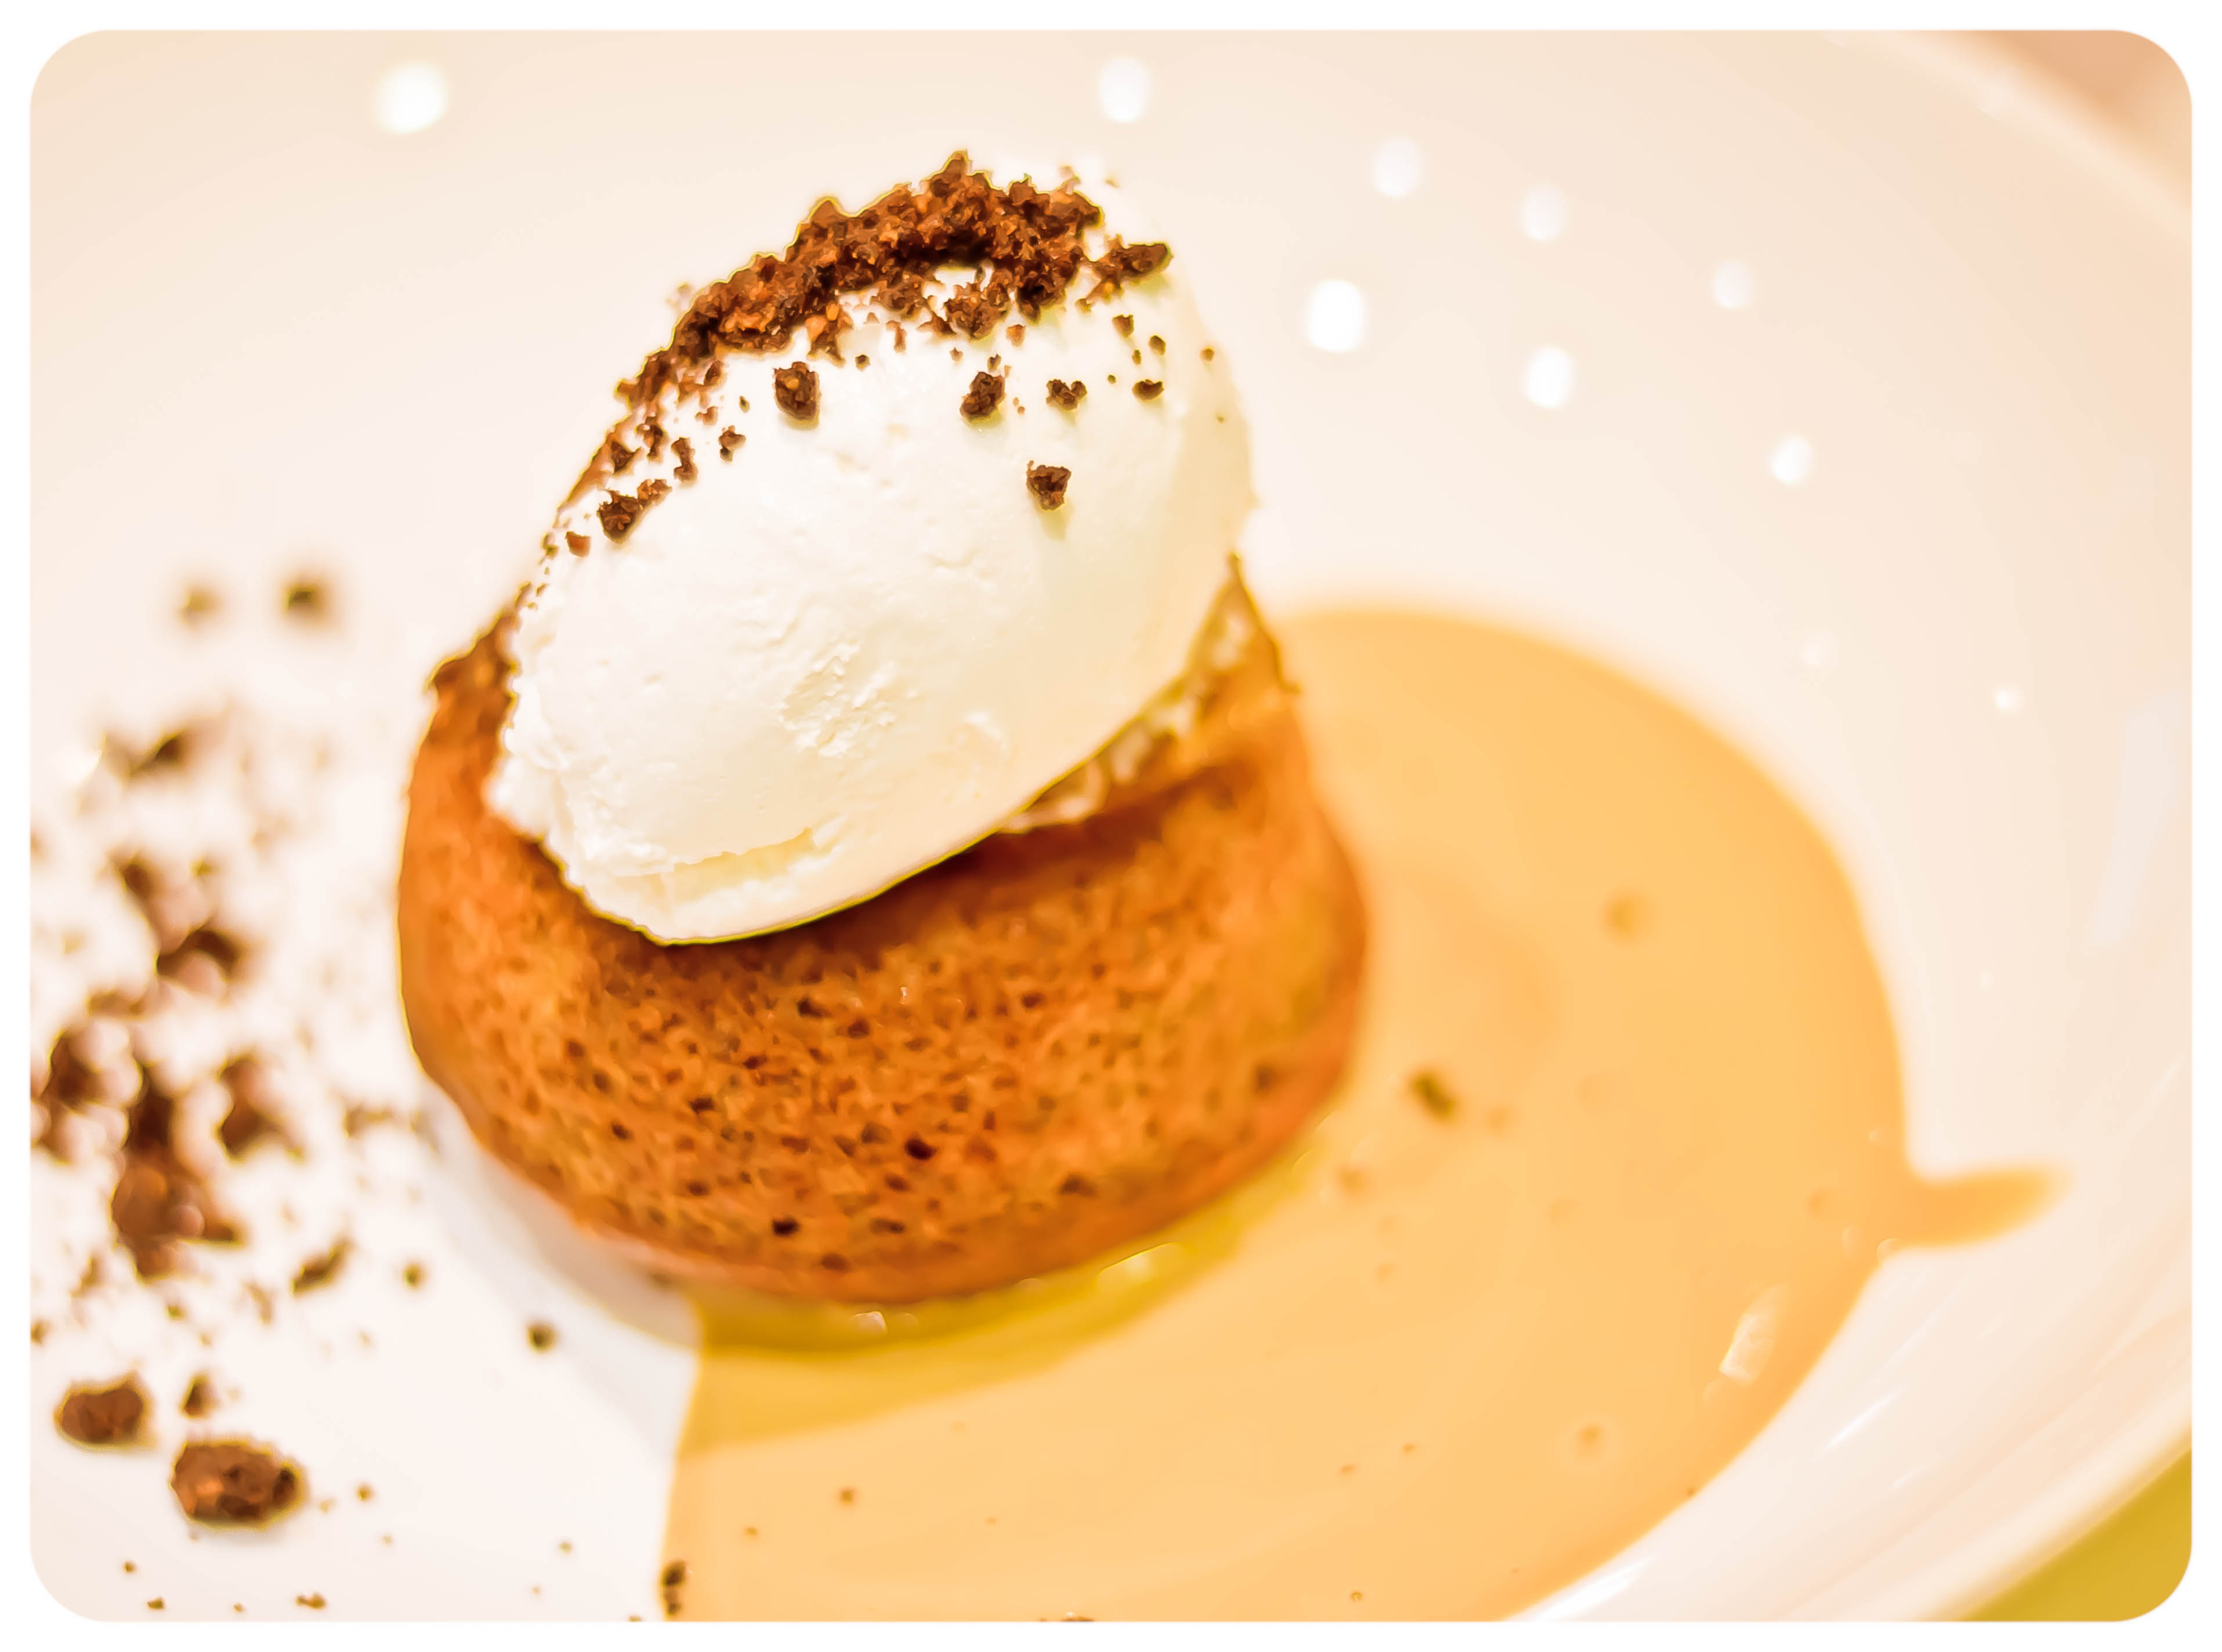
En tan sólo cuatro horas elaboramos más de una decena de postres sofisticados. Aprendimos un montón de trucos, pero lo que más nos gusto fue el desarrollo del taller, Victor nos organizó como si fuésemos el personal de cocina de un restaurante y nos iba encomendando tareas diferentes a cada uno, y andábamos de un lado para otro pesando ingredientes, mezclándolos, echándolos en moldes que iban a la nevera o al horno: ¡Divertidísimo!

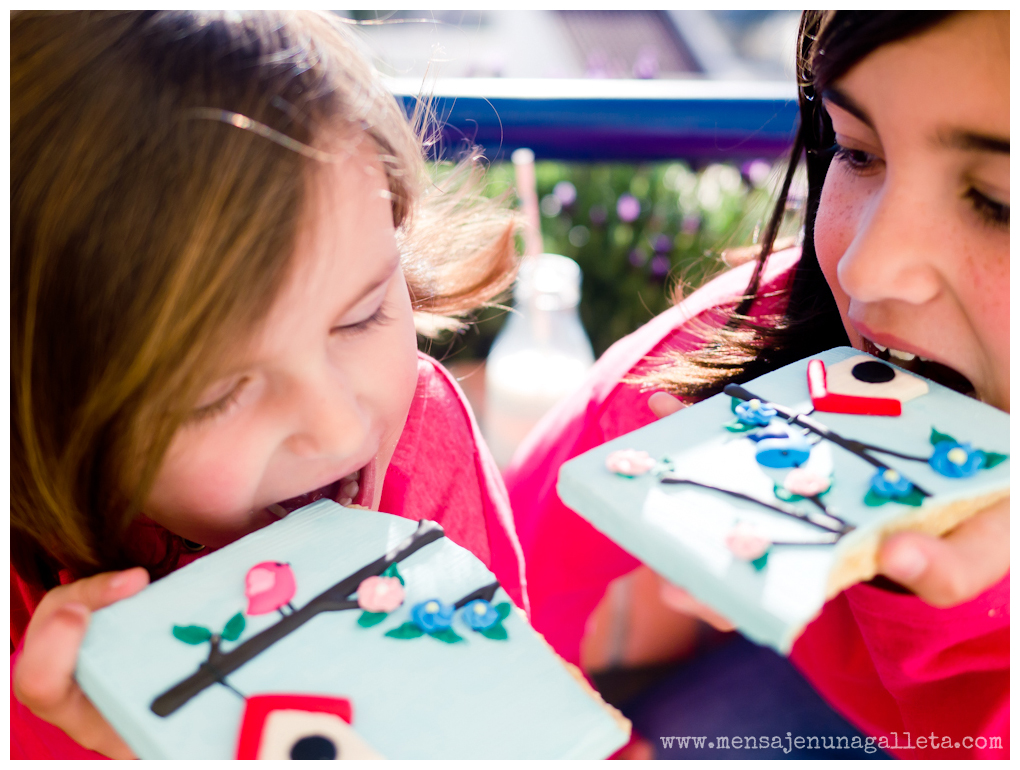
Y cuando terminamos, nos sentamos tranquilamente a charlar y a degustar todos los postres que nosotros mismos habíamos elaborado.

A couple of Saturdays ago we attended a professional desserts workshop in La Mesa Málaga, given by Víctor Bermúdez (tres 14 tapas & café). We were very curious to visit the place and also to see live the proposals Victor would teach us.

In only four hours we managed to elaborate more than ten sophisticated desserts. We learned a lot of tricks, but what we liked the most was the course of the workshop, Víctor organized it as if all of us were the kitchen staff of a restaurant, we were given different tasks, walked around weighing ingredients, mixing them, pouring them in molds for the fridge or oven: it was all good fun!

¡And when we finished, we sat together quietly talking and enjoying all the desserts we had previously elaborated.

IMG_6758

La Mesa es una iniciativa que nos encanta, dirigida por María y Susana, y que contribuye a que en Málaga haya mucho movimiento y de calidad en materia de cocina en general y que además también pone a disposición de todos los públicos – desde los más “novatos” a los más “avanzados” – un espacio en el que aprender y también un espacio en el que poder cocinar entre amigos, ya que ofrecen la posibilidad de alquilar sus instalaciones.

La Mesa is an initiative we love. María and Susana direct it, and it contributes to give a quality impulse to Málaga in the field of cuisine in general and to put at everyone’s disposal (from novice to the more experienced) a space where you can learn and also cook with friends, as they offer you the possibility to rent the facilities.

 IMG_6840

Las instalaciones son inmejorables. Se trata de una sala abierta y cómoda, con un muy completo equipamiento, y con un enorme escaparate a la calle, lo que le da mucha luminosidad y sensación de amplitud. Así que aprovechamos la luz para hacer unas muy buenas fotos del curso y de sus resultados. La cercanía de dos centros comerciales (Larios y Vialia) en las inmediaciones y una zona azul en torno a la primera de ellas permite aparcar sin mucha dificultad.

The facilities are excellent, consisting of an open and comfortable room, fully equipped and with a huge shop-window onto the street, which gives the place a lot of luminosity and a sensation of vastness. The proximity to two commercial centers in the vicinity (Larios and Vialia) and a Blue Valet area close to the first one makes parking easy.

 IMG_6751

 Tanto nos ha gustado la experiencia, que vamos a repetir. Salimos muy contentas y, como hemos dicho, nos encanta que haya “movimiento” en Málaga con propuestas de cocina, de productos y, por supuesto, de repostería.

We enjoyed the experience so much, that we are going to repeat it. We left the place feeling very happy, and as we said, we love that there is some ‘movement’ in Málaga in terms of cuisine proposals, products, and of course, confectionery.

 IMG_6820

Cucharitas de caldo Aneto y chorizo del Bierzo – Chorizo cookies

cucharitasaneto

A mis hijas si les pinchas en una vena no les sale sangre, les sale caldo Aneto de pollo. Les encanta y lo toman en cantidades industriales. Ésta es la respuesta a por qué no tengo kitchenaid, me gasto todo el presupuesto en caldo Aneto. He preparado esta receta en homenaje al caldo que lleva en mi casa una década y al chorizo de mi tierra. Sí, también lleva un poco de queso francés, pero cuantas más cosas buenas le eches a una receta, en general, más rica está.

If you puncture my daughters’ veins you will get no blood but Aneto chicken stock. They love it and have it in industrial quantities. This is the reason why I do not have a Kitchen Aid, I spend all my budget in Aneto chicken stock. I have prepared this recipe in homage to this brand, which has been present at home for a decade, and to my hometown chorizo. Yes, the recipe also contains a bit of French cheese, but the more good things you put into a recipe, the tastier it is.

Es sencillísima de preparar y no manchamos casi nada. La única complicación es la albúmina, si no disponéis  de ella podéis sustituirla por un huevo y entonces tenéis que reducir la cantidad del caldo a la mitad, no estarán tan tan buenas, pero estarán muy buenas, os lo aseguro.

The recipe is very easy to prepare and your kitchen will barely get dirty. The only complication is the albumin, if you don’t have any; you can use an egg, but then you will have to reduce the amount of stock by half, they will not be so nice, but I assure you they will be very good anyway.

galletitasaneto

Empezamos por los ingredientes:

• 250 gr de harina

•  1/2 cucharita de sal

• 1 cucharita de polvo de hornear (impulsor)

• 125 gramos de mantequilla

• 50 gramos de gruyere

• 2 cucharadas de albúmina en polvo

• 100 ml de caldo aneto

• 100 gramos de chorizo del Bierzo

Let’s start with the ingredients:

• 250 grams of flour

• 1/2 teaspoon of salt

• 1 teaspoon of baking powder

• 125 grams of butter

• 50 grams of gruyère cheese

• 2 tbsps of albumin powder

• 100 ml Aneto chicken stock

• 100 grams of chorizo from El Bierzo

Seguimos con la elaboración.

Picamos el chorizo lo más fino que nos permita nuestro robot de cocina y lo reservamos.

Rallamos el gruyere lo más fino que nos permita nuestro rallador y lo  reservamos.

Derretimos la mantequilla y … efectivamente, la reservamos.

Mezclamos la harina con la sal y el impulsor y reservamos la mezcla.

En nuestro robot de cocina batimos a muy alta velocidad el caldo Aneto y la albúmina. Cuando ya no queden grumos batimos un rato más hasta obtener una espuma. Añadimos la mantequilla que ya se habrá atemperado y el queso, seguimos batiendo. Añadimos la mezcla de la harina en tres veces y, por último, el chorizo.

Sacamos la masa del robot, la ponemos sobre una superficie enharinada, amasamos unos segundos y cuando la masa se vuelve manejable, no tarda mucho, la envolvemos en papel film y la metemos en la nevera una media hora. La sacamos, la estiramos a unos 3 ó 4 mm y vamos cortando las cucharas, o de cualquier otra forma con un cortador.  Horneamos las galletas entre 12 y 15 minutos a 180 º C  o hasta que veamos que están bien cocidas.

Elaboration:

We chop the chorizo as thin as possible using our kitchen robot and set aside. Grate the cheese as well as thin as our grater let us and set aside.

Melt the butter and yes…set aside.

Mix flour, salt and baking powder and reserve.

Using a kitchen robot we mix the Aneto stock and the albumin at maximum speed. When there are no lumps we keep mixing for a little more until obtaining some froth.

We add the butter, already tempered, and the cheese. We keep mixing.

Add the flour mix in three times and finally the chorizo.

We take the dough out of the robot, place it on a floured surface, knead for some seconds and when it turns manageable (it doesn’t take very long), wrap it in cling film and keep it in the fridge for half an hour. After that, roll it out, 3-4 mm thick, and cut the spoons, or any other shape depending on the cutter we use. Bake the cookies for 12-15 minutes at 180ºC or until we see they are well done.

cucharita

Cómo hacer props para fotos. How to create props for photographs

tiramisuvistafrontal

Uno de los principales quebraderos de cabeza a la hora de hacer fotos para un blog de cocina, no sólo son las recetas en sí, sino todo el attrezzo o props que salen en la foto. Hace unos días nos compramos unos cortadores de cuchara y Miriam me comentó lo monas que quedarían unas cucharas de colores con esos cortadores. Efectivamente, con los electric colors de Americolor y empleando la técnica del doble horneado y la técnica para conseguir galletas azules, así fue.

One of the main headaches when it comes to photographing food for a blog, it is not just the recipes themselves, but all the attrezzo or props that you can see in the photos. Some days ago we bought some spoon cutters, and Miriam said that some colourful cookies using those cutters would be really cute. And she was right. I made the cookies using the Electric Colours from Americolor, the double baking technique and the steps for making blue cookies.

tiramisucucharas

Vale, ya tenía mis props, ahora faltaba lo más «fácil», la receta. Como en casa tenía muchos huevos, aproveché para hacer un tiramisú, todo un clásico. En lugar de usar bizcochos de soletilla, hice una plancha de bizcocho sin levadura pero que lleva mucho aire incorporado durante la elaboración.

Ok, I already had my props, now ‘the easiest’ part was missing: the recipe. As I had a lot of eggs at home, I prepared a classic dessert, tiramisu. Instead of using ladyfingers, I made a sheet of sponge cake with no baking powder in it but incorporating a lot of air to the batter.

Ingredientes para el «falso» bizcocho

120 gr de azúcar, 120 gr de harina de fuerza, 4 huevos, un pellizco de sal y una cucharadita de vainilla en pasta

Ingredients for the ‘false’ cake

120 grams of sugar, 120 grams of strong flour, 4 eggs, a pinch of salt and a teaspoon of vanilla paste.

Ingredientes para el resto del tiramisú

100 gr de azúcar glas, 5 yemas de huevo, 500 gr de queso mascarpone, nuevamente una cucharadita de vainilla en pasta, café ya enfriado y cacao en polvo para decorar.

Ingredients for the rest of the tiramisu

100 grams of icing sugar, 5 egg yolks, 500 grams of mascarpone cheese, another teaspoon of vanilla paste, some cooled coffee and cocoa powder for decorating.

Vayamos con la preparación del bizcocho.

Introducimos la harina y batimos a velocidad 6 durante 1 minuto para tamizarla y la reservamos. Ponemos los huevos y el azúcar en el vaso, acoplamos la mariposa, seleccionamos temperatura 37 grados y, durante 5 minutos, batimos a velocidad 3 y medio. Paramos la máquina, quitamos la temperatura y batimos otros 5 minutos a la misma velocidad.

Let’s go for the cake elaboration.

We put the flour in the Thermomix bowl and mix on speed 6 for 1 minute to sift. Set aside. We put the eggs and the sugar in the bowl, attach the butterfly, select 37º, and mix on speed 3.5 for 5 minutes. We turn the robot off, no temperature, and mix for another 5 minutes using the same speed.

A continuación, echamos la mezcla en un bol y añadimos la harina poco a poco, mezclando con una espátula suavemente para no eliminar las burbujas de aire que contiene la mezcla. Ponemos un papel de horno encima de una bandeja con tapa, como ésta de Bra, y vertemos ahí la mezcla.

Then we put that mixture in a bowl and start adding the flour little by little, stirring very softly with a spatula trying not to eliminate the air bubbles of the batter. We cover a lidded tray like this one from Bra with parchment paper and pour the batter in it.

bizcochoantesdehornear

La altura del bizcocho es de un cm de grosor aproximadamente. Horneamos durante 25 minutos a 180 grados

The cake height is approximately 1 cm. We bake it at 180ºC for 25 minutes

bizcochohorneado

En este punto, podemos cortar varios rectángulos de bizcocho o bien, usar un cortador circular del tamaño de unos vasos bajos que tengamos para montar las capas.  Si usáis el cortador, podréis comprobar cómo se oye un ssssshhhhhhhhh cuando lo apretéis contra el bizcocho.

This is the moment when we can either cut several cake rectangles or use a round cutter, the size of a rock glass, to arrange the layers. If you use the cutter, you will hear a kind of sssssshhhhhh when you press it against the cake.

Vamos ahora con la elaboración de la parte cremosa.

Batimos las 5 yemas con el azúcar y la vainilla a velocidad 3 y medio con la mariposa de nuevo durante 3 minutos. Incorporamos el queso y batimos a la misma velocidad durante 2 minutos y ni un minuto más porque si batimos en exceso, el queso pierde toda su cremosidad y pasa a ser completamente líquido.

Now, the elaboration of the creamy part.

We whisk the 5 egg yolks with the sugar and vanilla on speed 3.5, butterfly attached, for 3 minutes. Add the cheese and whisk on same speed for 2 minutes, not a second more, because if we over mix, the cheese will lose all its creaminess and will be completely liquid.

Llegamos al montaje.

En el recipiente que hayamos seleccionado, ponemos una capa de bizcocho, vertemos un poco de café sobre él hasta que se empape y después ponemos una capa de crema. Seguimos sucesivamente hasta terminar en una capa de crema que espolvorearemos con cacao, adornamos con nuestras preciosísimas cucharas y damos por finalizada la receta.

Assembling the dessert

In the glass/bowl we have selected, we put a cake layer, pour a little bit of coffee on it until it is soaked and then add a cream layer. We repeat the process until we finish with a cream layer that we will dust with cocoa powder. Decorate using our precious spoons and the recipe is done.

tiramisusdesdearriba

Por cierto, hice también algunas cucharas de chocolate que no sé si van a llegar para la próxima sesión de fotos 😉

By the way, I also made some chocolate spoons which I doubt will survive the next photo shoot  😉

Un beso/Love

Estíbaliz

PS: Once again, thank you Gloria!

Primavera para compartir – A spring to share


primaveraparacompartir

[haiku url=»http://www.mensajeenunagalleta.com/wp-content/mp3/primavera.mp3″ title=»»]

Sí, lo sé: ¡Es monísima! La botella es ideal en si misma, pero con el washi tape está divina. Por primera vez me siento como una auténtica cuquiblogger: ¡Estoy tan emocionada! Ja, ja, ja.

¿La galleta? ¿También es mona? La he preparado para poder compartir con vosotras un par de ideas. La primera es el “acabado madera”, fruto de la casualidad como la tarta tatin que tanto me gusta. Mi equivocación no ha tenido todavía la repercusión que la de Stéphanie Tatin, pero todo se andará.

Yes, I know, it’s so cute! The bottle itself is ideal, but with the washi tape it looks divine. For the first time I feel like a real cheesy blogger. I’m so excited! Ja, ja, ja.

The cookie? Is it cute too? I’ve prepared it in order to share a couple of ideas with you. The first one is the «wood grain effect», a matter of chance, as the tarte tatin that I like so much. My mistake has not had the same impact as Stéphanie Tatin’s yet, but we will get there.

cuchillitodeikea

Glaseé por los cuatro costados dos galletones (19x12x1 cm), y cuando fui a verlos al día siguiente tenían manchas blancas. Me recriminé, Miriam, eso por impaciente, por no dejar que la mantequilla se asiente. Decidí echarles una capa más, la glasa todo lo tapa. Volví a teñir glasa y conseguí un tono muy parecido, pero no idéntico. Era tan bonito ver esos dos tonos similares entremezclarse, que me entretuve y el glaseado empezó a secarse antes de que hubiese podido nivelarlo, volví a recriminarme, Miriam estás en Babia. Cogí un cuchillo para eliminar la glasa y así poder empezar de nuevo, pero en lugar de usar la parte lisa, me equivoqué de nuevo, y use la estriada: ¡Voila! Ahí lo tenéis, el efecto madera.

I iced two big cookies (19x12x1 cm) on all four sides, and when I checked them the next day they had white stains. I reproached myself, Miriam, that’s what happens when you’re impatient and you don’t let the butter settle. I decided to apply another coat, as royal icing covers everything. I dyed the icing again and obtained a very similar shade, but not identical. I was so amused seeing those two similar shades intermingle, that the icing started to dry before I could level it. I reproached myself again, Miriam, you are daydreaming. I took a knife to eliminate the royal icing and start all over again, but instead of using the blunt side, I made a mistake again and used the jagged edge: Voilà! There you go, the wood grain effect.

Vamos a por la segunda idea, ésta es muy útil, sobre todo si tenemos un montón de galletas por delante: Prepara los detalles por adelantado. Las flores, las hojas, los pájaros, los hice un par de semanas atrás, y los guardé en pequeñas fiambreras de tapa morada. El día que decoré la galleta sólo necesité llenar dos mangas pasteleras, una con glasa marrón para las ramas, y otra con glasa negra para los piquitos, las patitas y las cuerdas de las casitas de los pájaros. Las flores, las hojas y los pájaros los pegué con un poquito de la glasa color azul cielo aplicada con pincel y, como veis, no se nota.

Let’s go for the second idea, this one is very useful, most of all if we have a lot of cookie decoration ahead: Prepare the details in advance. The flowers, the leaves, the birds, I made them a couple of weeks ago, and kept them in little lunch boxes with a purple lid. The day I decorated the cookie I only needed to fill two icing bags, one with brown royal icing for the branches and another one with black royal icing for the peaks, the feet and the rope of the birdhouses. The flowers, leaves and birds I glued them with a bit of the sky blue royal icing applied with a brush, and as you can see, you can’t tell.

detalles

Bueno, al final no son un par de ideas, son tres. La tercera es cómo hacer una casita de pájaro tan sólo con un cortador cuadrado. La puerta está hecha con una boquilla redonda grande. Las piezas se unen ellas solas en el horno, como siempre.

Well, in the end, they are not a couple of ideas, but three. The third one is how to make a small birdhouse just using a square cutter. The door is made with a big round tip. The pieces are joined together in the oven, as usual.

casita

Y por si aún albergáis alguna duda sobre si la primavera era para compartir, os dejo una foto de mis niñas que disfrutaron de lo lindo, no sólo saboreando la galleta, que era de leche merengada, sino arrancado las flores, las hojas, los pájaros, para comérselos, claro.

And in case you still have any doubts as if spring was made to be shared, I add a picture of my girls, who had a great time not only savoring the cookie, which tasted of cinnamon milk, but pulling out the flowers, the leaves, the birds…to eat them, of course.

elfinal


Un beso, Miriam G.

Love, Miriam G.

By the way, MEUG really loves Gloria.