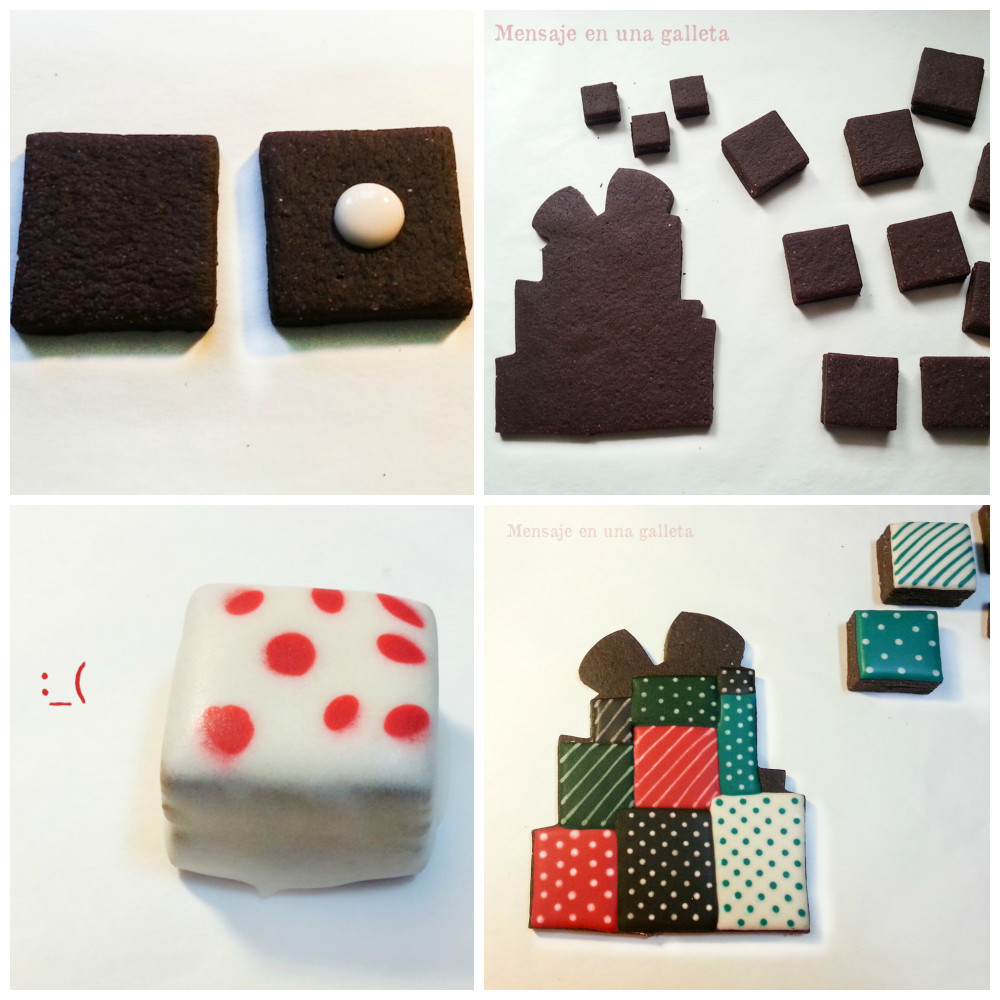
O cómo hacer una montaña de galletas y que parezcan regalitos. Muy fácil. Lo primero de todo es conseguir el cortador con forma de torre de regalos (este tan gigantesco nos lo regaló Bea de www.enjuliana.com) y si no, pues cortáis una galleta rectangular del tamaño que más os guste, que también hace el apaño. También tendréis que cortar cuadrados grandes y pequeños. Una vez horneado todo, vais pegando con un poco de glasa los cuadrados hasta conseguir el grosor que queréis para los regalos, podéis unir dos o tres o ninguno.
Ahora se me planteaban nuevos dilemas: ¿pegarlo todo y decorar después? o ¿decorar todo y pegar después? Solo tenía que preguntar a Miriam: decorar todo y pegar después. Sí, muuuucho más fácil.
Estaba muy entusiasmada con la idea de cubrir todos los cuadrados con glasa y decorarlos con wet on wet para darle más «realismo». Pero no fue una buena idea porque la glasa de los lados arrastró sin piedad las decoraciones y terminó siendo un desastre. Estáis advertidos. Otra duda despejada: las decoraciones wet on wet iban a ser solo por arriba. La cosa iba poniéndose más fácil por momentos.
Mientras tenía todos los cuadrados cubiertos de glasa secándose plácidamente, me dediqué a decorar con glasa lo que iba a ser el fondo para los regalos.
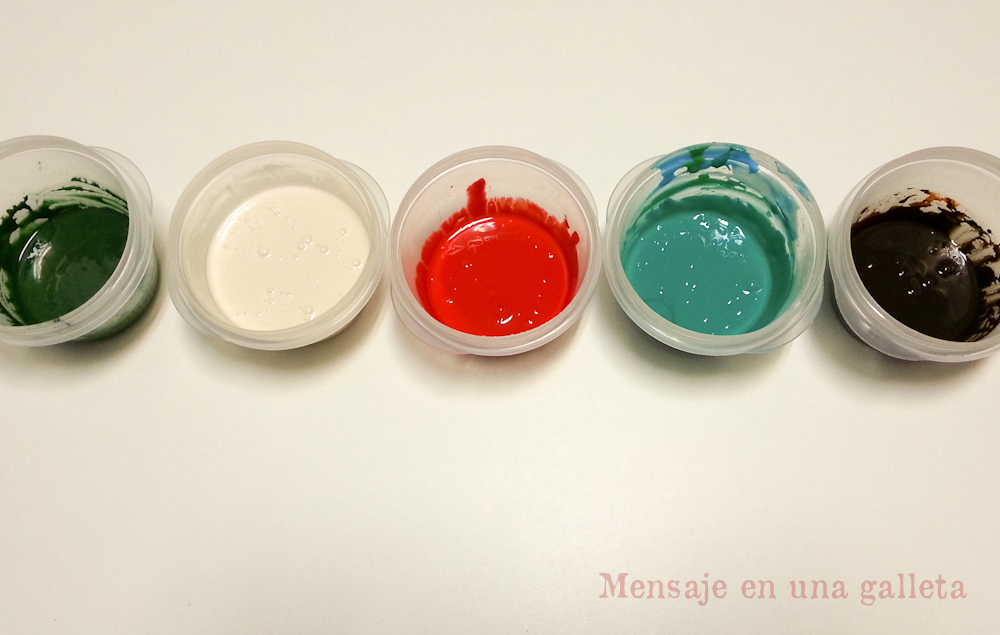
Por cierto, no os he dicho que me enamoraré de la paleta de colores de Navidad vintage que nos enseñó Sonia en su curso de Photoshop e intenté reproducirlos en glasa, con más o menos acierto.
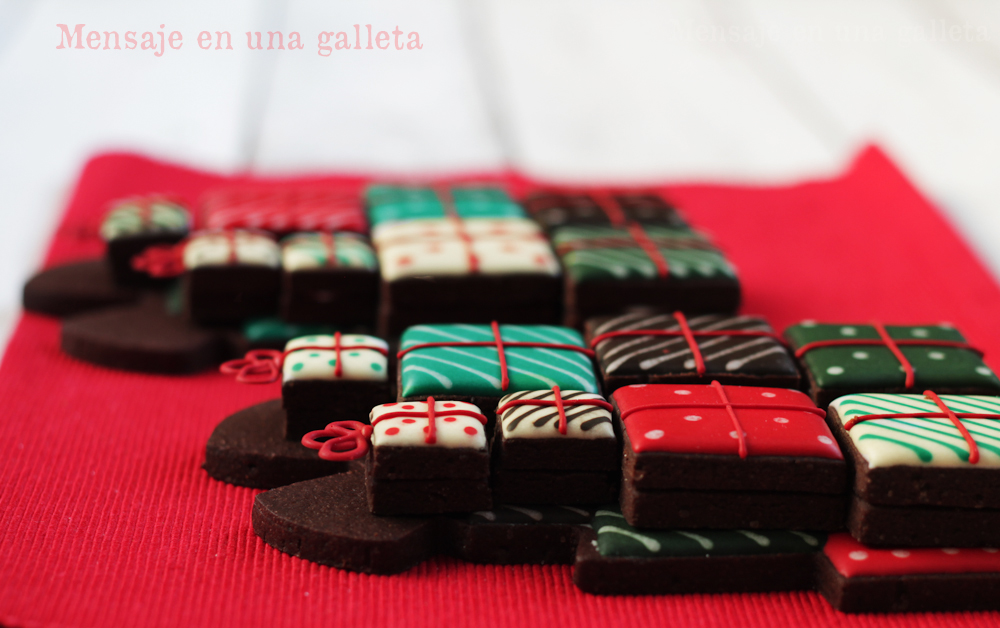
Y mientras se secaba todo, me dediqué a hacer los transfers para los lazos. Cuando los tuve secos los pegué con glasa del mismo color a las galletas de arriba, acomodados sobre unas pinzas para bolsas de Ikea para que se «soldara» el invento.
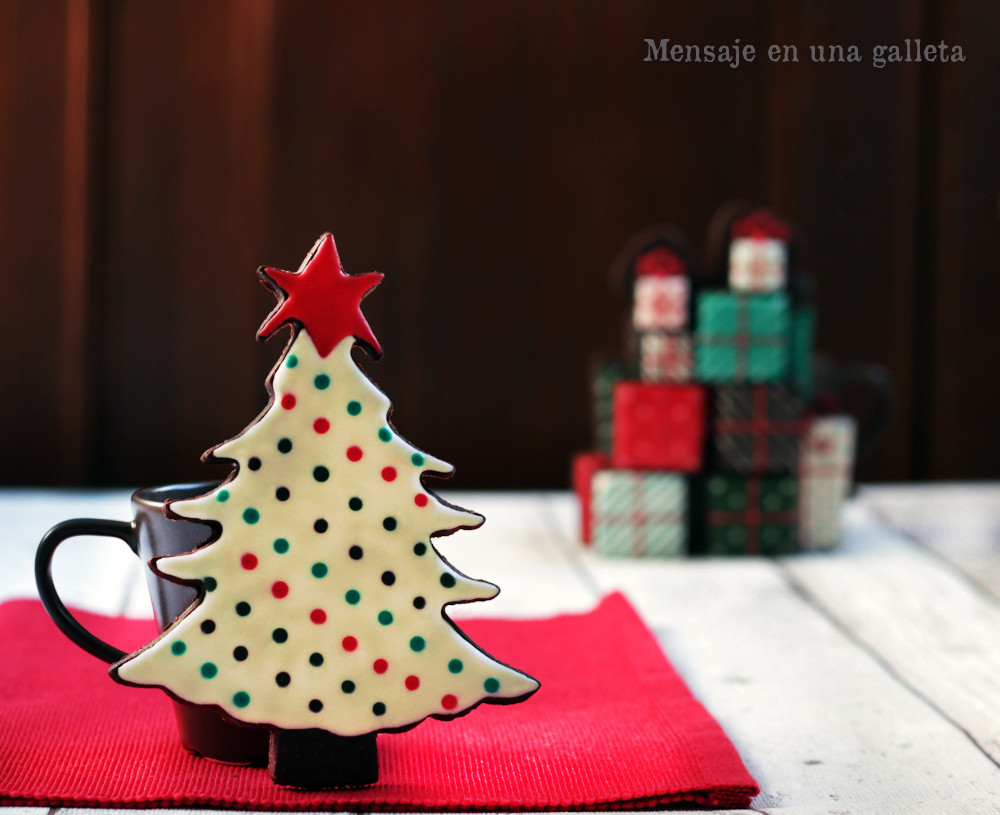
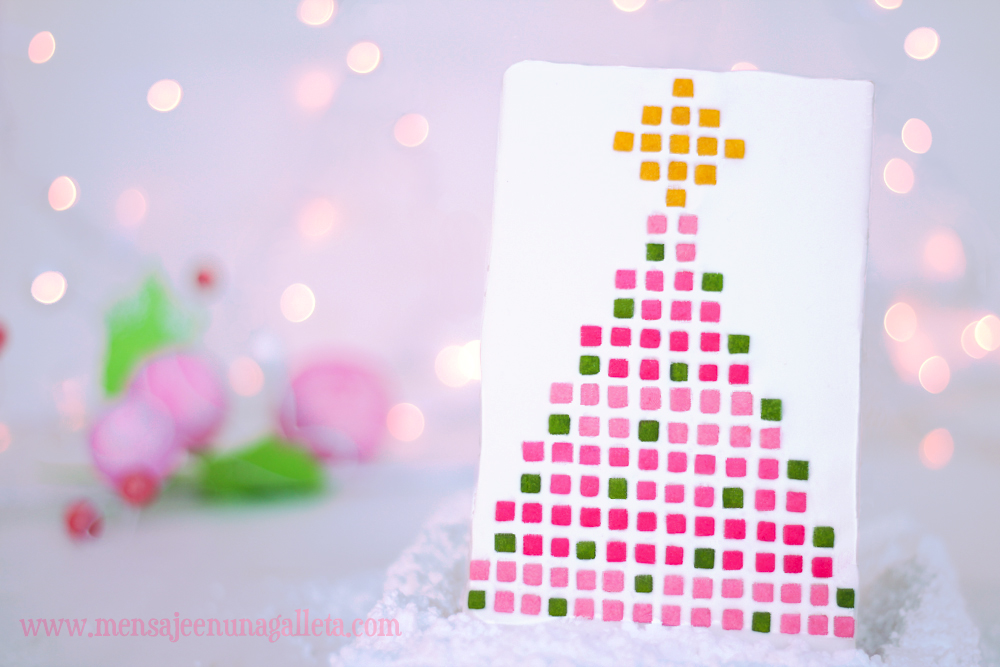
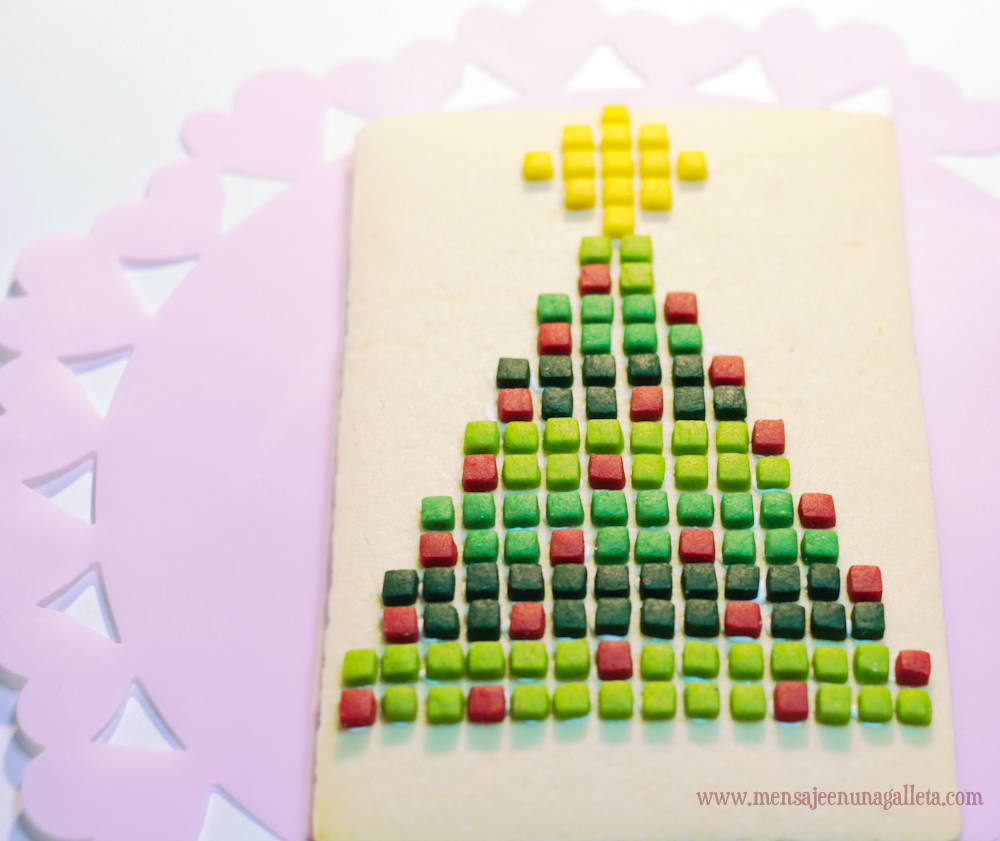
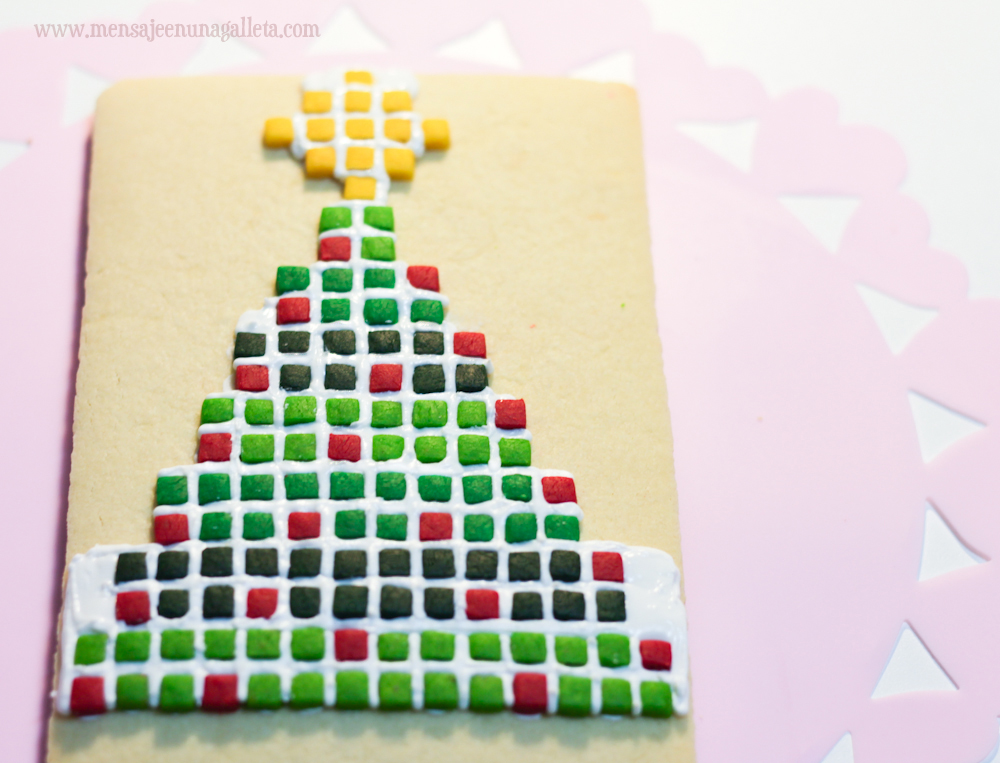
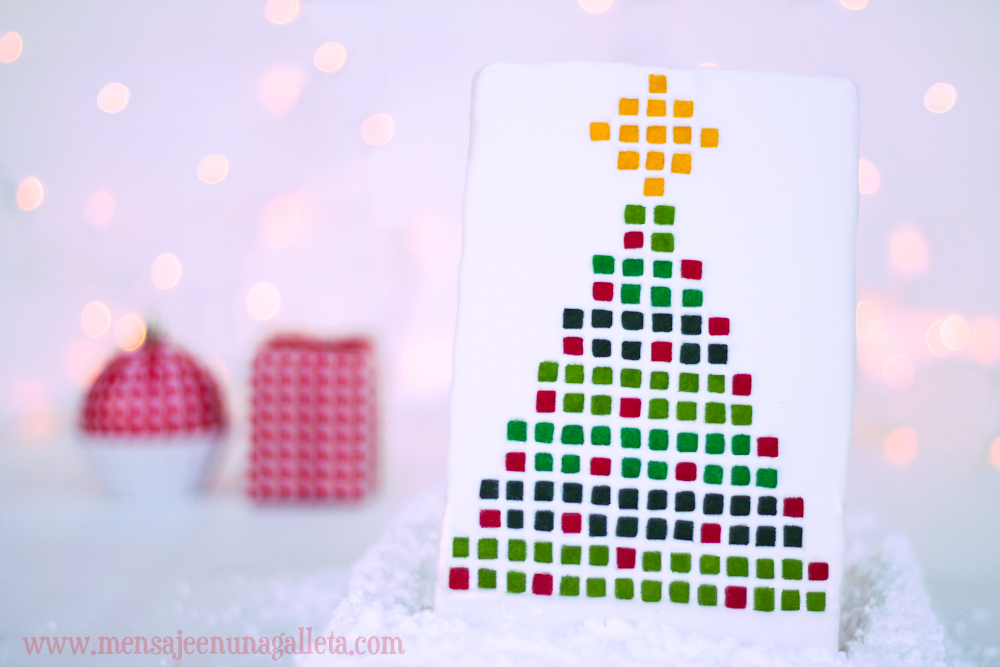
Y mirad lo mono que me quedó el arbolito a juego:
Un beso,
Estíbaliz
P.D.: Muchas gracias, Gloria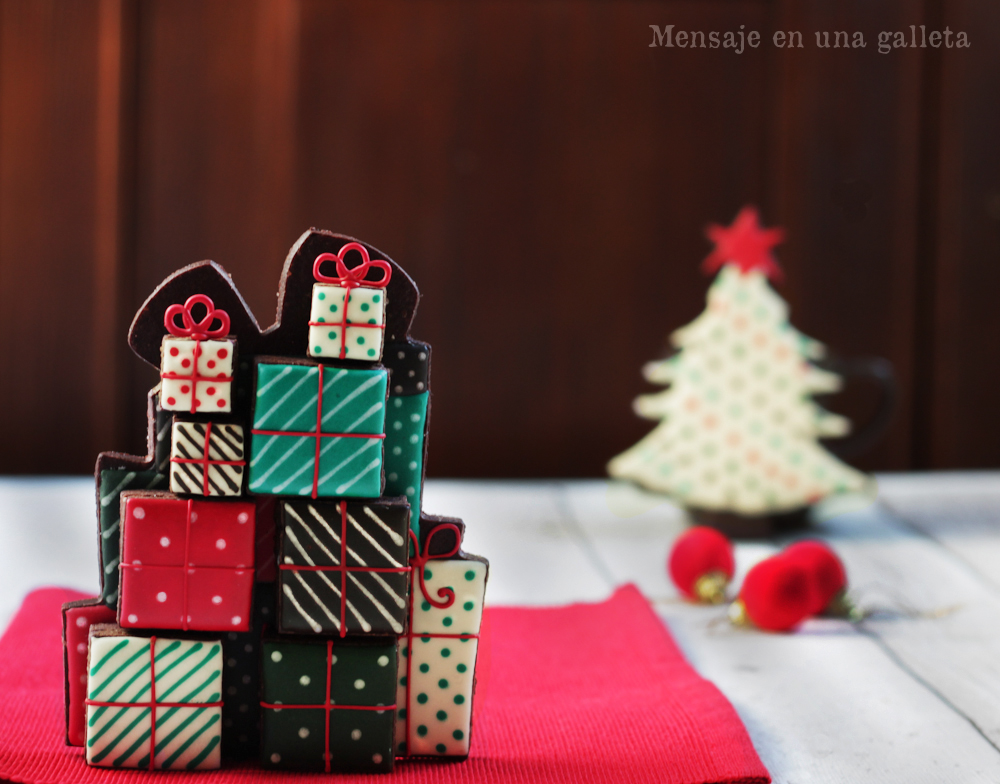
Or how to make a mountain of cookies that look like little presents. Very easy. First we need to get a hold of a cutter in the shape of a tower of presents (this giant one was a pressie from Bea de www.enjuliana.com). If you can’t, another option is to make a rectangular cookie of the size you need. You also have to cut big an small square cookies. Once everything has been baked, you start by glueing the squares with a bit of royal icing until you get the desired thickness. You can glue two, or three, or none.
Then I had two new dilemmas: should I glue it all and decorate, or decorate first and then glue? I just had to ask Miriam: first I had to decorate and then glue. Yes, sooooo much easier that way.
I was very excited about the idea of covering all the squares with royal icing and decorating them using the wet on wet technique to give it more realism. But it wasn’t a good idea because the icing from the sides ruined the decorations and it all ended up being a real mess. Now you’re warned. Another doubt that was cleared: wet on wet decorations would only go on top. Things were getting easier by the minute.
While I had all my squares covered in royal icing and drying, I started to decorate the background for the cookie presents, also using royal icing.
By the way, I haven’t told you that I felt in love with the vintage Christmas palette color that Sonia showed us in her Photoshop course and I tried to reproduce them in RI, with more or less success.
And while everything was drying, I made the transfers for the bows. When they were dry, I glued them to the cookies from above with RI in the same color, letting them rest on some bag pins from Ikea so they could ‘weld’ properly.
And look how pretty was the tree that I made matching the cookies:
Love,
Estíbaliz
P.S.: Thank you very much, Gloria
