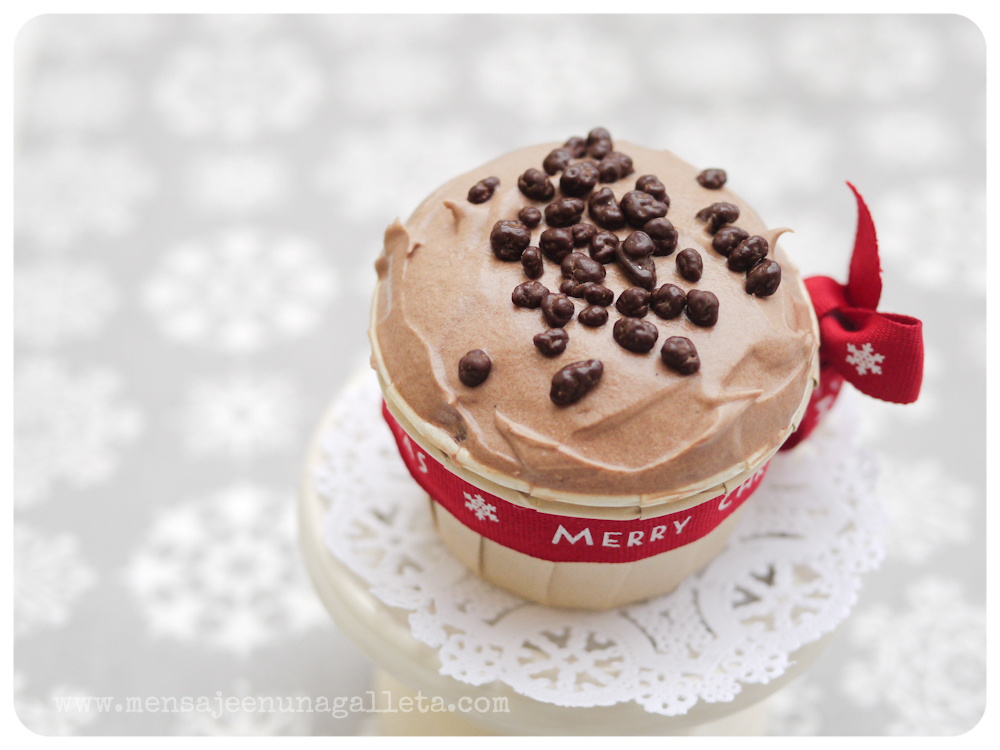
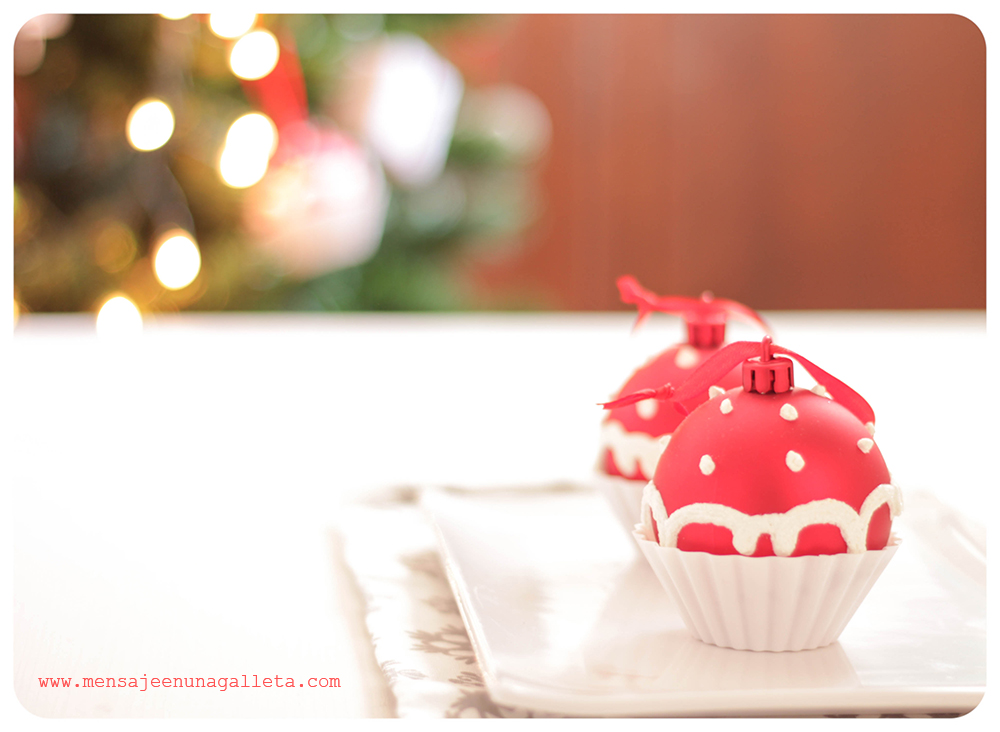
Vamos a olvidarnos de la cinta roja.

uno

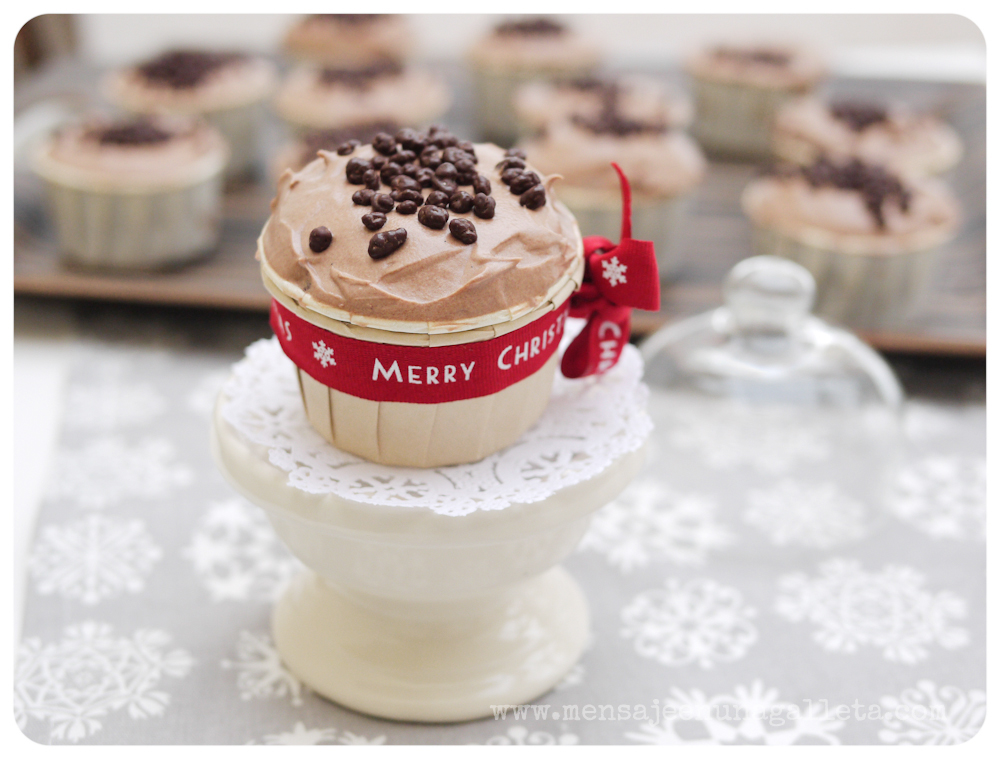
Y a concentrarnos en el frío que hace, porque estos pastelitos especiados de calabaza y chocolate son perfectos para merendar en una tarde como la de hoy acompañados de una bebida caliente.

Y me diréis: ¡pero si la cinta es preciosa!, y lo es, pero hoy les hubiese puesto esta otra.

Y también podríais decirme: ¿y por qué no los llamas cupcakes?. Pues porque pienso en vosotros, imaginaos que alguno sois un famoso bloguero de gustos refinados, al ser cupcakes no podríais probarlos, pero siendo delicados pastelitos especiados, cómo ibais a resistiros.

Esta receta es una adaptación libre de esta otra de Country living. Empezamos por los ingredientes, esta vez son un montón:

• 150 gramos de mantequilla
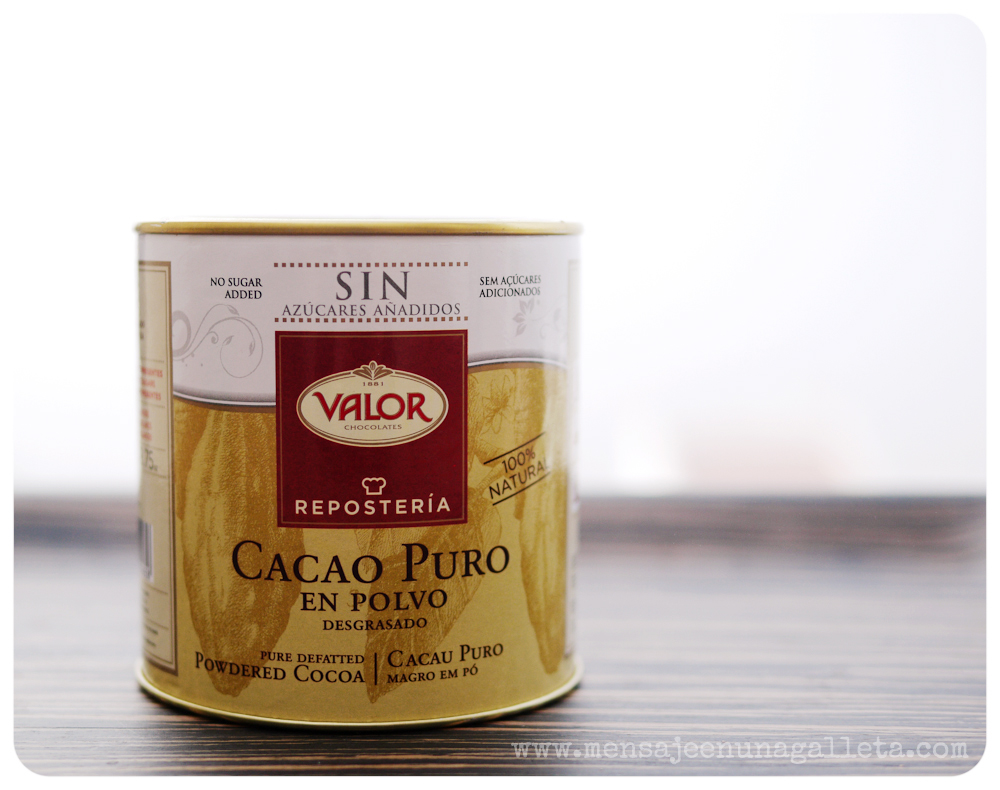
• 60 gramos de cacao puro Valor
• 175 gramos de harina
• 1 cucharita de polvo de hornear
• 1 /2 cucharita de sal
• Canela al gusto
• Nuez moscada al gusto
• Pimienta rosa, efectivamente, al gusto.
• 150 gramos de azúcar moscabado.
• 150 gramos de azúcar normal
• 2 cucharadas de una pasta de vainilla muy buena. (Sí habéis leído bien, dos)
• 125 ml de buttermilk
• 200 gr de puré de calabaza
• 3 huevos pequeños

Para el relleno y la decoración:

• Vuestra crema de chocolate preferida. La mía es de queso, cacao y vainilla.
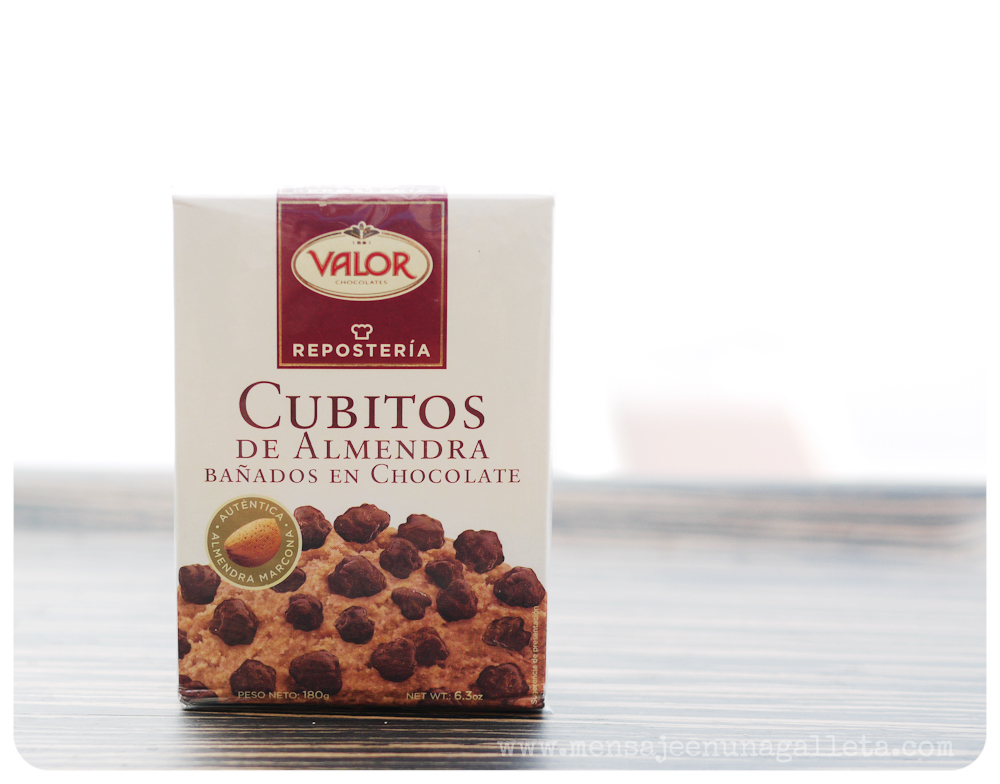
• Cuadraditos de almendra cubiertos de chocolate Valor.

Let’s not pay attention to the red ribbon and concentrate only on the cold weather these days, because these chocolate and pumpkin spiced little cakes are ideal companions with a hot drink.

And I know you will tell me that the ribbon is very beautiful, which it is, but right now I would have used this one.

And you could also ask me why I don’t call them cupcakes, simple: I do think about you guys, and imagine that any of you is a famous blogger with a delicate taste, and you could not try them if they were cupcakes, but being delicate spiced little cakes, how could you resist them?

Let’s start with the ingredients, this time there are plenty of them.
• 150 grams of butter
• 60 grams of Valor pure powdered cocoa
• 175 grams of flour
• 1 teaspoon of baking powder
• 1 /2 teaspoon of salt
• Cinnamon to taste
• Nutmeg to taste
• Pink pepper
• 150 grams of muscovite sugar
• 150 grams of granulated sugar
• 2 tablespoons of a very good vanilla paste (yes, you’ve read it correctly, two)
• 125 ml de buttermilk
• 200 gr pumpkin puree
• 3 eggs (S)

For the filling and decoration:

• Your favourite chocolate cream. Mine is made of cream cheese, cocoa and vanilla.
• Chocolate covered almond dices from Valor.

Antes de explicaros la elaboración, que es sencillísima, me gustaría hacer un breve apunte sobre alguno de los ingredientes

Before getting into the elaboration process, which is really easy, a brief note about some of the ingredients

cacaovalor

El cacao puro, es cacao puro, no a la taza. Nosotras siempre usamos Valor porque tiene un precio razonable y buena distribución. En el Mercadona lo tienen, y en Carrefour y en el Corte Inglés….

The pure cocoa is exactly that, pure powdered cocoa, not hot chocolate powder. We always use Valor because of its reasonable price and good distribution. Yes, you can find it in the Mercadona supermarkets.

cubitosalmendra

Los cubitos de almendra cubiertos de chocolate aportan textura y redondean el sabor de la crema de chocolate.

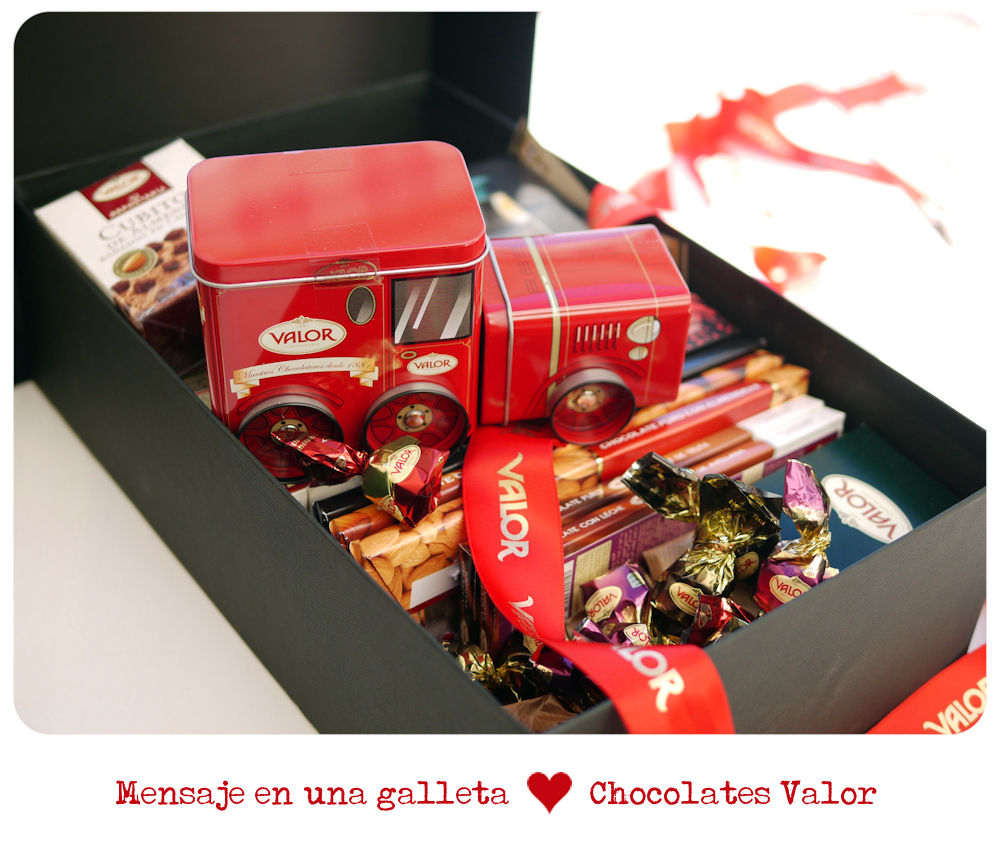
Sé que lo que estáis pensando, parece que a estas tías Valor les mandó una caja por Navidad: ¡Cierto! Pero llevamos años usando y recomendando Valor.

The chocolate covered almond dices give texture and improve the flavour of the chocolate cream:

I know what you’re thinking: ‘it looks as if Valor sent these girls a gift box for Christmas!’

True!

valor

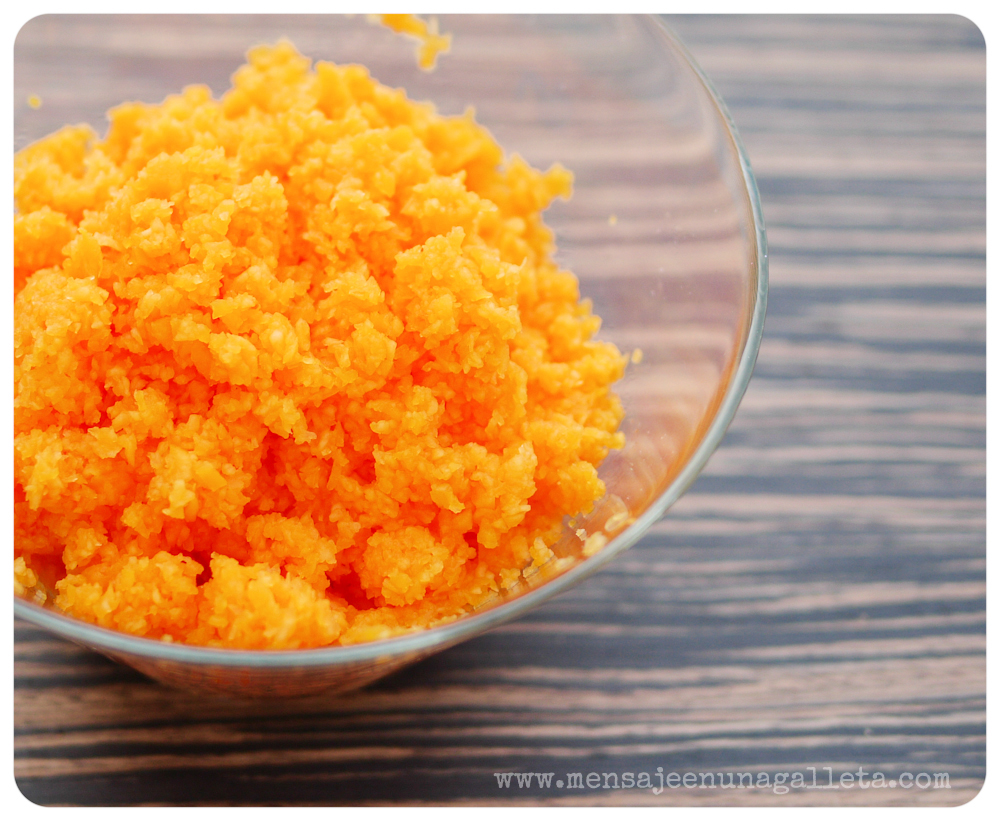
El puré de calabaza en lata sabe fatal, usarlo me parece un pecado. Pelar calabazas no es ni arriesgado, ni complicado. Basta con meter la calabaza unos minutos en el horno para pelarla con gran facilidad. Tres toques de turbo en la thermo y esto es lo que obtenemos:

Canned pumpkin puree tastes awful. Using it is like a sin to me. No, absolutely no. Peeling pumpkins is not risky, or complicated. You just need to leave the pumpkin in the oven for a few minutes and you can peel it easily; then, some turbo kicks in the Thermomix and this is what we will get:

calabaza

Delicioso e instantáneo puré de calabaza.

Y sobre el famoso buttermilk, como siempre, tenemos dos opciones, acercarnos al Lidl más cercano. O echarle unas gotitas de limón a leche y esperar unos minutos a que su aspecto empeore.

Delicious instant pumpkin puree.

And about the famous buttermilk, two options as usual, first one, go to your nearest Lidl supermarket, or add a few lemon juice drops to the milk and wait for a while until its look worse

Vamos con la elaboración: mezclamos la harina, el cacao, el polvo de hornear, la sal y las especias en un bol y reservamos. En otro bol mezclamos la vainilla, el buttermilk y el puré de calabaza. En la thermo, en la KA o en el robot que tengamos batimos la mantequilla con el azúcar hasta que la mezcla esté esponjosa, a continuación añadimos los huevos de uno en uno y batimos hasta que se integren completamente. A esta mezcla le añadimos, en varias veces y por turnos, el contenido que teníamos en los dos boles.

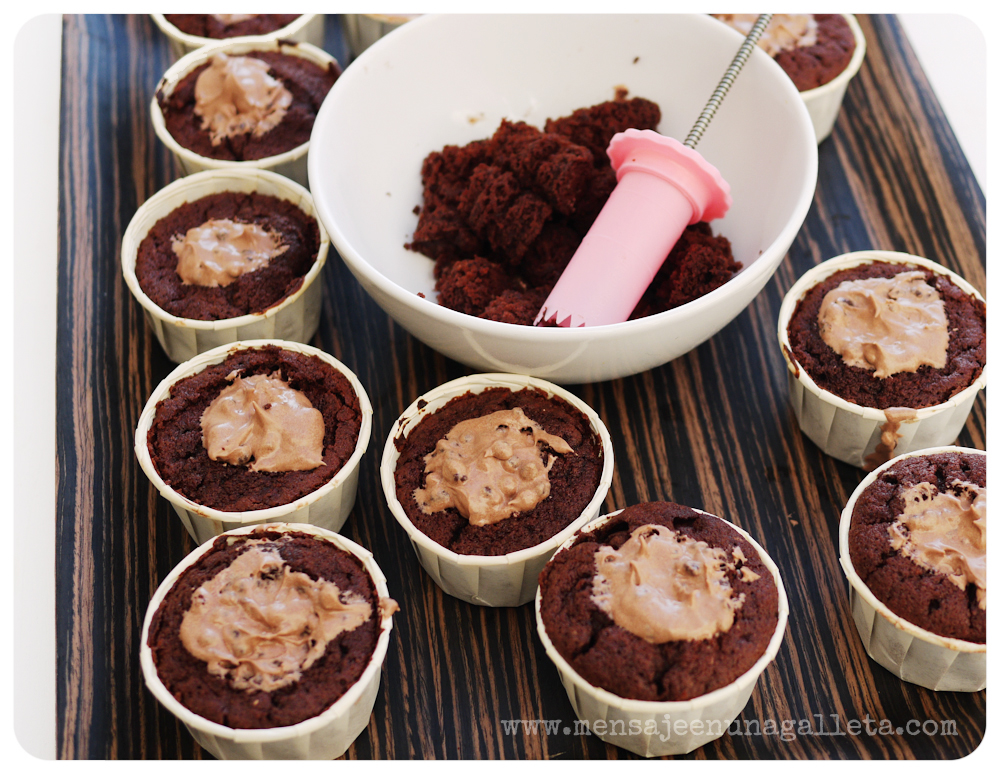
Llenamos los papelitos de los cupcakes, digo de los pastelitos, dos terceras partes y al horno unos 15 minutos a 180º C. Dejamos que se enfríen, y les arrancamos el corazón, pero eso sí con un bonito vaciador rosa.

Dividimos la crema de chocolate en dos partes y a una de ellas le añadimos generosamente cubitos de almendra. Con ella rellenamos los pastelitos. Con la otra parte de la crema los cubrimos con ayuda de una espátula y los decoramos con más cubitos de almendra.

Elaboration:

Mix the flour, cocoa, baking powder, salt and spices in a bowl and reserve.
In another bowl, mix vanilla, buttermilk and pumpkin puree.

Using the Thermomix, Kitchen Aid or any other kitchen robot we have, we beat butter and sugar until fluffy, then add the eggs one after the other until well integrated. Gradually and in turns, add the content of the two bowls.

Fill the cupcake liners, sorry, the little cake liners 2/3 of their capacity and bake for 15 minutes, 180ºC. Let them cool and then rip out their hearts (te he puesto literalmente arrancar el corazón, ajajja puedes ser más suave y decir remove a piece from the center of the Little cake…yo voto por la wild versión), but using a nice pink corer

Divide the chocolate cream in two portions, adding to one of them the almond dices generously. We will fill the little cakes with it, then cover them with the remaining cream and add more chocolate dices to decorate.

rellenos

¡Probad esta receta! Yo los rellené porque era Nochebuena, pero lo no necesitan. Están buenísimos según salen del horno, el sabor es intenso y la calabaza les da una textura húmeda y agradable, las especias los hacen muy fragantes.

Try this recipe! I filled the cakes because it was Christmas Eve, but they do not need anything else. They are really nice straight out from the oven, they have an intense flavour, pumpkin gives them a nice and moist texture, and spices make them fragrant.

varios

Un beso, Miriam G.

Love, MG.
P.S.: once again… thank you Gloria!

«Holy-wood» Christmas cards


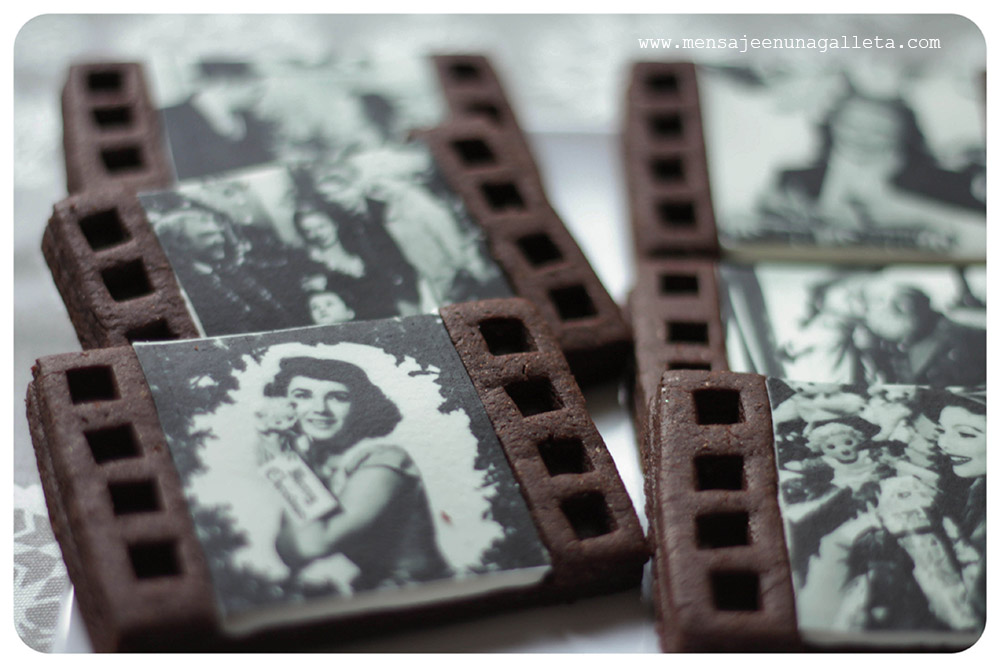
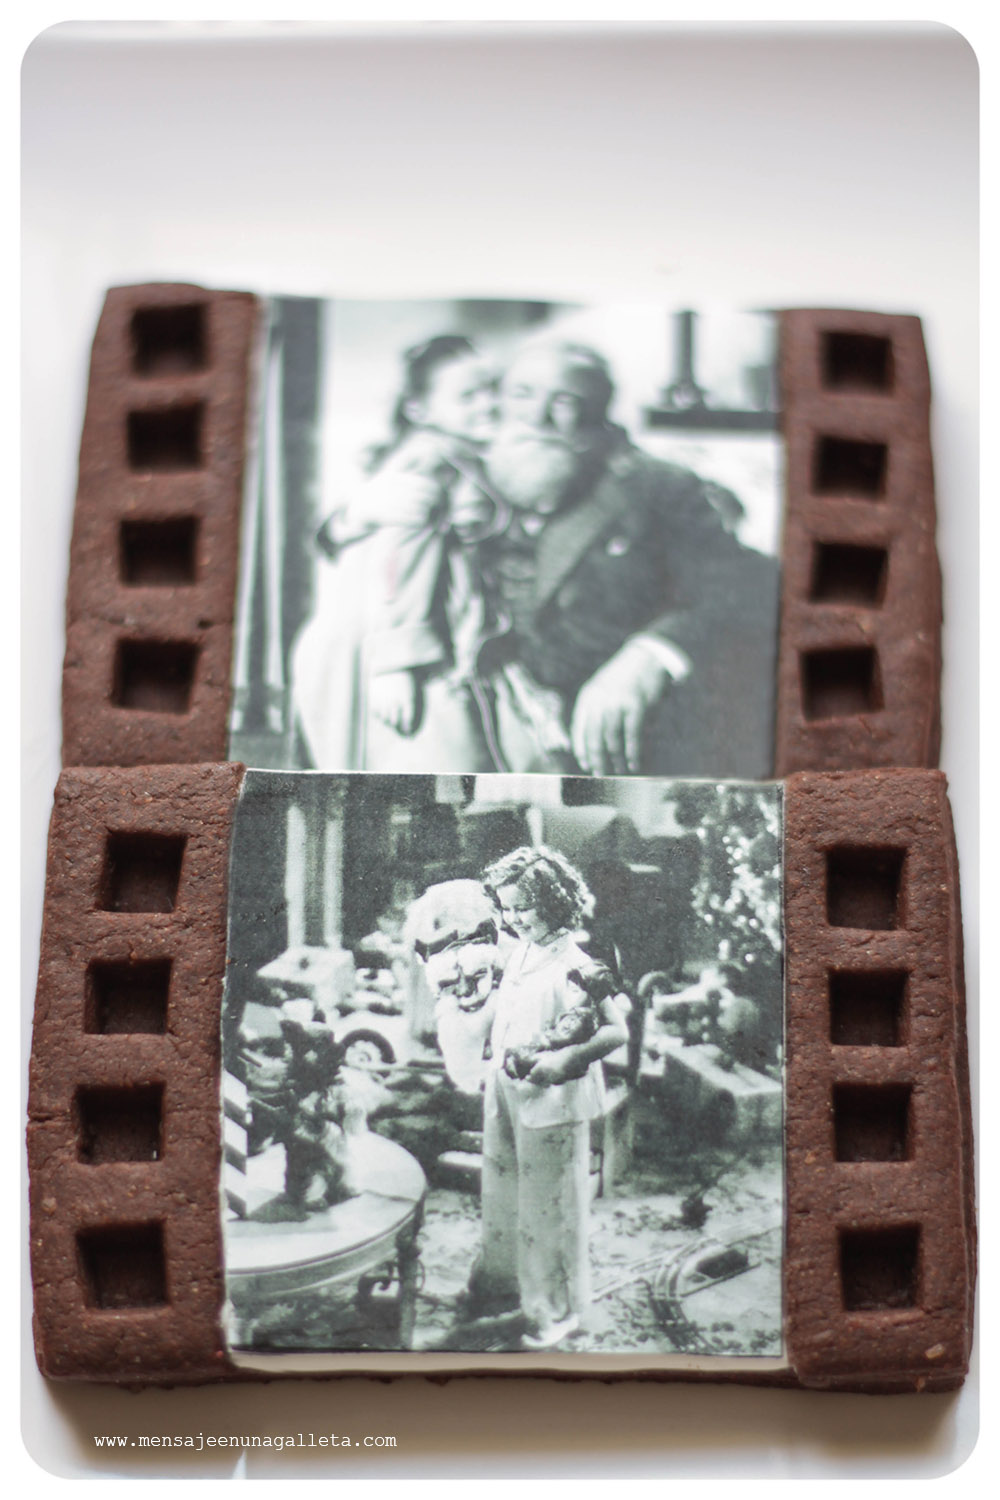
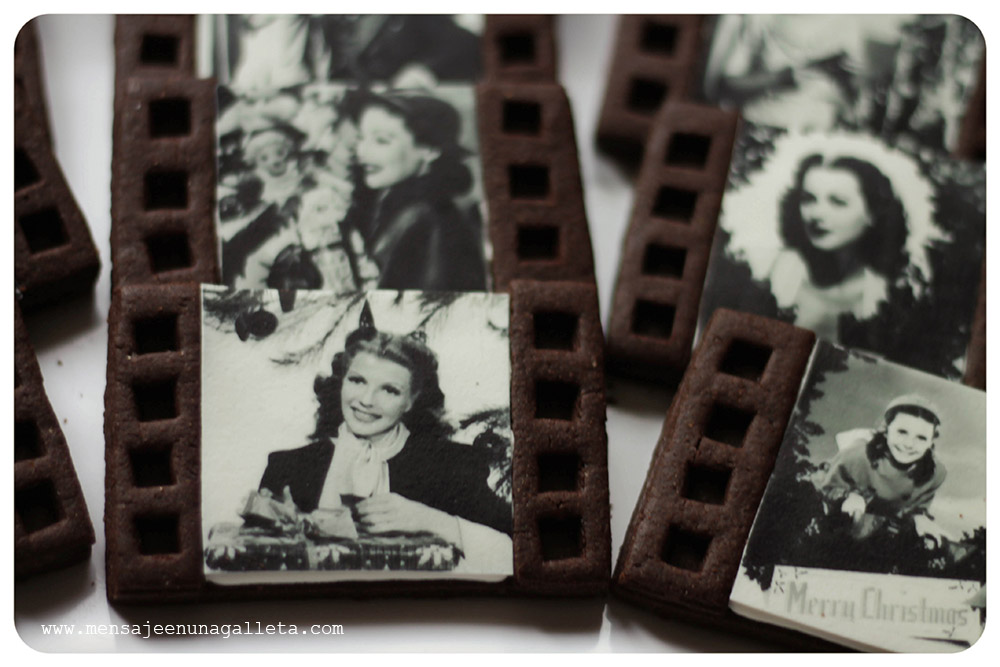
Después de tanto rojo, hemos cambiado de tercio con unas galletas de chocolate de impresión comestible (ya hacía tiempo que no poníamos en funcionamiento la impresora). Como eran con fotos navideñas de actores de Hollywood a Miriam se ocurrió hacer un nuevo diseño para «enmarcar» las fotos, en forma de fotograma.

After all that red, we change the subject to some edible printed chocolate cookies (as we have not used the edible printer for a while). The images to print were Christmas pictures from Hollywood actors, and Miriam thought of a new design to ‘frame’ the cookies, as if they were photograms.

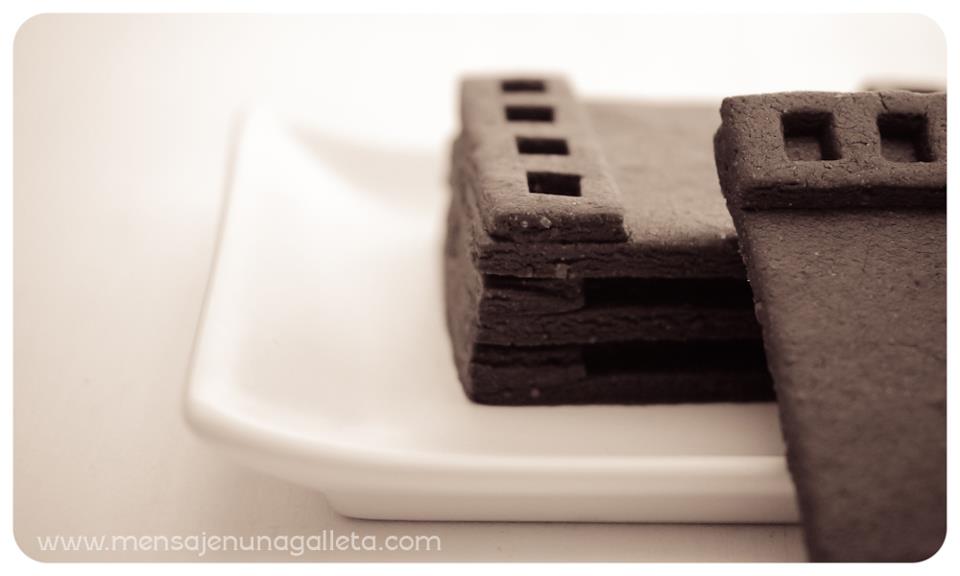
Con un cortador cuadrado pequeñito con expulsor de los de fondant se sacan los cuadrados de unas tiras de masa y se superponen encima del rectángulo grande. Una vez horneado todo el conjunto, se rellena con una capa de glasa y se pega encima la pasta de azúcar con unas gotitas de sirope claro de maíz.

Using a small squared fondant cookie plunger cutter, we take out the squares from a strip of dough and place them on the big rectangle. Once the whole set has been baked, it is filled with a royal icing layer on which we glue the edible printed images using a few drops of light corn syrup.


En este audio podéis oir en la radio a los Cowboys de Medianoche (Luis Herrero, José Luis Garci y Luis Alberto de Cuenca) cómo adivinan los nombres de los actores de las galletas de las postales de Navidad que les mandamos y ¡cómo se las comen! ♥. El momento es a la hora y 21 minutos del programa

Un beso,

Love,

Miriam y Estíbaliz

PS: We love both of you, Gloria and Mª Jesús

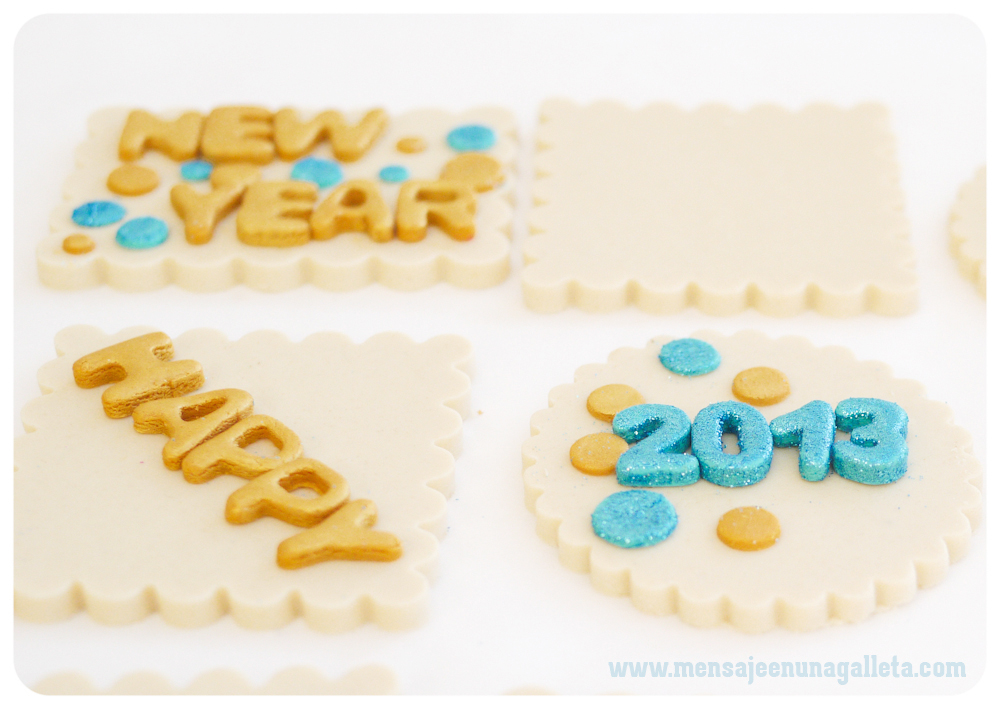
Como conseguir que el 2013 sea un año brillante – How to turn 2013 into a shiny year

Echándole brillantina. 😉

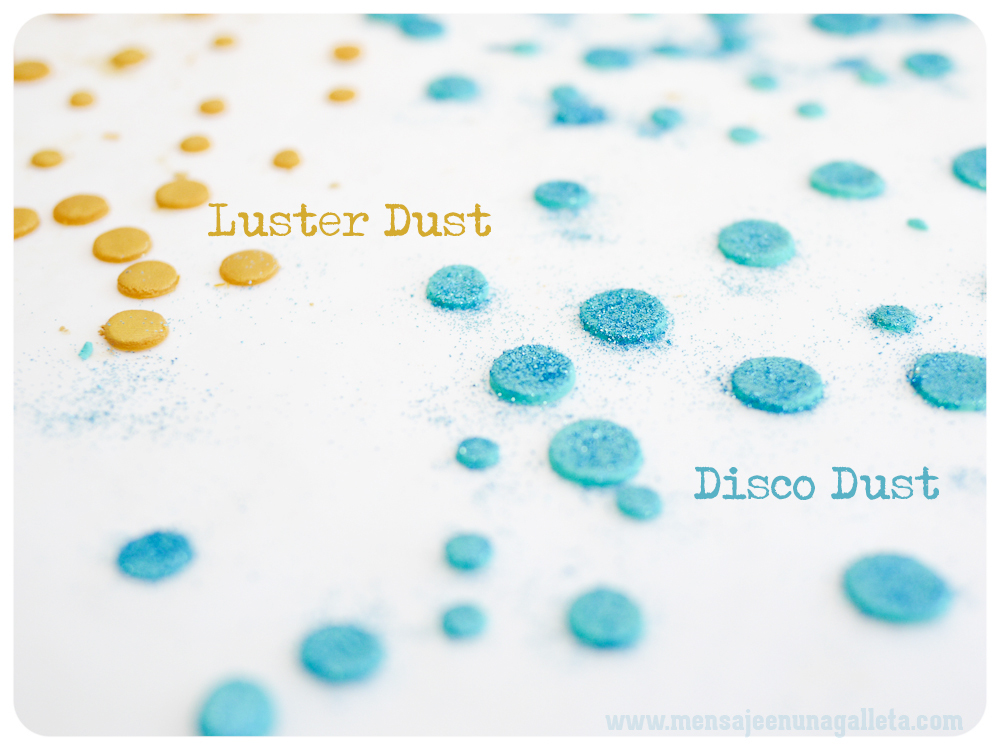
Los polvitos brillantes para repostería los podemos clasificar en dos grandes grupos:

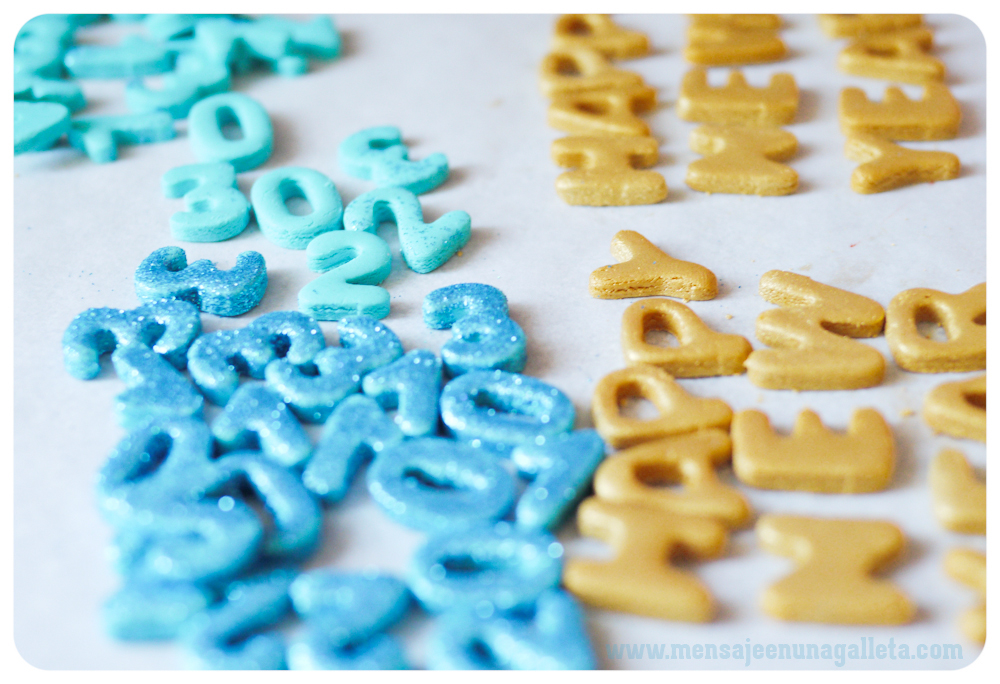
· Brillantina comestible – O para ser exactos no tóxica. Suele venir en botecitos pequeños y en esos botecitos lo que pone es Disco Dust. Para los números y el confeti he utilizado un azul irisado.
· Brillo comestible – Es parecidísimos a la sombra de ojos, pero la presentación es en polvo suelto en lugar de compacto. También vienen en botecitos y lo que suele poner es Luster Dust. •Para las letras y las burbujas de champan (sí, son burbujas de champán) he utilizado un tono arena metálica dorada, no yo no le puesto el nombre.

Adding glitter.

· Edible glitter – or to be exact, non toxic. It comes in small containers reading Disco Lust. For the numbers and confetti I have used an iridescent blue.

· Edible sparkle – it is very similar to an eye shadow, but instead of being compact, it comes in a loose powder format. You will also find it in small containers reading Luster Dust. For the letters and champagne bubbles (yes, they are champagne bubbles) I have used a metallic golden sand shade (sorry, I have not chosen that name).

En la red podéis encontrar muchos tutoriales de diferente calidad, que explican cómo aplicarlos sobre glasa o fondant. Yo os voy a contar como utilizarlos directamente sobre masa de galletas.Lo ideal es que la masa de la galleta sea de un tono parecido al del brillo que vamos a utilizar. Así que teñí parte de la masa de azul como explico aquí. Y otra parte de un color ocre que conseguí mezclando muy poco de marrón con mucho de amarillo huevo.Para aplicar los brillos tenemos que acariciar la galleta con suavidad. Como esto lo hacemos con los dedos y parece que no queda muy bonito meterlos dentro de bote, echamos un poco en un trozo de papel de horno, impregnamos bien el dedo y acariciamos la galleta. Para las brillantinas el proceso es casi el mismo, brillantina al papelito, brillantina al dedo y después en lugar de de caricias golpecitos. Creedme no necesitáis nada más, se pegan.

On the Internet you can find a lot of tutorials of different quality, explaining how to apply them on royal icing or fondant. I am going to tell you how to use them directly on cookie dough.
The ideal is to have a dough in a similar shade of the dust we want to apply. I dyed part of my dough blue as I explain here. And another bit I dyed it ochre mixing a little bit of brown with a lot of egg yellow colour.
To apply the Luster Dust we have to softly caress the cookie. As we do this with our fingers and it does not seem right to stick them in the container, we spread a bit of dust on a sheet of kitchen wax paper, coat a finger properly and then caress the cookie. For the Disco Lust the process is almost the same, spread it on the paper, coat the finger but instead of caressing the cookie, we will go for little taps. Believe me, you will not need anything else, dust will stick to the cookie.

Sí os fijáis, los laterales de las galletas también brillan.
Después sólo tenemos que colocar las galletitas encima de las galletas y al horno. No hace falta ponerles nada a modo de pegamento, en el horno se unirán con el calor.
La brillantina, como todas las madres sabemos, sea del tipo que sea, tiende a ocuparlo todo, así que cuando vayáis a colocar las galletitas que la llevan os recomiendo que lo hagáis con muchísimo cuidado.

If you notice, the sides of the cookies are also shiny.
Afterwards we will just have to place the tiny cookies on top of the cookies and bake them. No glue will be necessary, in the oven they will stick to each other with the heat.
Glitter, whatever type it is, as we all (as mothers) know, tends to cover everything, so I heartily recommend you to place the tiny cookies with extreme care.

¡Feliz 2013!

Happy 2013!

Un beso gordo, Miriam G.

A big fat kiss, Miriam G.

P.S.: once again… thank you Gloria!

Estrellita ¿dónde estás? – Twinkle, twinkle, little star

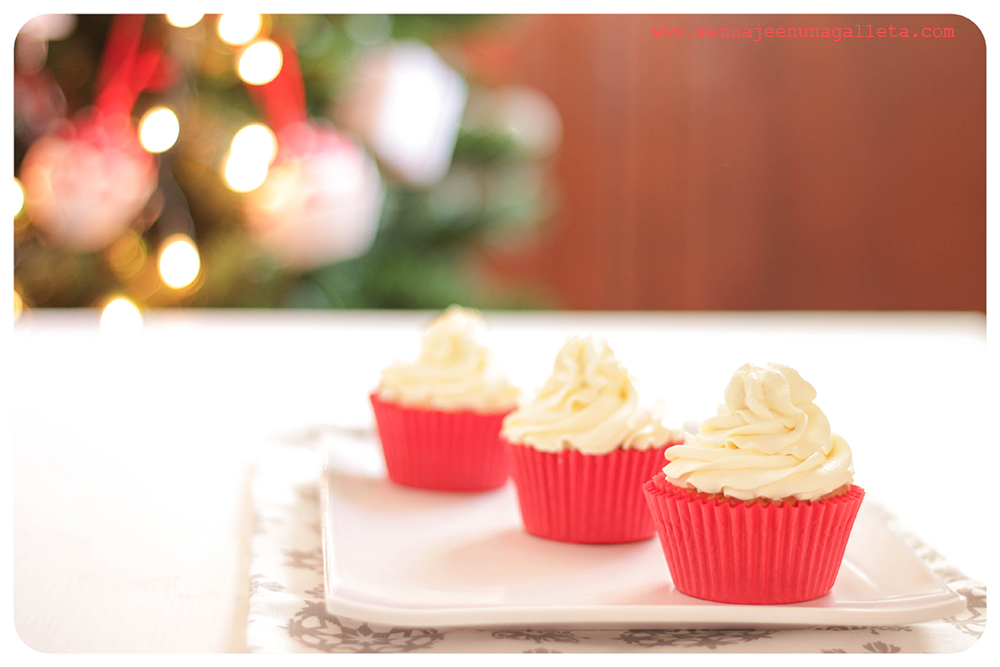
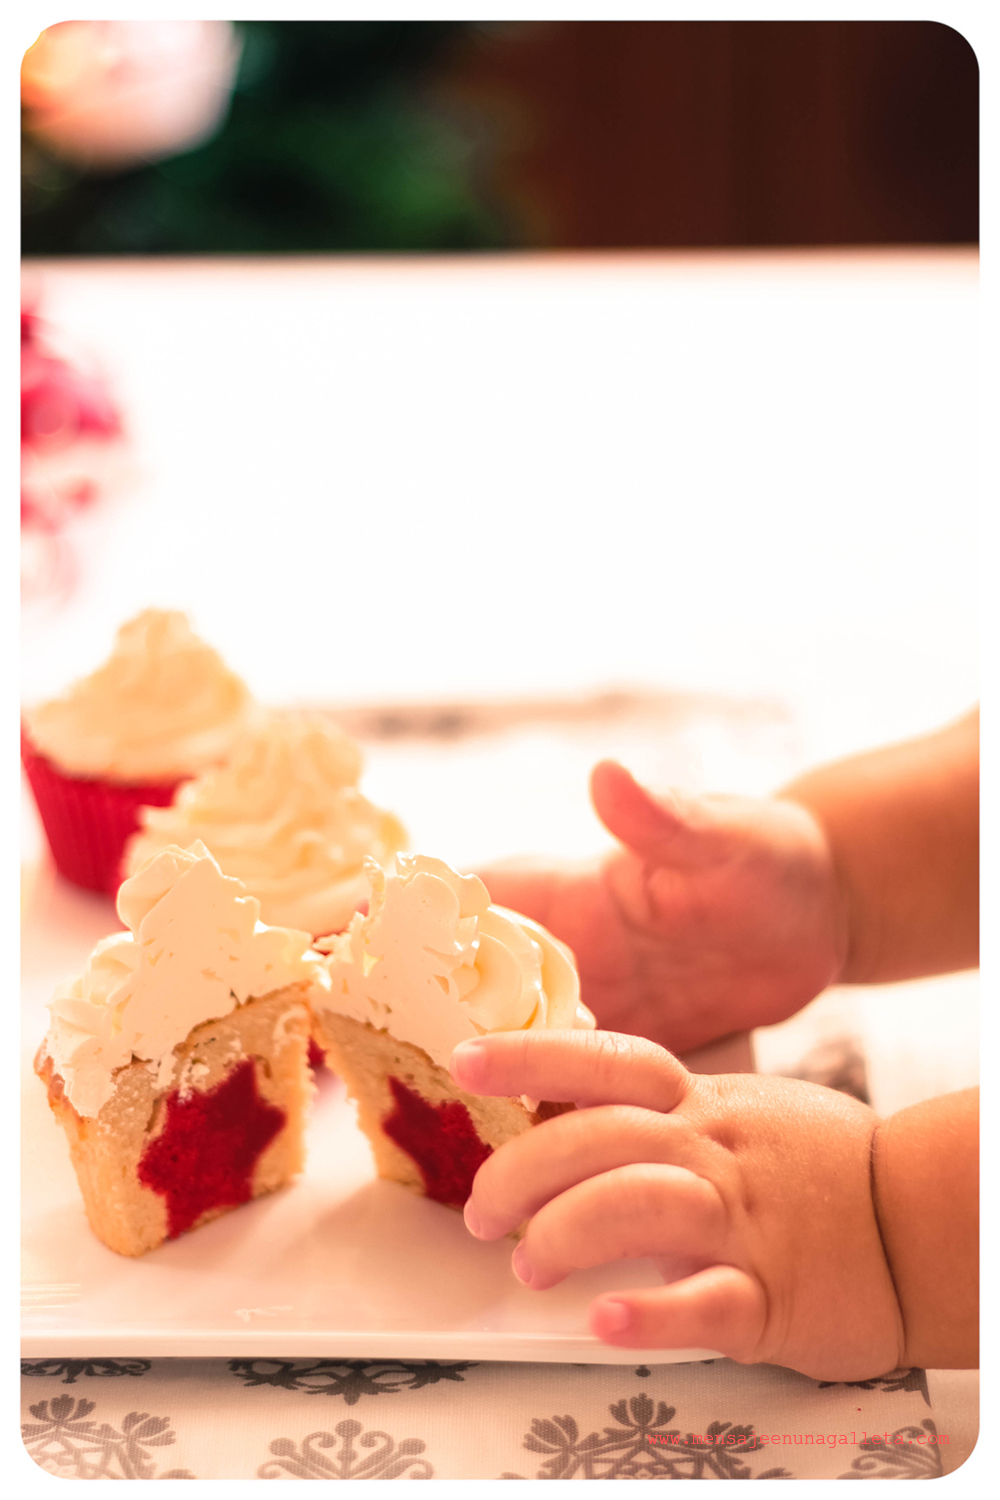
Volvemos al rojo y a las estrellas, es inevitable, estamos en Navidad. Ahora la excusa son unos cupcakes con sorpresa dentro.

Let’s go back to red and stars, it’s inevitable, we’re on Christmas. Now the excuse is some cupcakes with a surprise on the inside.

¡Ay, no! Ésos no eran. Son éstos. Oh no!, Not those…these!:

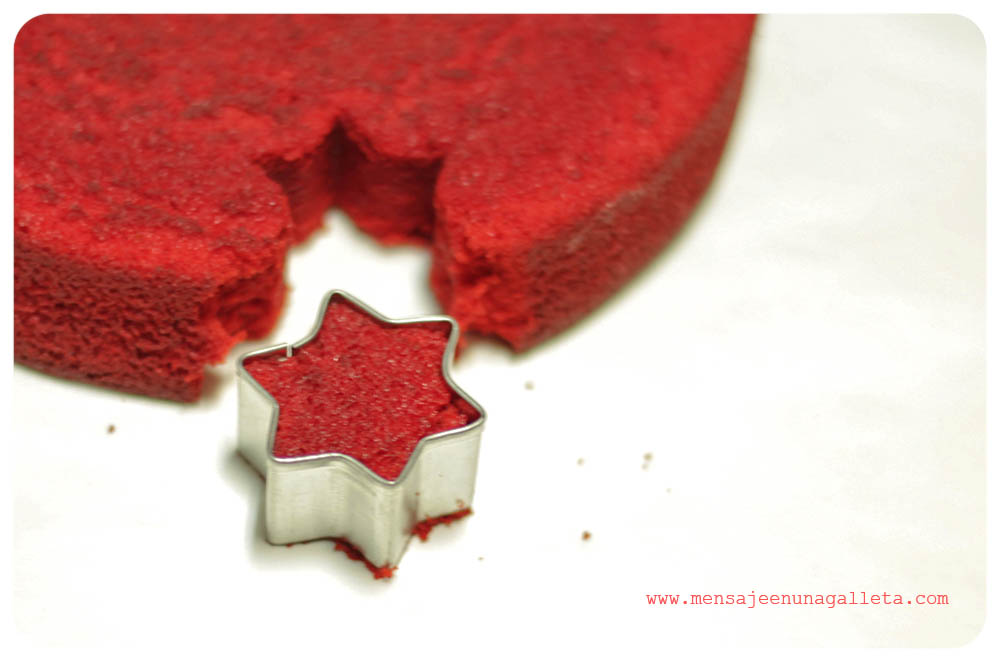
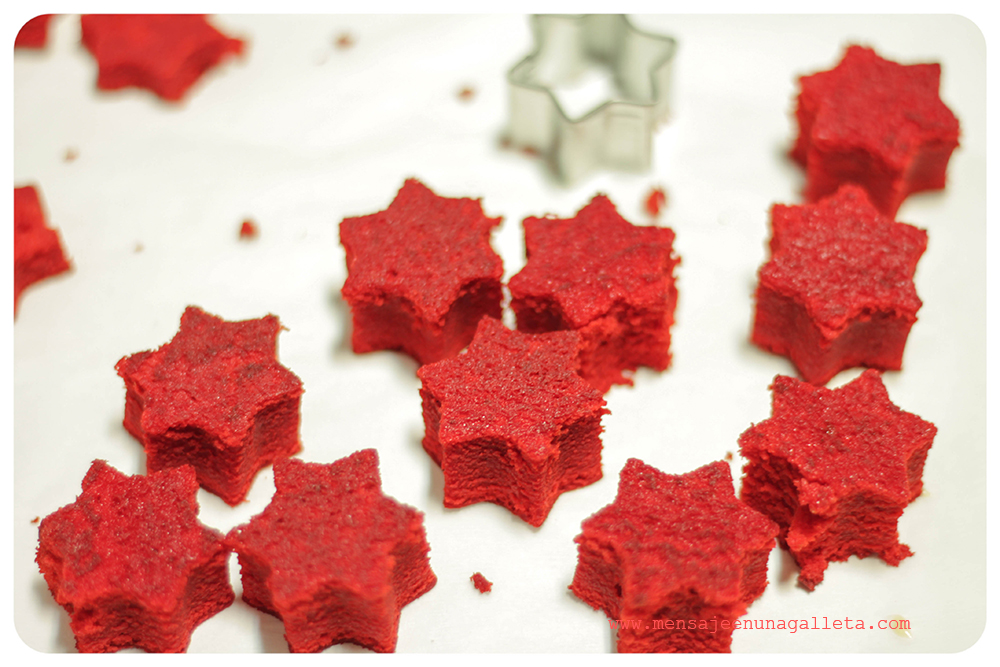
La receta, la habitual. Pero en esta ocasión, reservamos un cuarto de la masa para teñirla de rojo. La horneamos sin aire a 180 grados durante unos 35 ó  40 minutos o hasta que la masa esté cocida dentro de un molde de unos 20 cms de diámetro. No sale un bizcocho de unos 2 cms y medio de alto de forma que cuando cortemos las estrellas, éstas queden gorditas para que aguanten de pie dentro de la cápsula antes de que se cueza el cupcake. Dejamos enfriar y cortamos las estrellas.

Recipe, the usual. But this time we set aside a quarter of the batter to dye it red. We bake it 180°C, no fan, during 35-40 minutes or until the batter is baked inside a 20 cm diameter mold. We will get a cake 2.5 cm tall, therefore when we cut the stars they will be thick enough to stay put into the case before the cupcake is baked. We let the dough cool down and then we cut the stars.

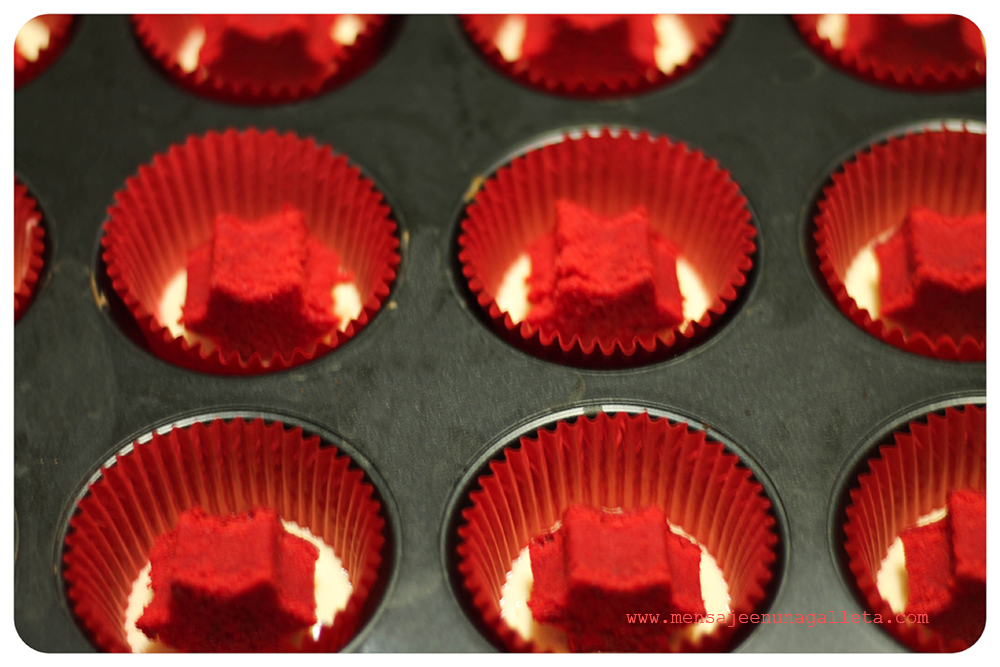
En cada cápsula vertemos un poco de masa y ponemos una estrella de pie. In each cupcake case we put a bit of batter and place a star.

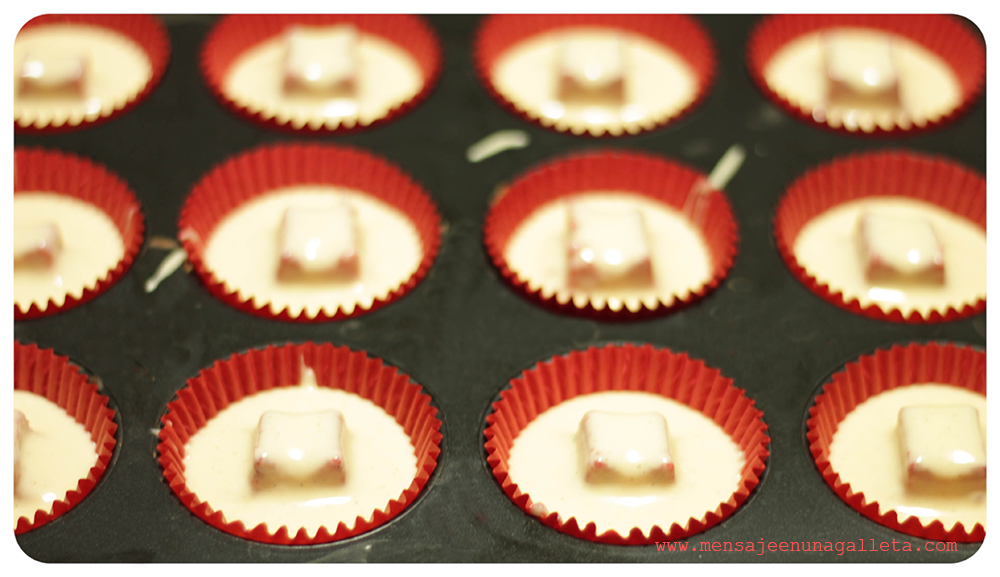
Rellenamos cada cápsula con el resto de masa. We fill up each case with the rest of the batter.

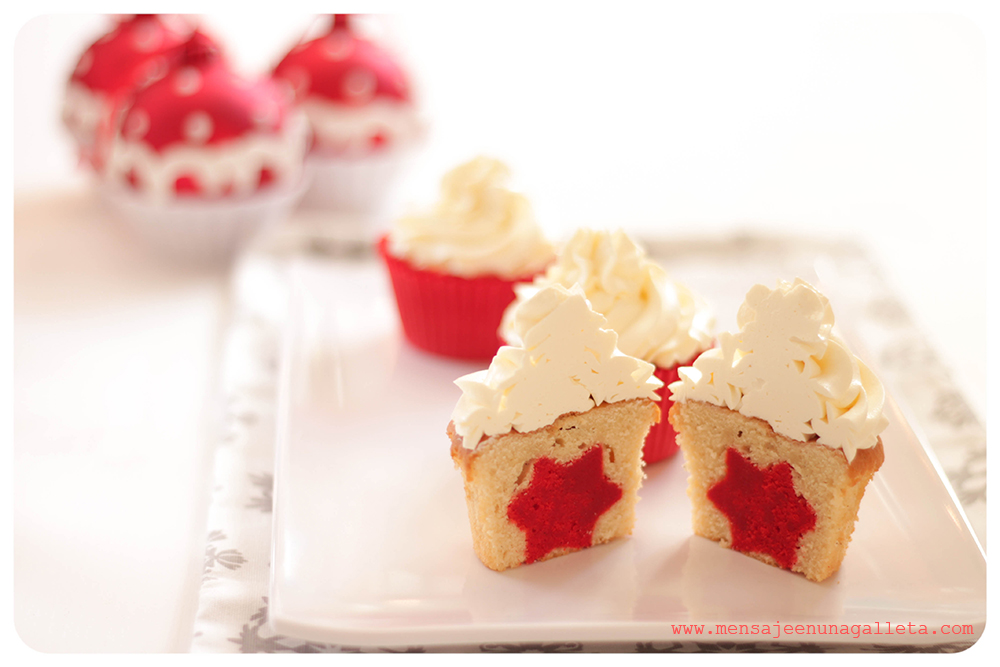
Todo al horno unos 20 minutos o hasta que esté completamente cocida la masa, a 180 grados nuevamente sin aire. Cuando se enfrían cubrimos con un swiss meringue buttercream y ya sólo queda acertar cómo cortar el cupcake de manera que pillemos el perfil bueno de la estrella 😉

It all goes inside the oven, 180°C, no fan again, for about 20 minutes or until the batter is completely baked. When the cupcakes have cooled down, we cover them with Swiss meringue buttercream, and then we only need to guess correctly when we cut the cupcake so we hit the right star section 😉

 Esta Inés es incapaz de aguantarse. Inés, she can’t resist herself!:

Un beso. Love

Estíbaliz

P.S.: once again… thank you Gloria!