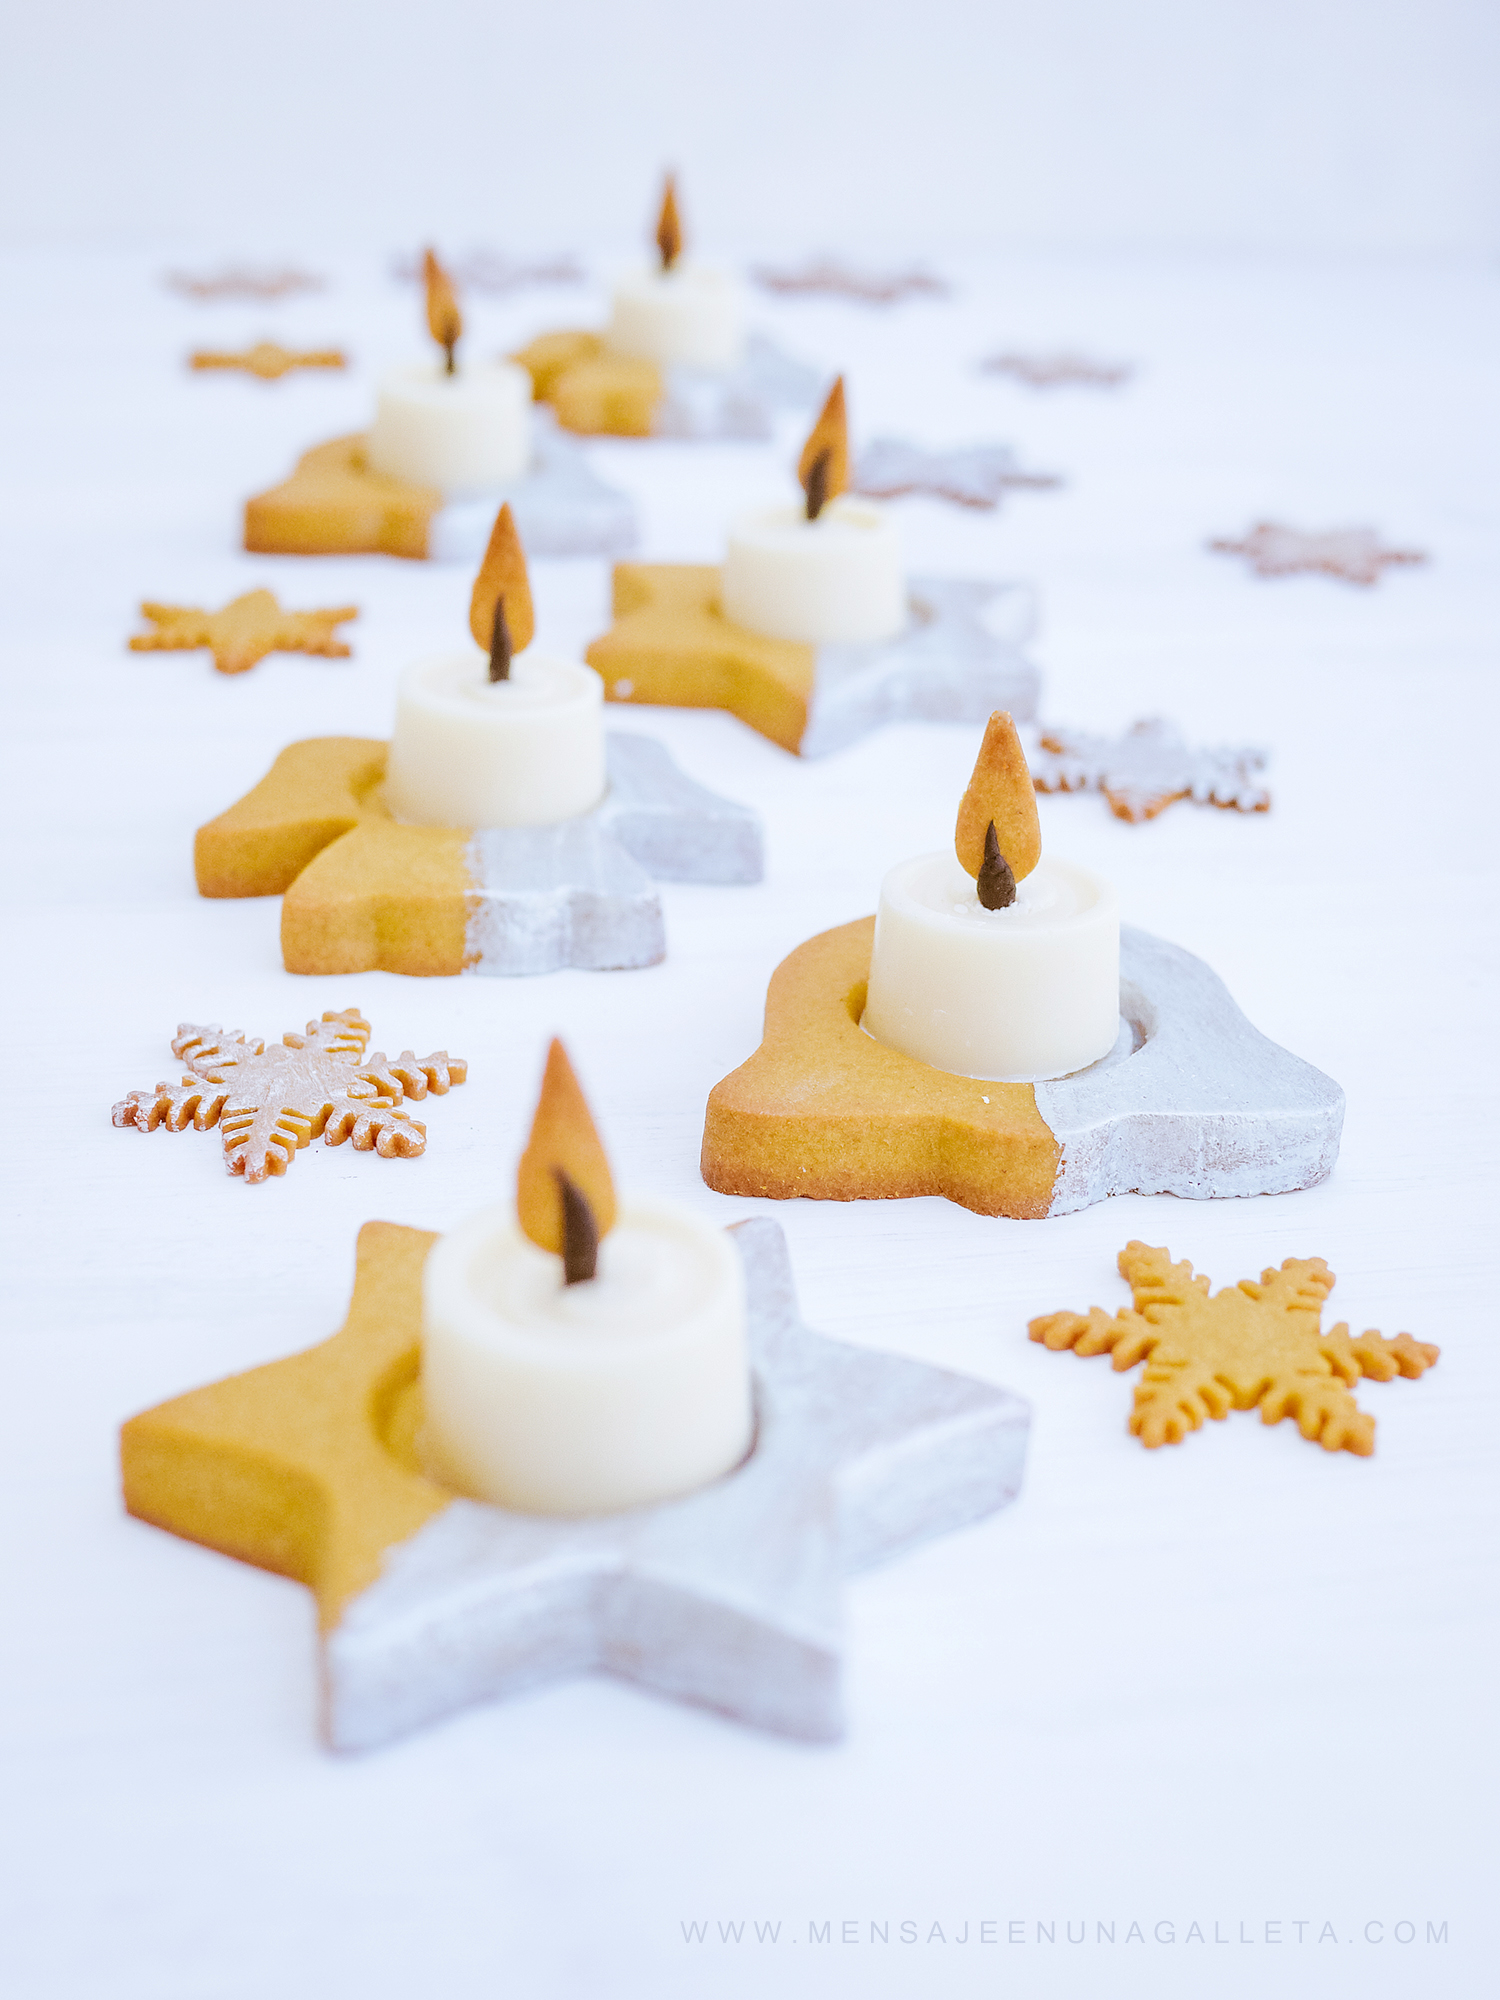
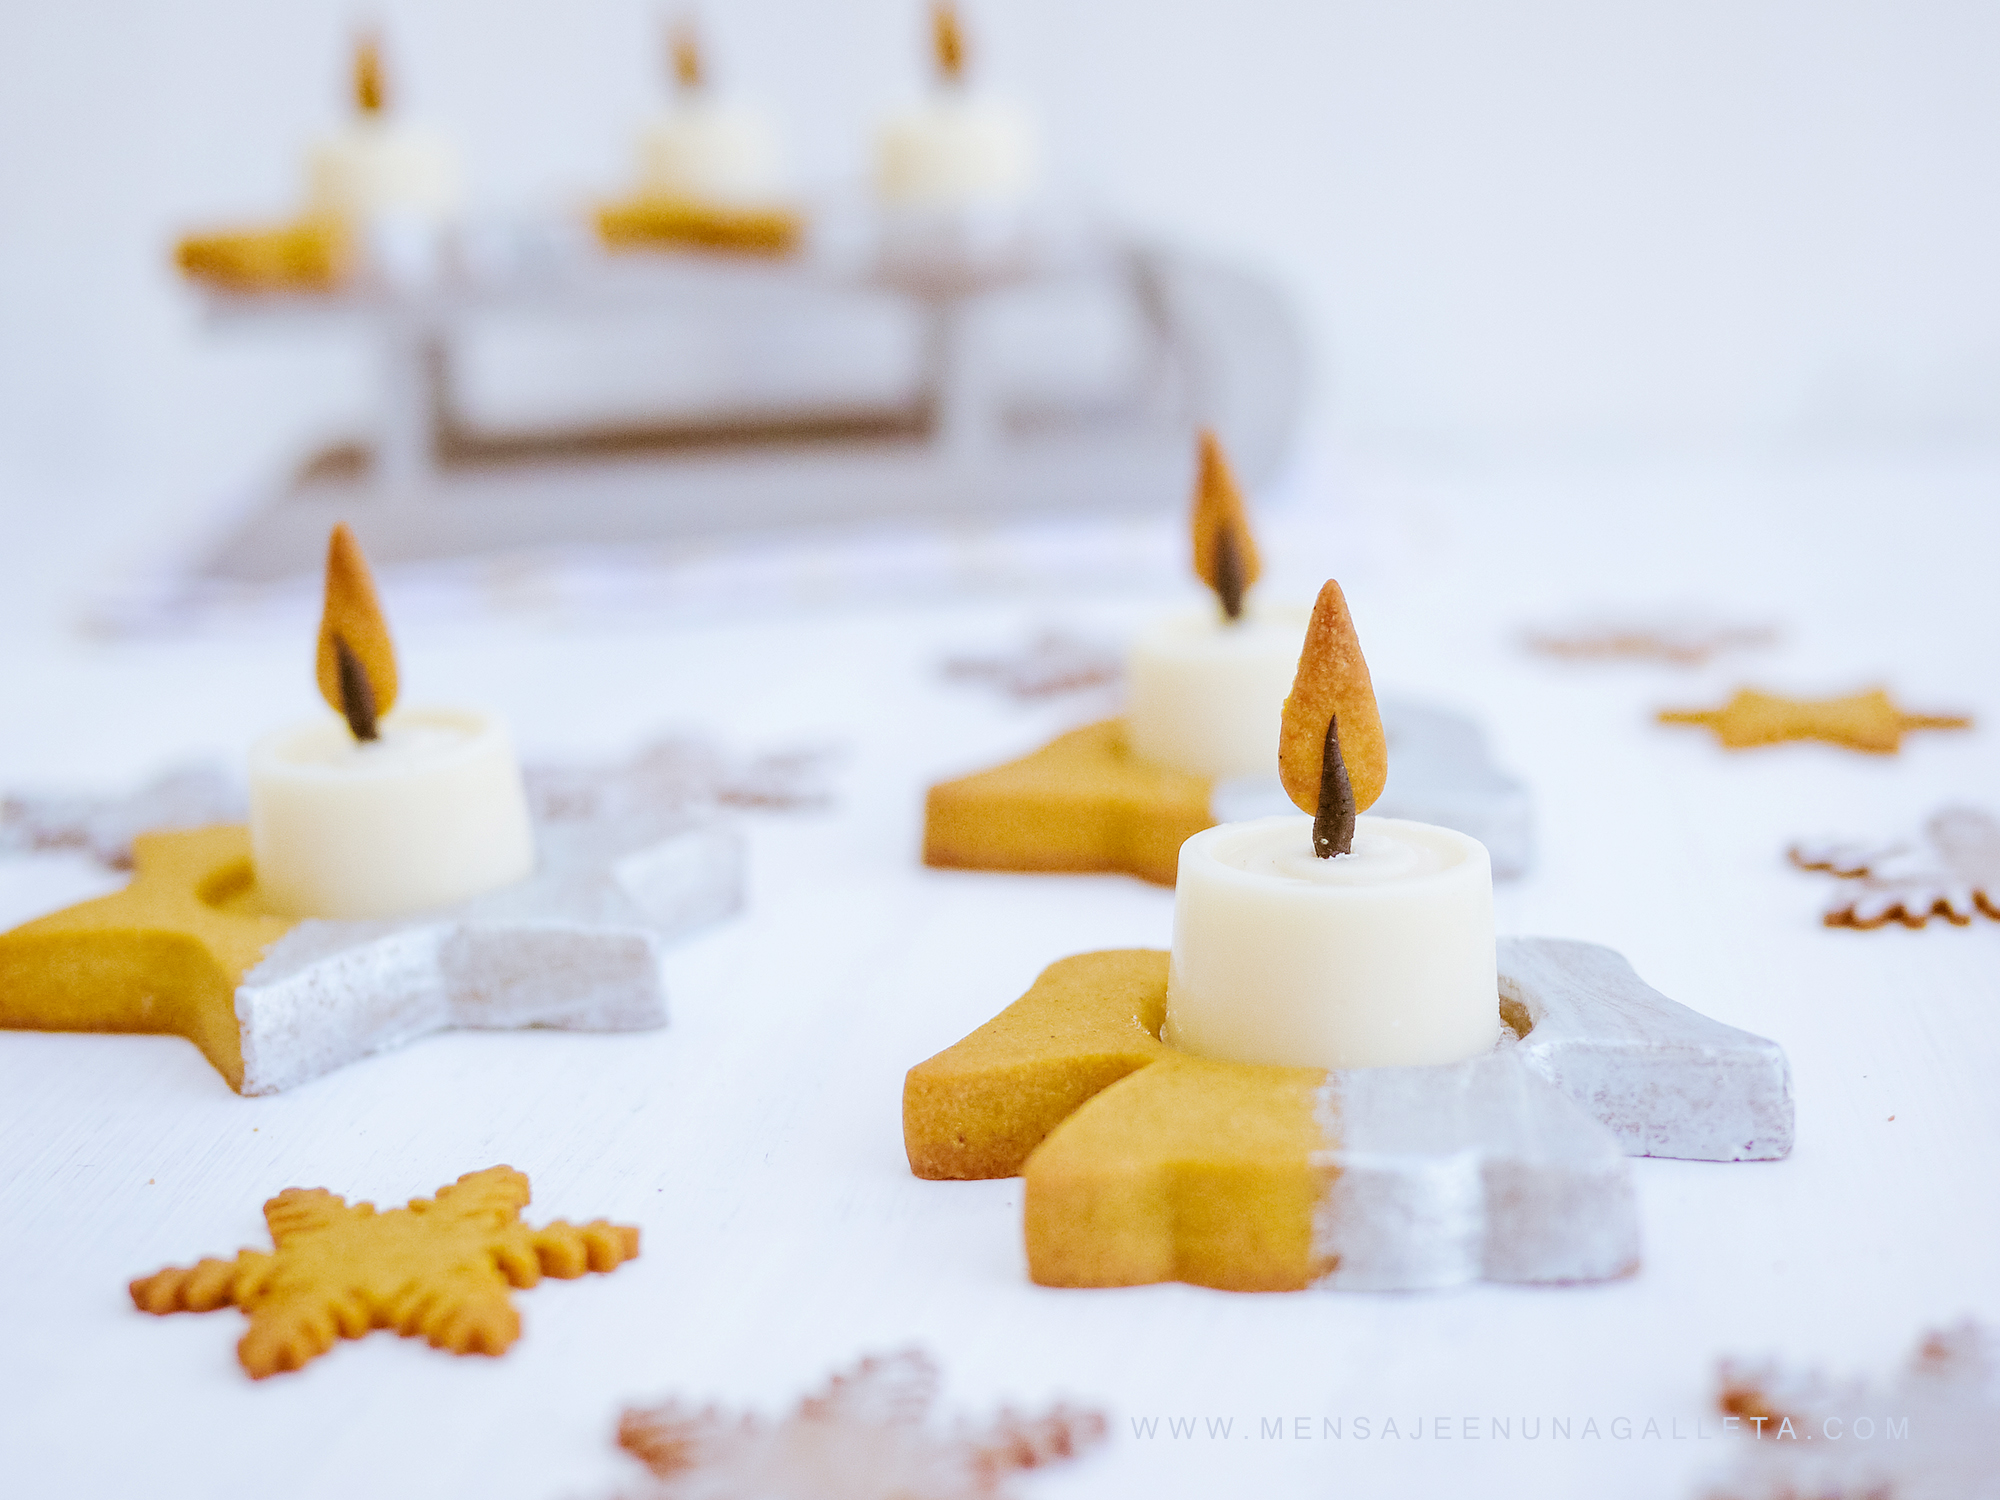
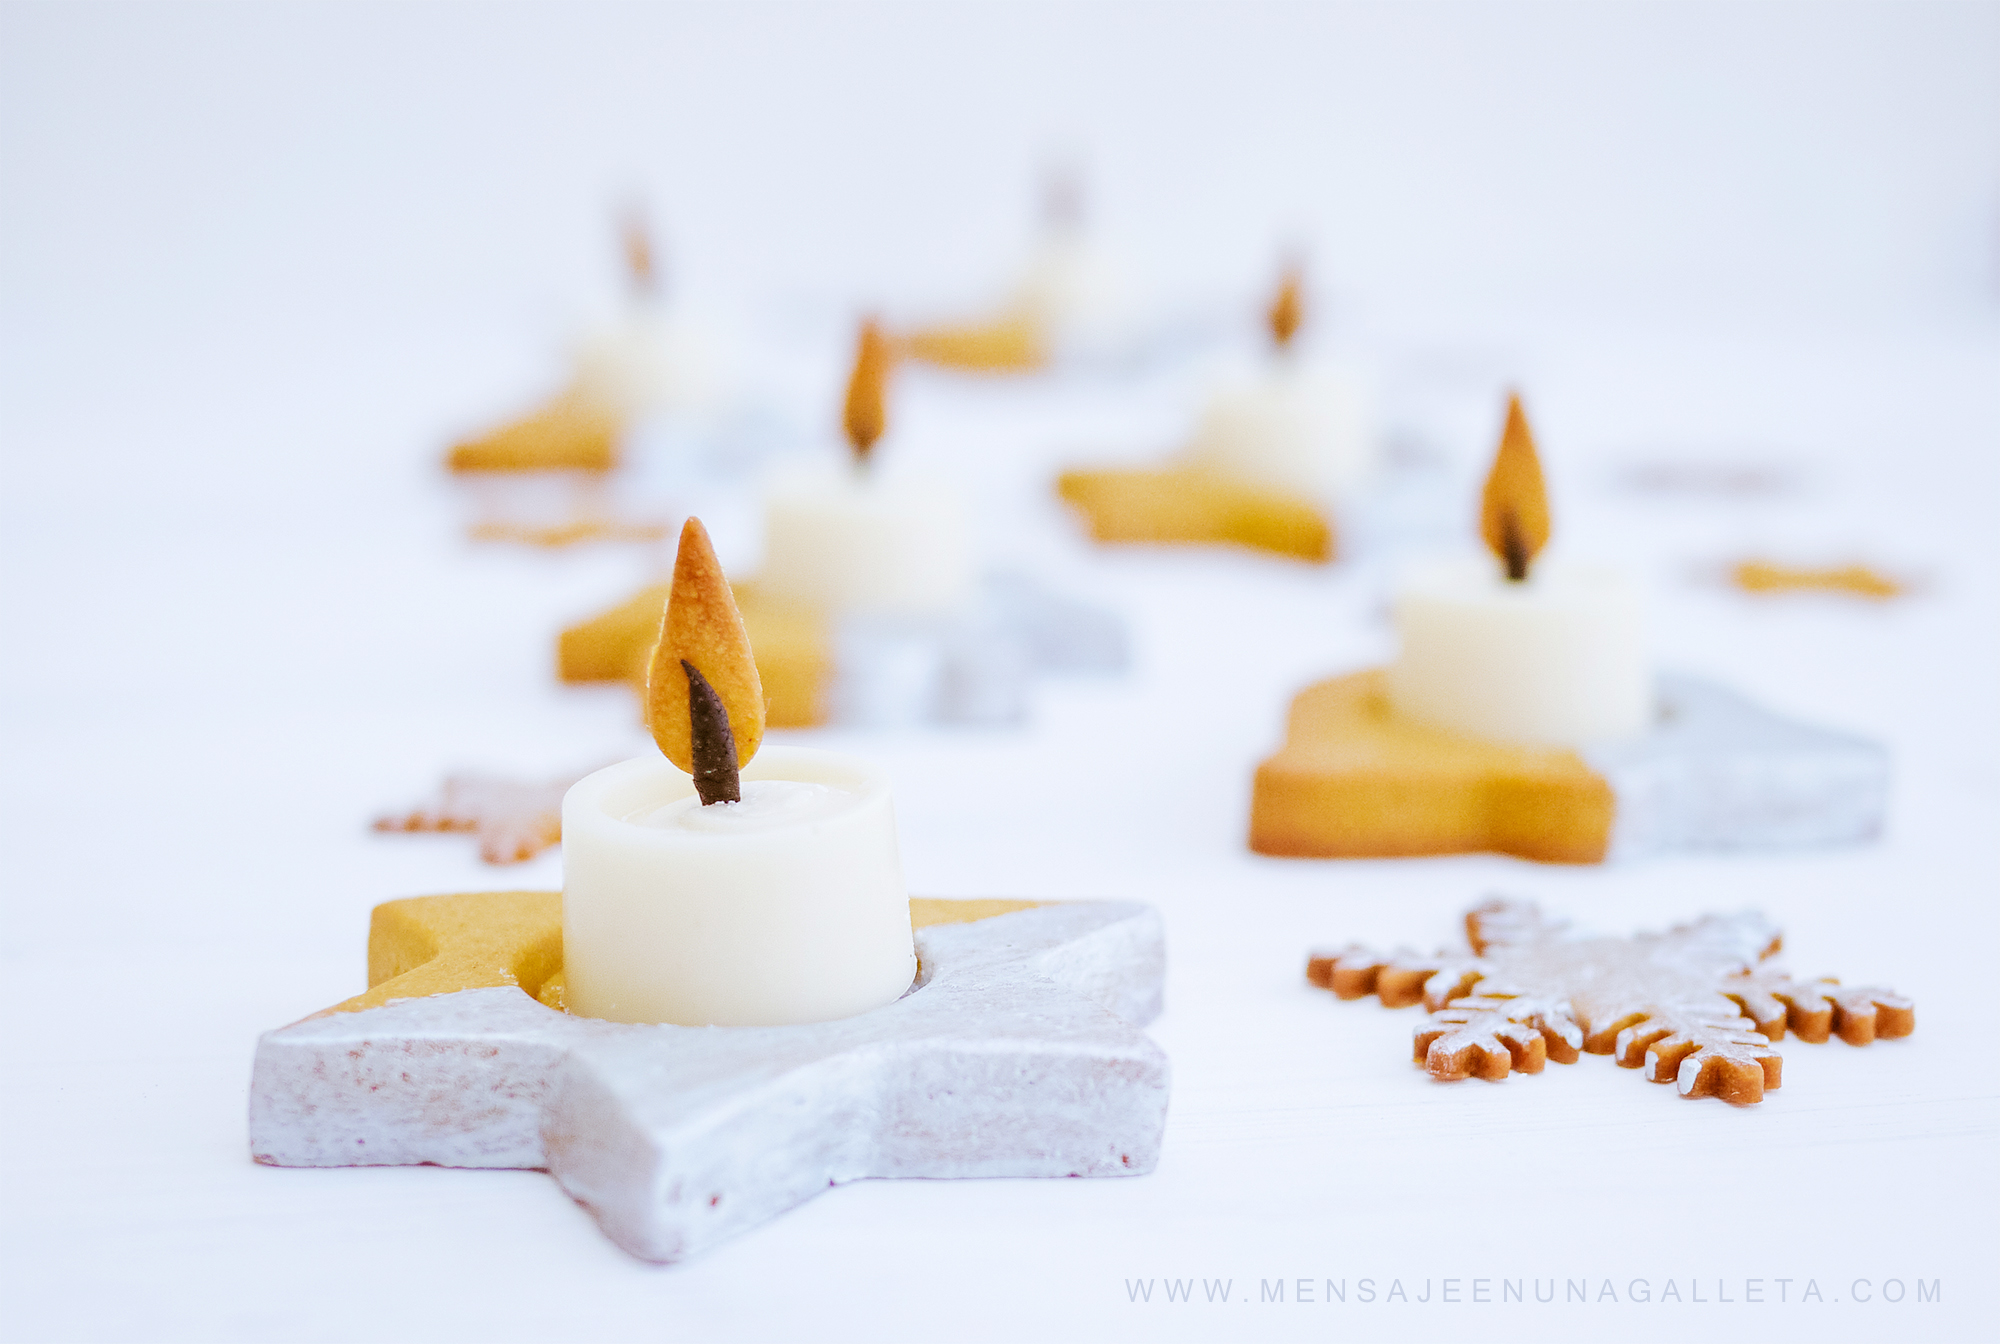
Completamente comestibles porque se come el portavelas, que es una galleta de jengibre (receta pinchando aquí). Se come la vela, que es un bombón de chocolate blanco, y se come la llama que es una galletita de jengibre con mecha de galleta de chocolate.
Me gusta la combinación chocolate blanco y jengibre, es una de esas parejas bien avenidas en las que uno es sencillo y dulce y el otro NO. Y que, precisamente por sus diferencias, juntos funcionan a la perfección. Y además mirad qué monos salen en las fotos.
Paso 1: Los portavelas
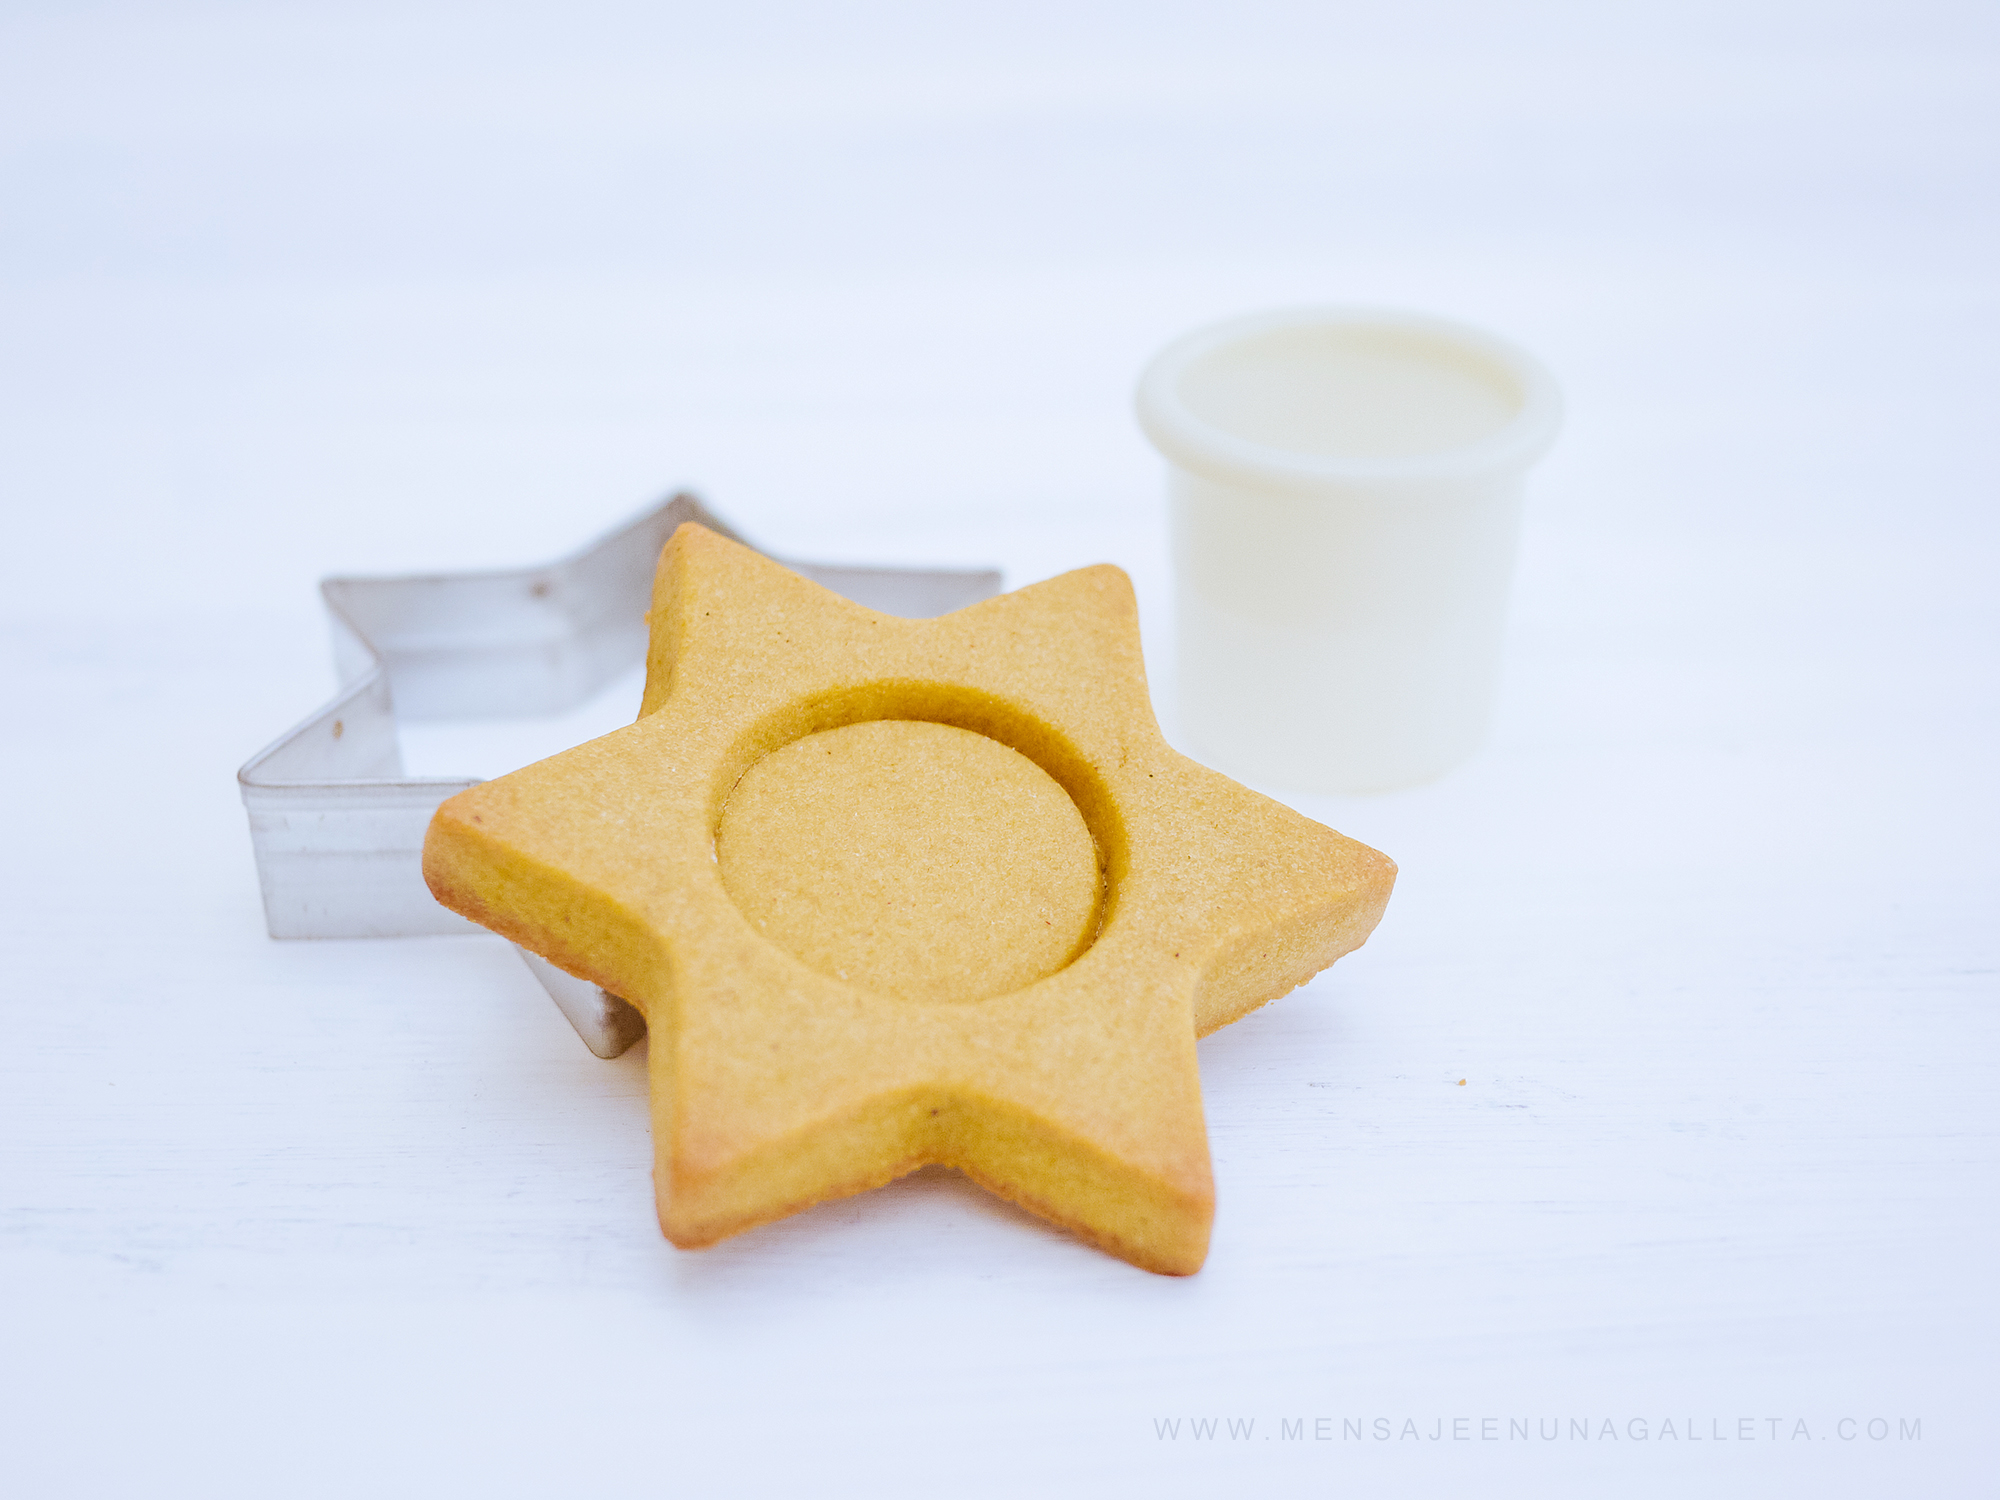
Elegimos tres cortadores navideños de aproximadamente del mismo tamaño, y uno circular más pequeño para hacer el hueco de la vela. Estiramos dos planchas de masa, una de 10mm de grosor y otra de 6mm. Cortamos los portavelas en la plancha de 10mm y círculos en la de 6mm. Vaciamos el centro del portavelas y colocamos en su interior los circulos, que son más bajitos. Horneamos a 180º, el tiempo de horneado dependerá del tamaño.
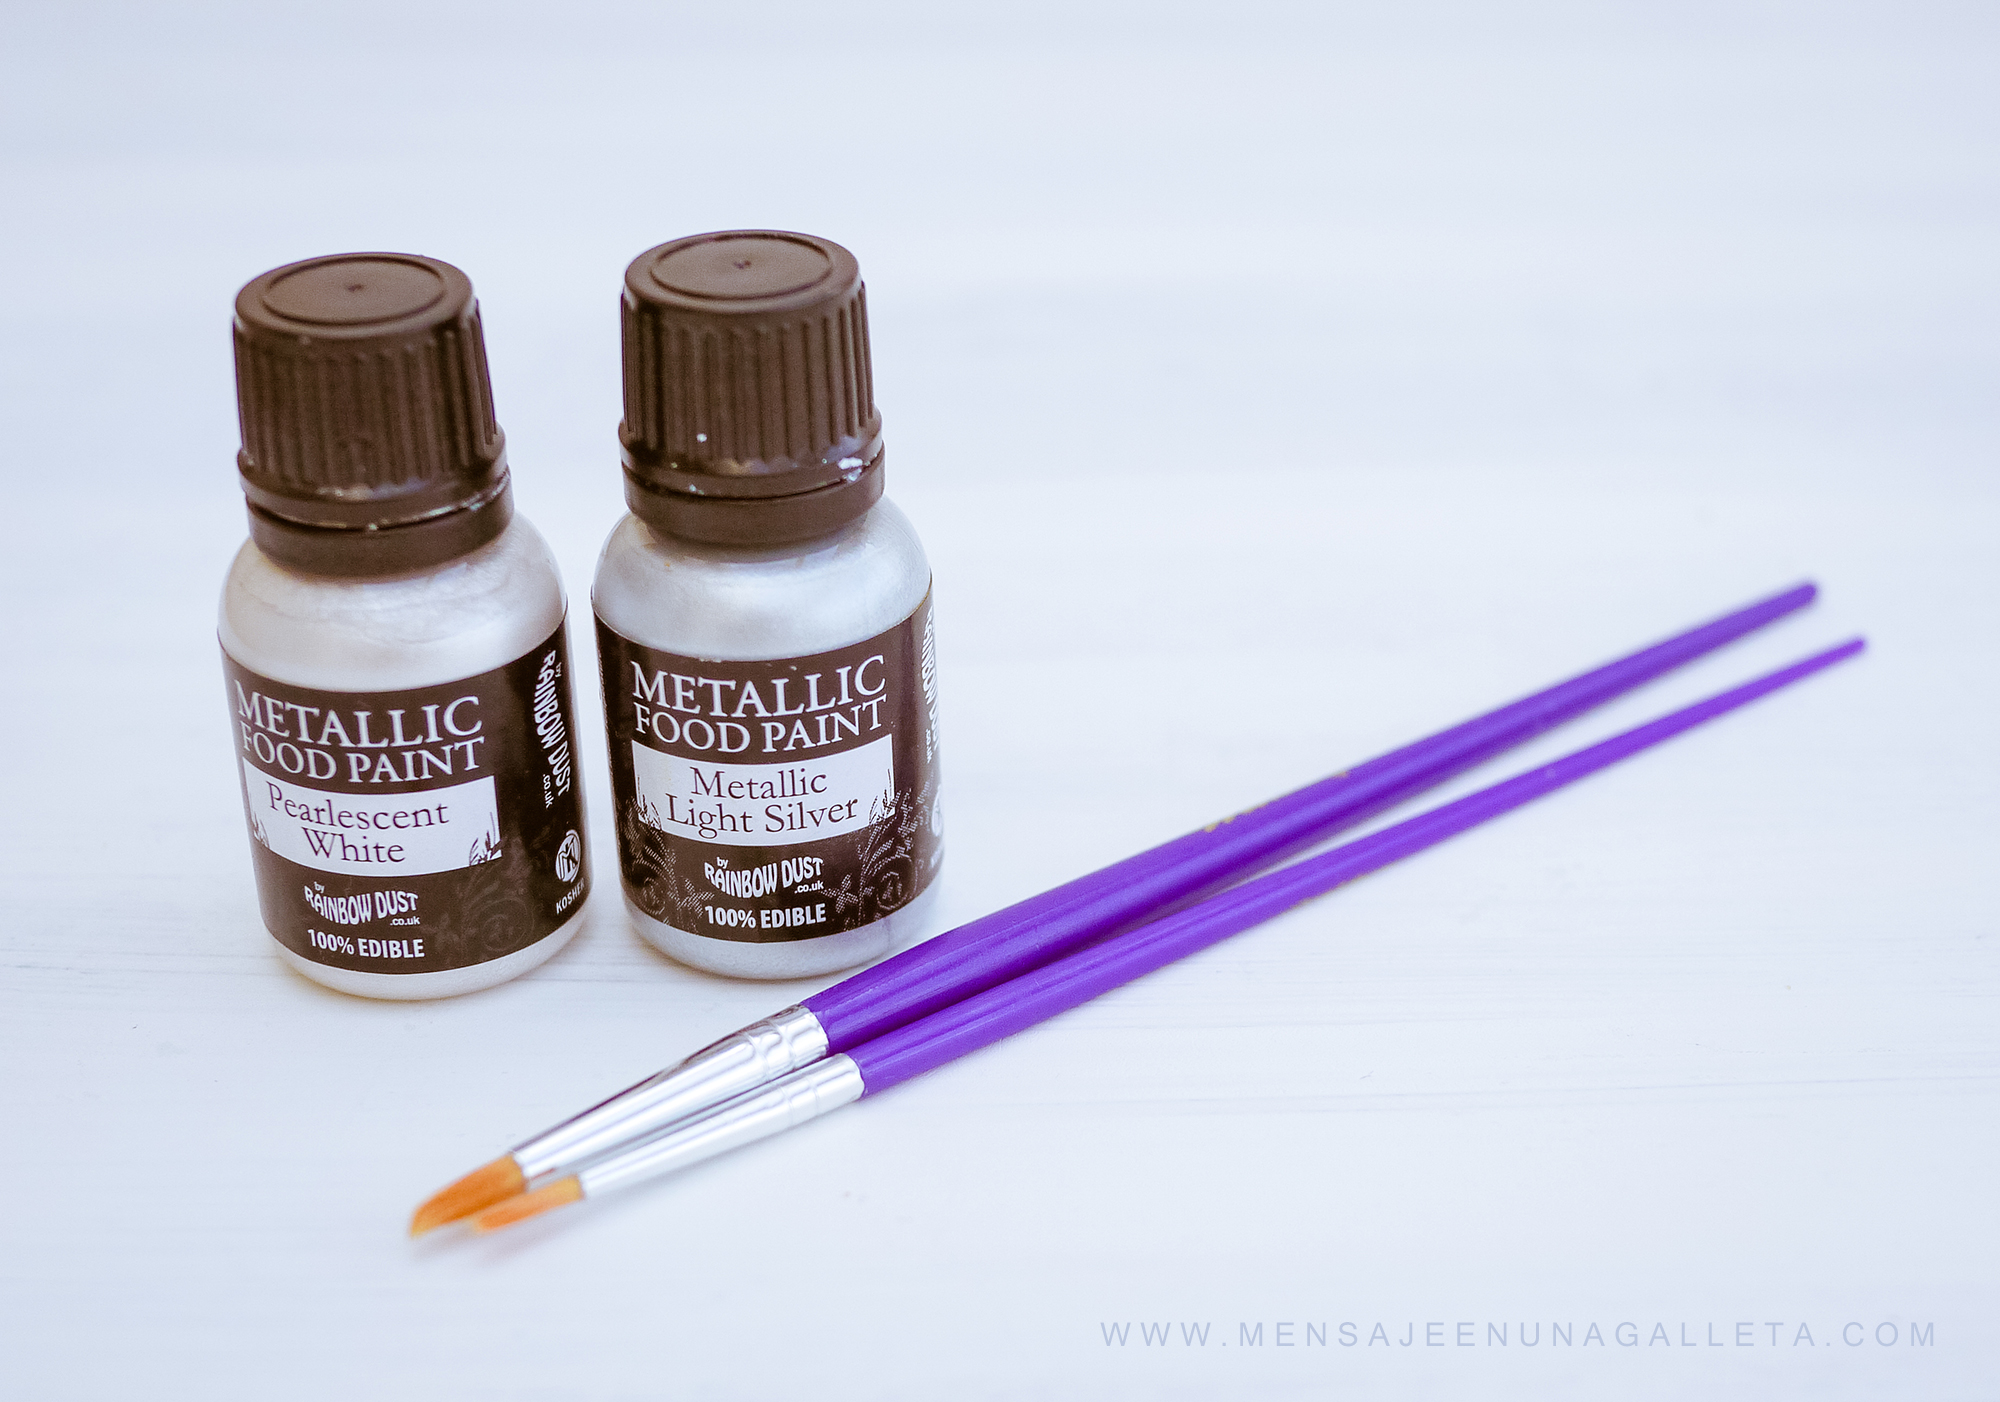
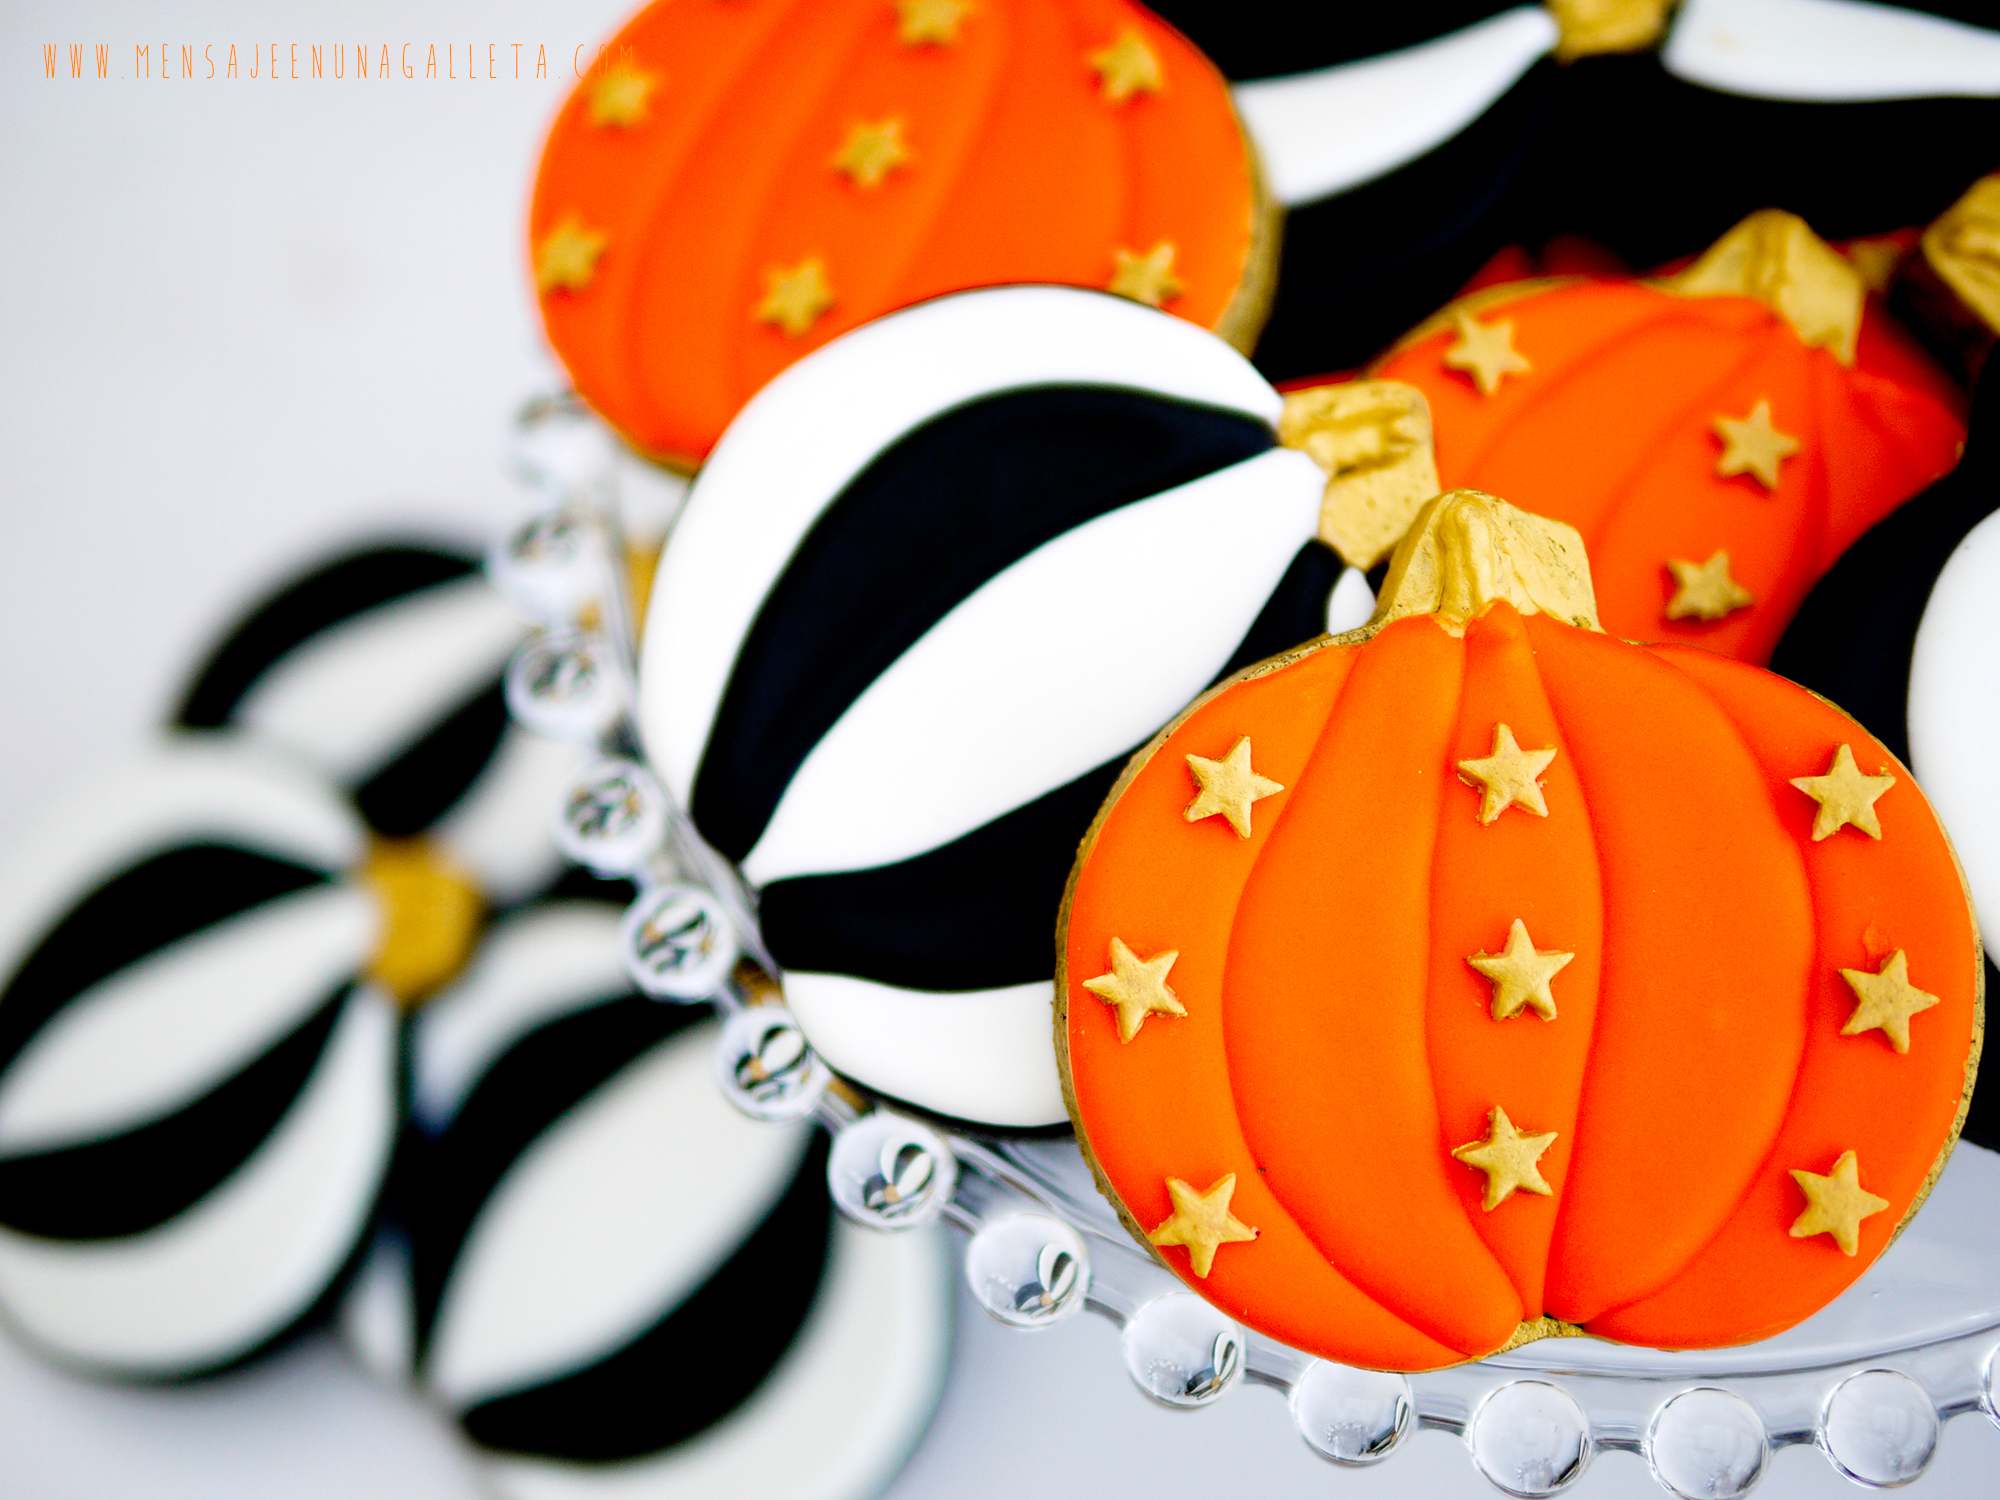
Cuando las galletas se han enfriado las pintamos. Yo les di un par de manos, con los colores que os pongo en la foto.
Paso 2: Las velas
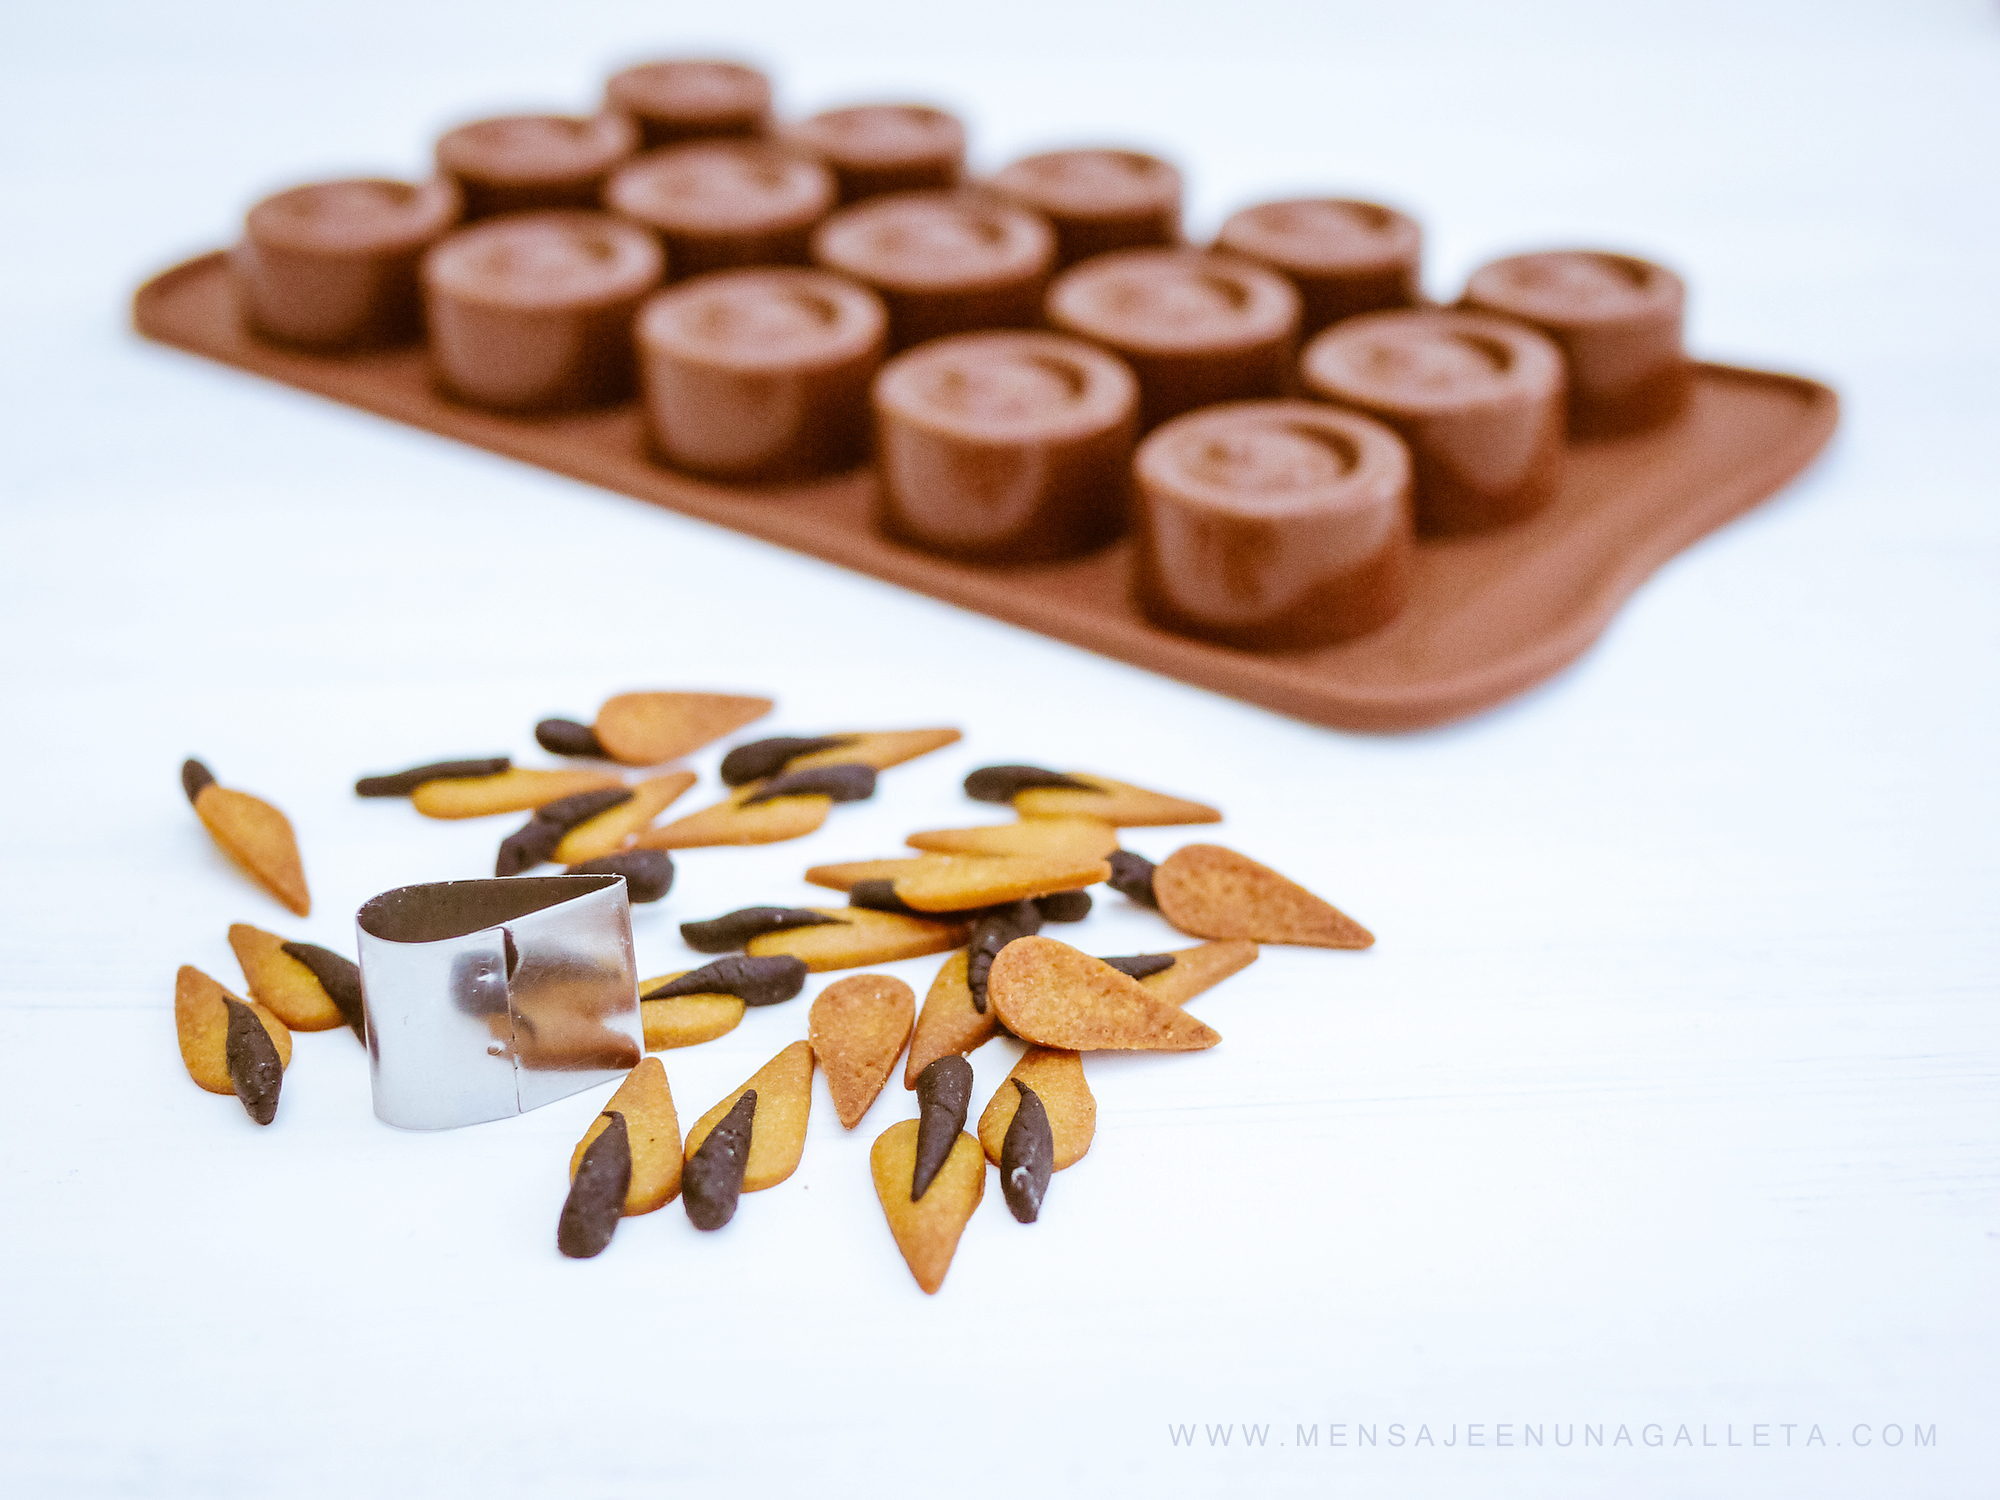
Las vela son bomboncitos de chocolate blanco. Solo necesitamos encontrar el molde adecuado, pero a poco que os pongáis a buscar descubriréis que hay muchísimos moldes cilíndricos para bombones.
Para la llama usé un microcortador con forma de lágrima con el que corté la masa de jengibre que había estirado finita a 1mm, porque necesitamos que pese poco para que aguante “de pie”. Para la mecha no use ningún cortador, hice un rulitos muy pequeños y los fui dejando caer sobre las llamas, las dos partes se pegaron en el horno.
La parte más complicada es colocar la llama en la vela. Yo utilicé un palillo de dientes para hacer un agujero en el bombón y después colocar en él la llama.
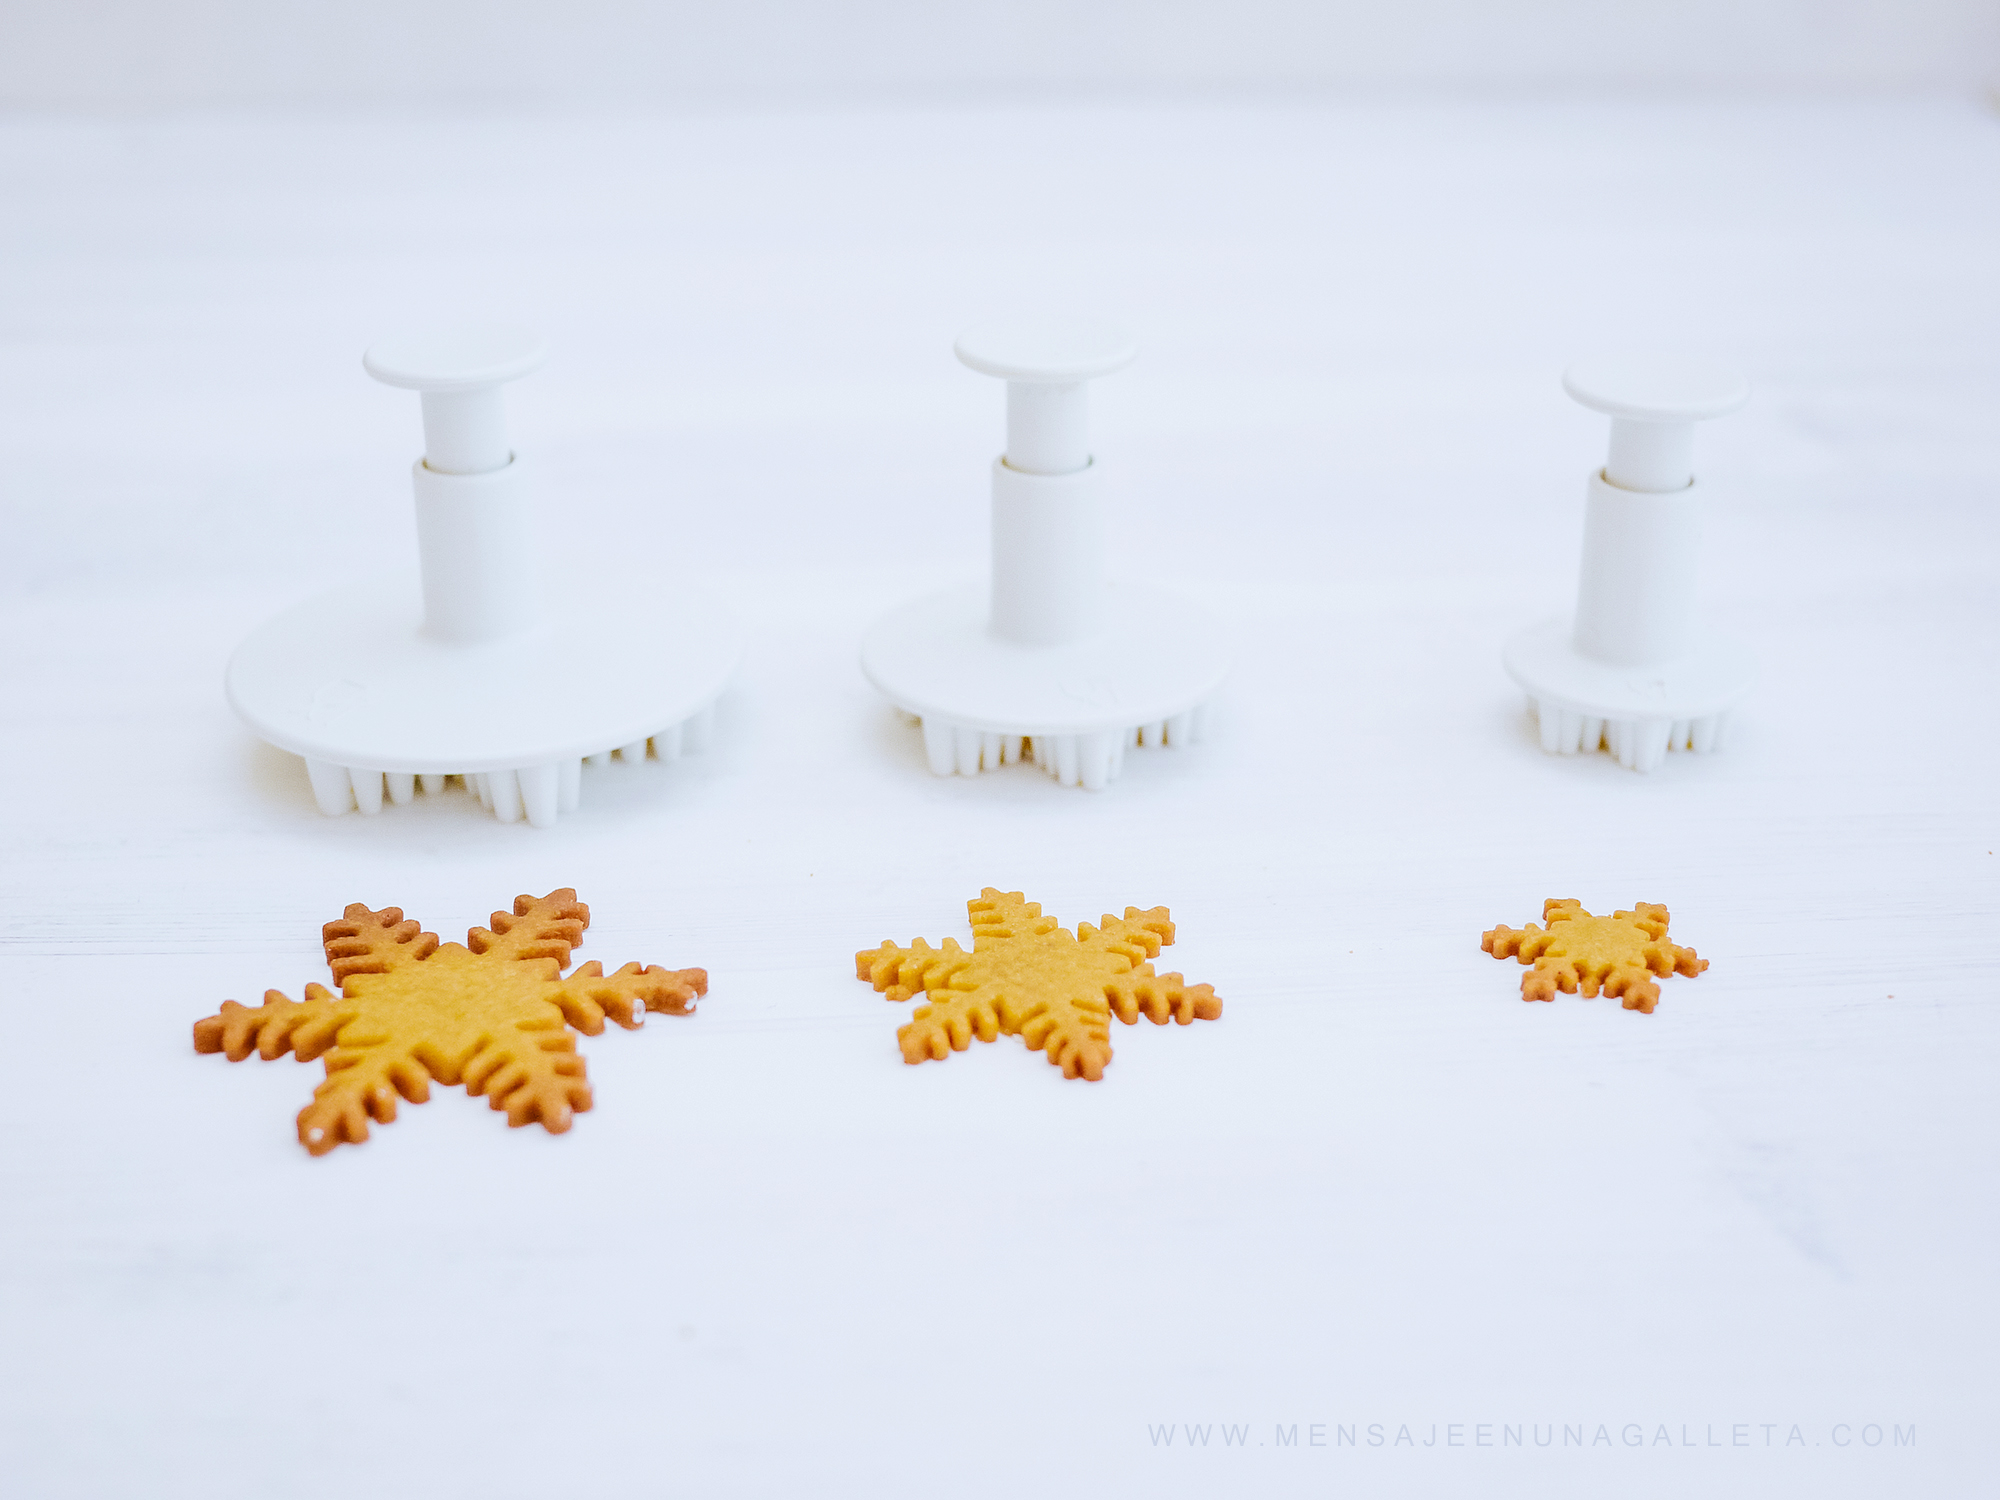
Paso 3: Los cristales de nieve
He aquí otro ejemplo sobre eso que repito tan a menudo: «No existen cortadores de fondant, solo galletas de distintos tamaños.»
Las posibilidades de decoración de estos portavelas son infinitas. Yo, tras barajar distintos diseños, me decidí por este tan sencillo. Os animo a que lo compliquéis, lo reinterpretéis y me lo enseñéis.
Completely edible because you can eat the candle holder, which is a ginger cookie (recipe here). You can eat the candle, made of white chocolate, and the flame, a ginger cookie with a chocolate cookie candle wick.
I like the combination of white chocolate and ginger, it is one of those well-matched pairs in which one of the members is simple and sweet and the other one is NOT. And precisely because of their differences, they work perfectly well together. And besides, they look really cute on pictures.
Step 1: Candle holders
We choose three Christmas cookie cutters of approximately the same size and a small round one to make the hollow chamber of the candle. We roll out two dough sheets, 10mm and 6mm thick. We cut the candle holders in the 10mm sheet and the circles in the 6mm one. We empty the center of the candle holders and place the circles, which are lower, inside. We bake at 180º, baking time will depend on the size.
When cookies are cold we paint them, I applied two coats of paint with the colors below.
Step 2: The candles
Candles are small white chocolate treats. We only need to find the right mold, but soon after you start looking for them, you will find out that there are plenty of cylindrical molds for chocolates.
For the flames I used a tear shaped micro cutter that I used with the ginger dough sheet which I had previously rolled out really thing (1mm thick). We need it to be very light so they can ‘stand up’. I didn’t use any cutter for the wicks, I just made tiny logs and let them fall on the flames, both pieces glued to each other in the oven.
The most complicated part is to place the flame on the candle. I used a toothpick to make a hole in the chocolate and then put the flame on it.
Step 3: Snow crystals
This is another example of what I use to repeat so often: ‘there are no such things as fondant cutters, just cookies of different sizes’.
The decorative possibilities of these candle holders are infinite. After weighing up several designs, I decided on this one, so simple. I encourage you to make it more complicated, to reinterpret it and to show it to me.
A big fat kiss.
